
Local Deployment
This guide shows how to configure a room directly in the RoomHub WebGUI.
You’ll add your devices, validate the system, and run AI AutoDeploy™ to test and tune the room.
The process is guided and designed to be simple.
Before You Begin
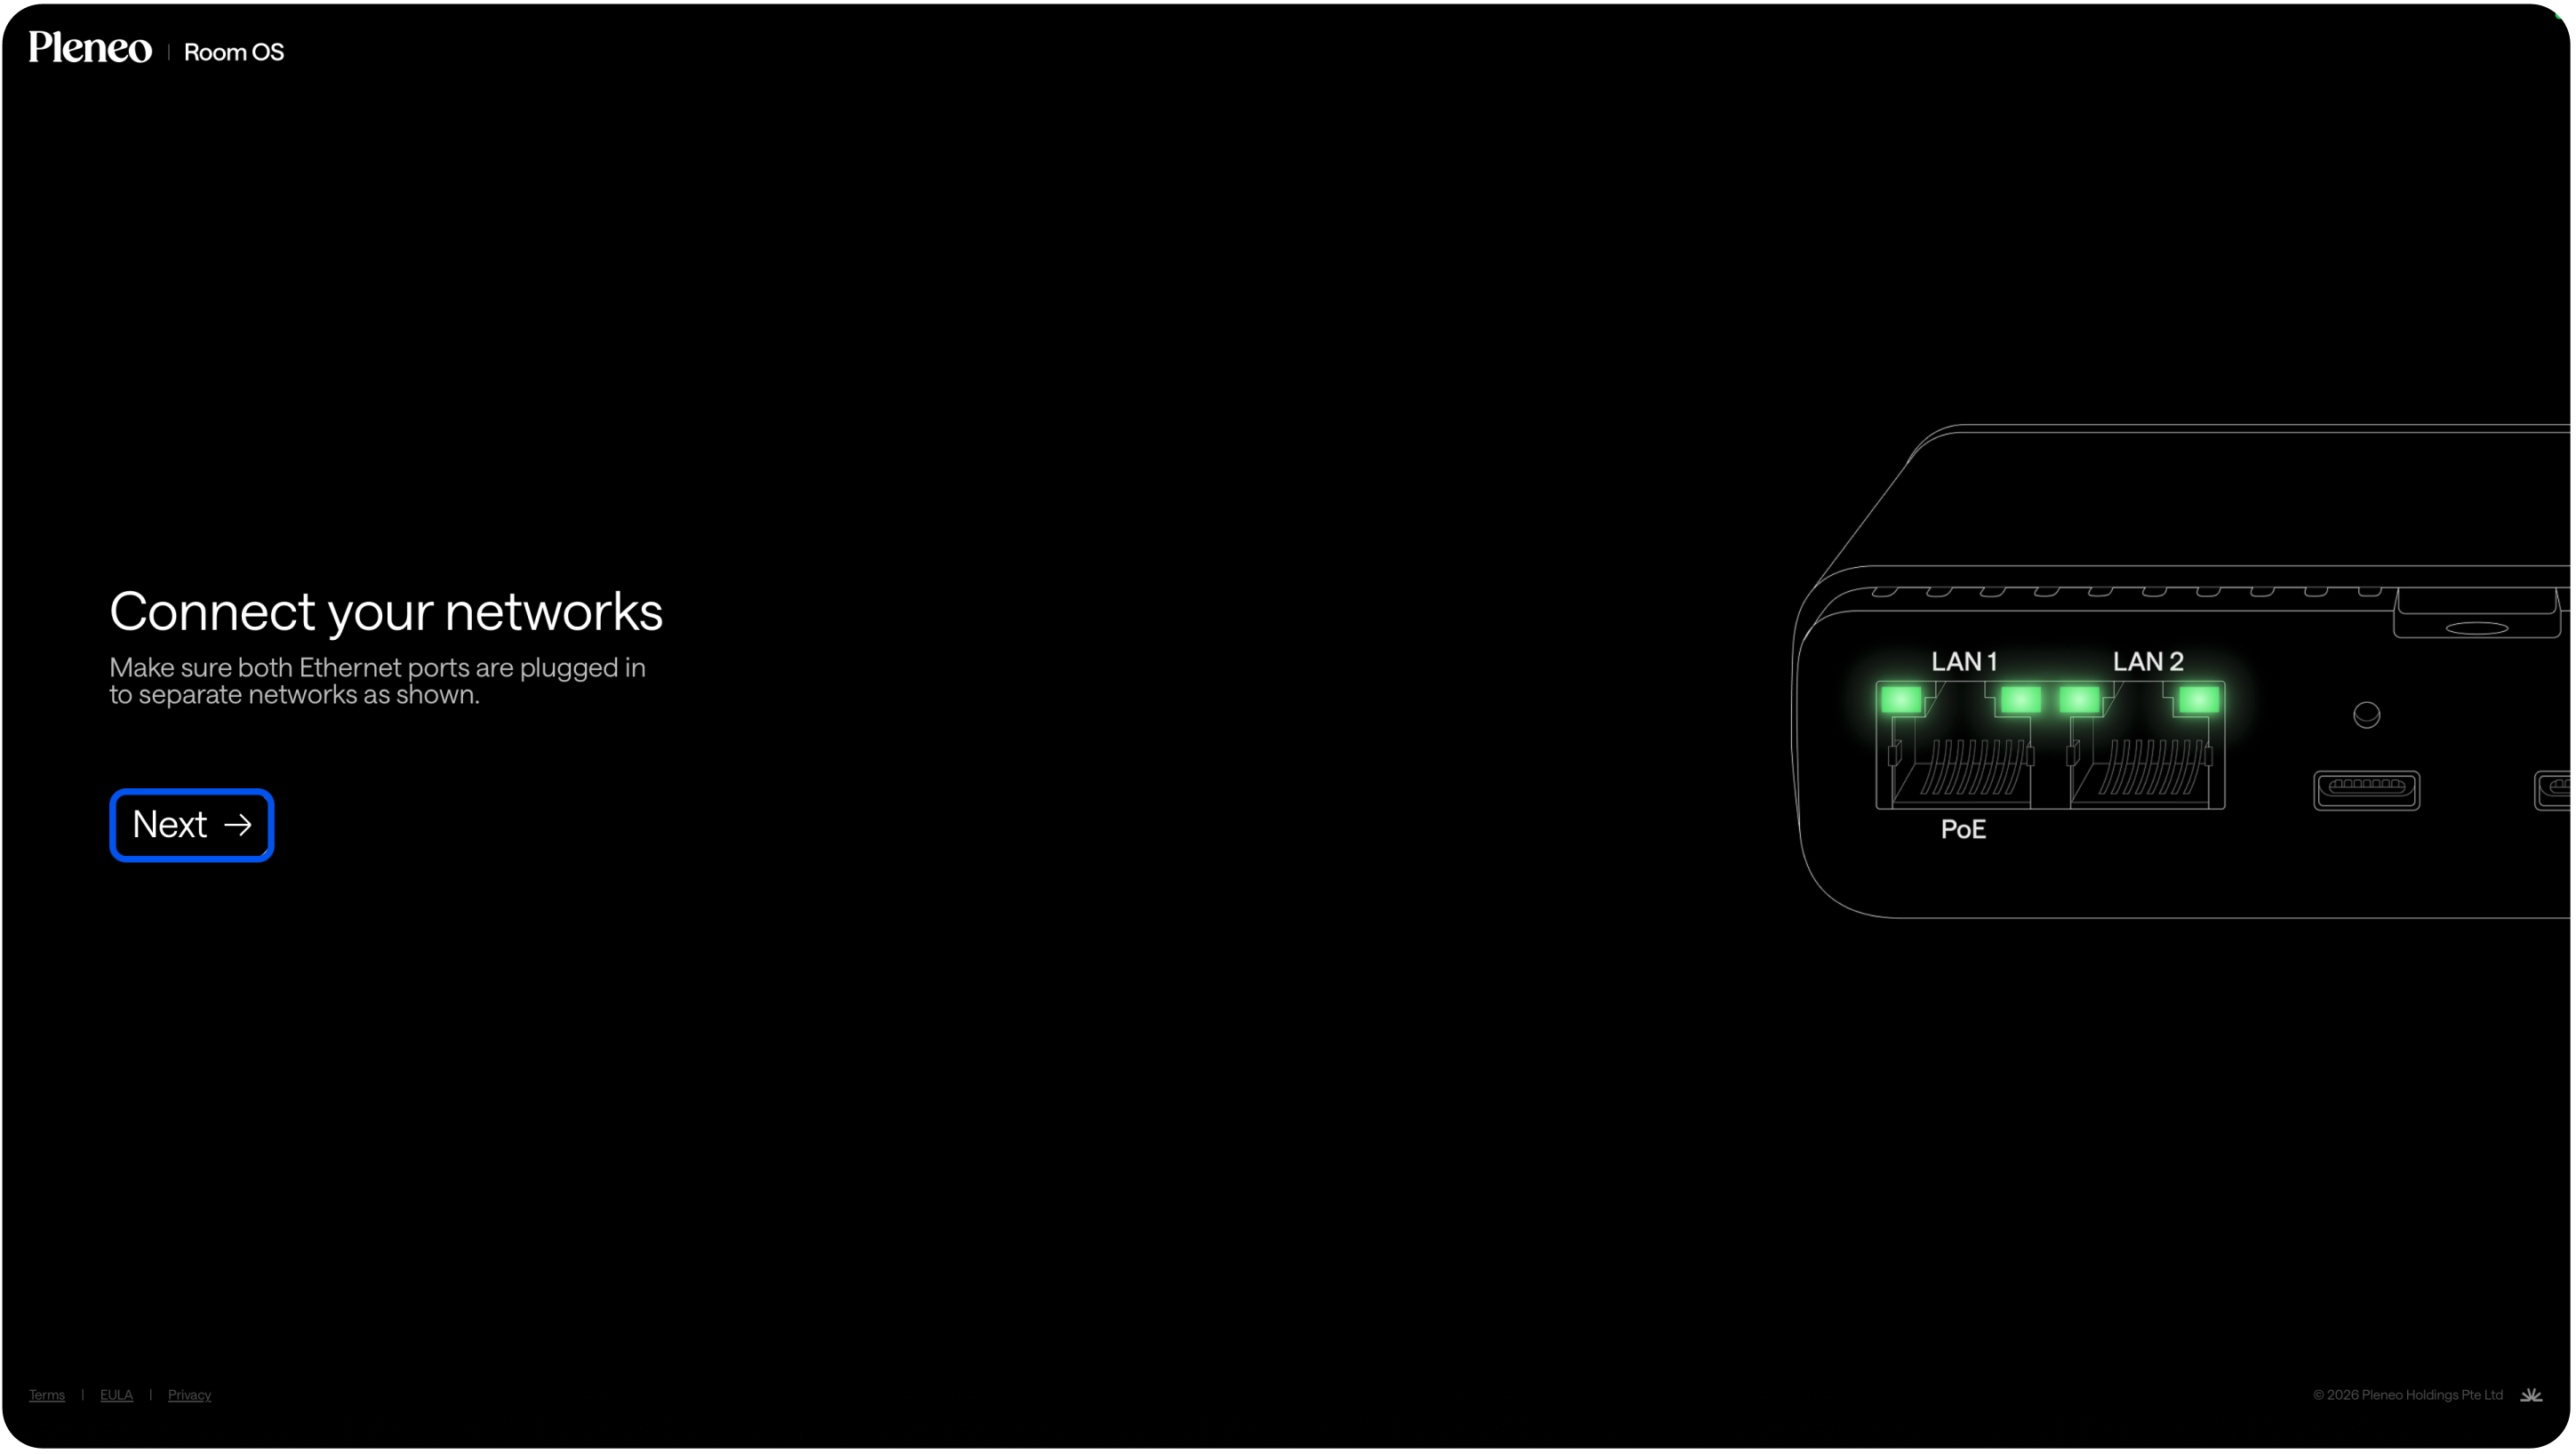
Make sure everything is physically connected:
Connect speakers, microphones, and cameras to your network switch
Connect RoomHubs LAN1 and LAN2 to the switch (LAN 1 – PoE)
Make sure you have a DHCP server on the network
Open the RoomHub WebGUI in your browser and type in:
roomhub-(the last 6 digits of the your RoomHubs MAC address)
eg. roomhub-ff0010
Initial Setup
On the start screen, required network connections must be active before it's possible to press "Next".
Complete the basic setup:
Download and Update firmware
Create a password
Name the room
You’re now ready to build the system.
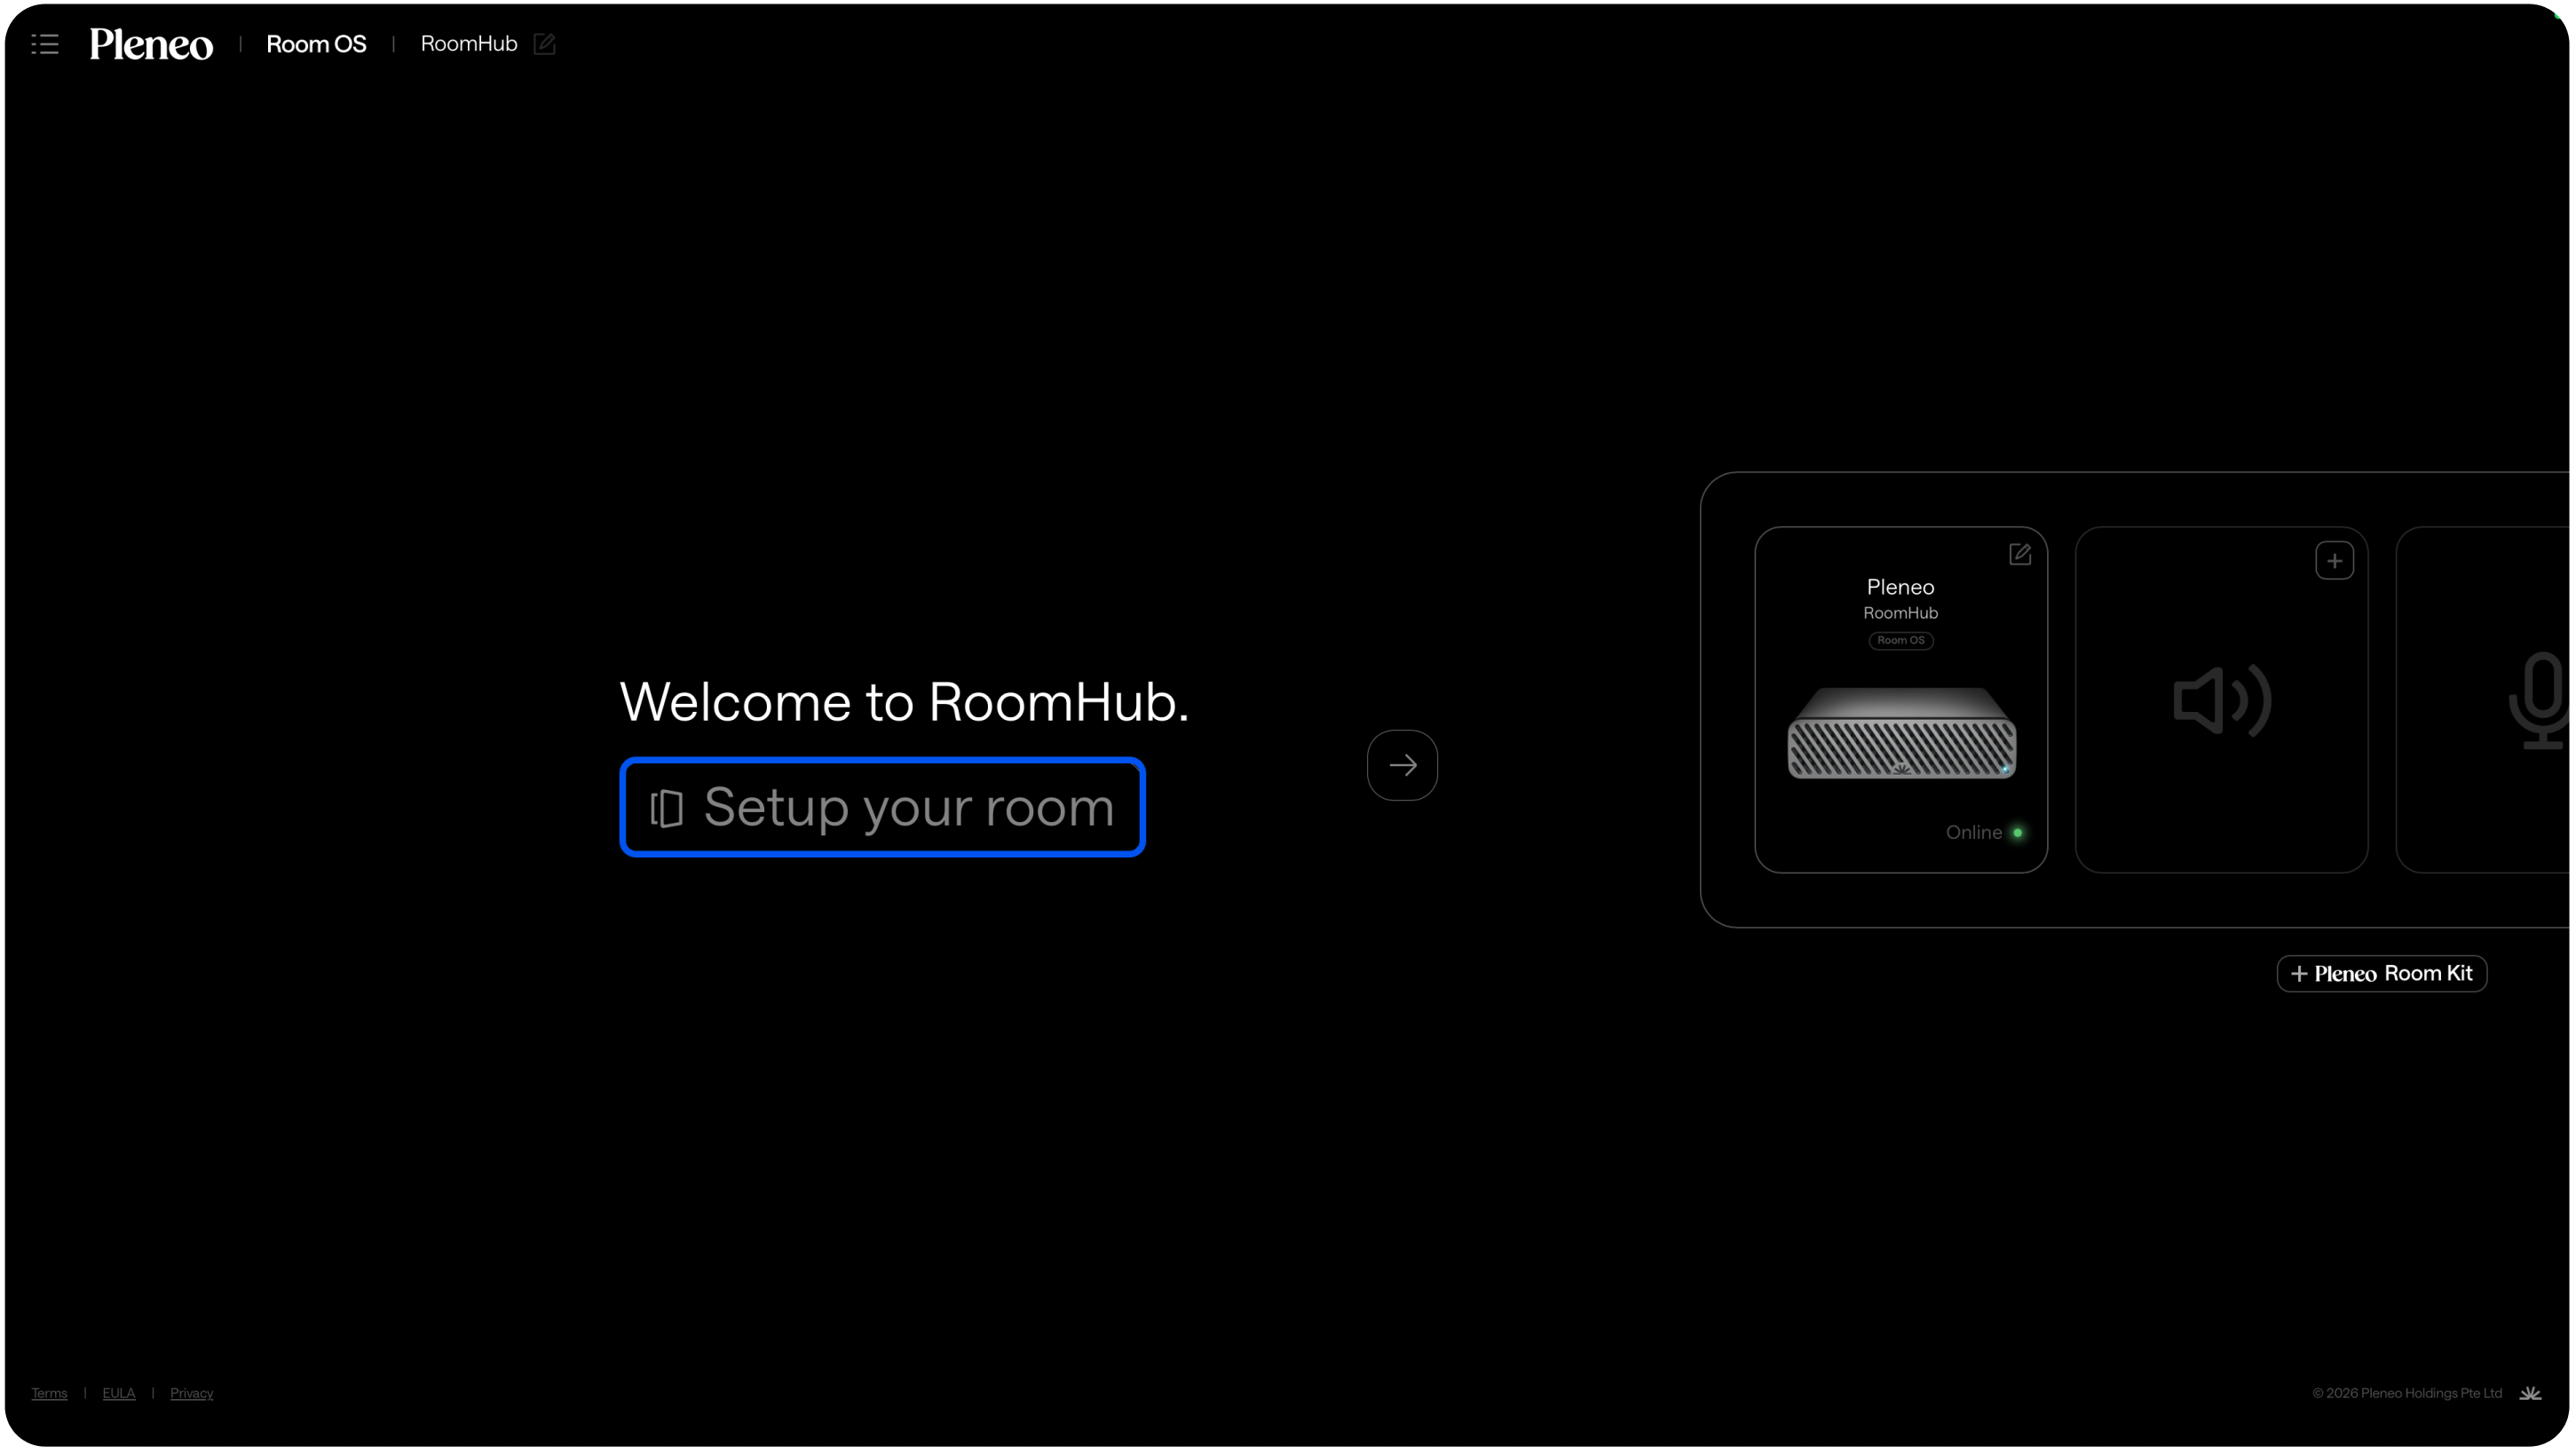
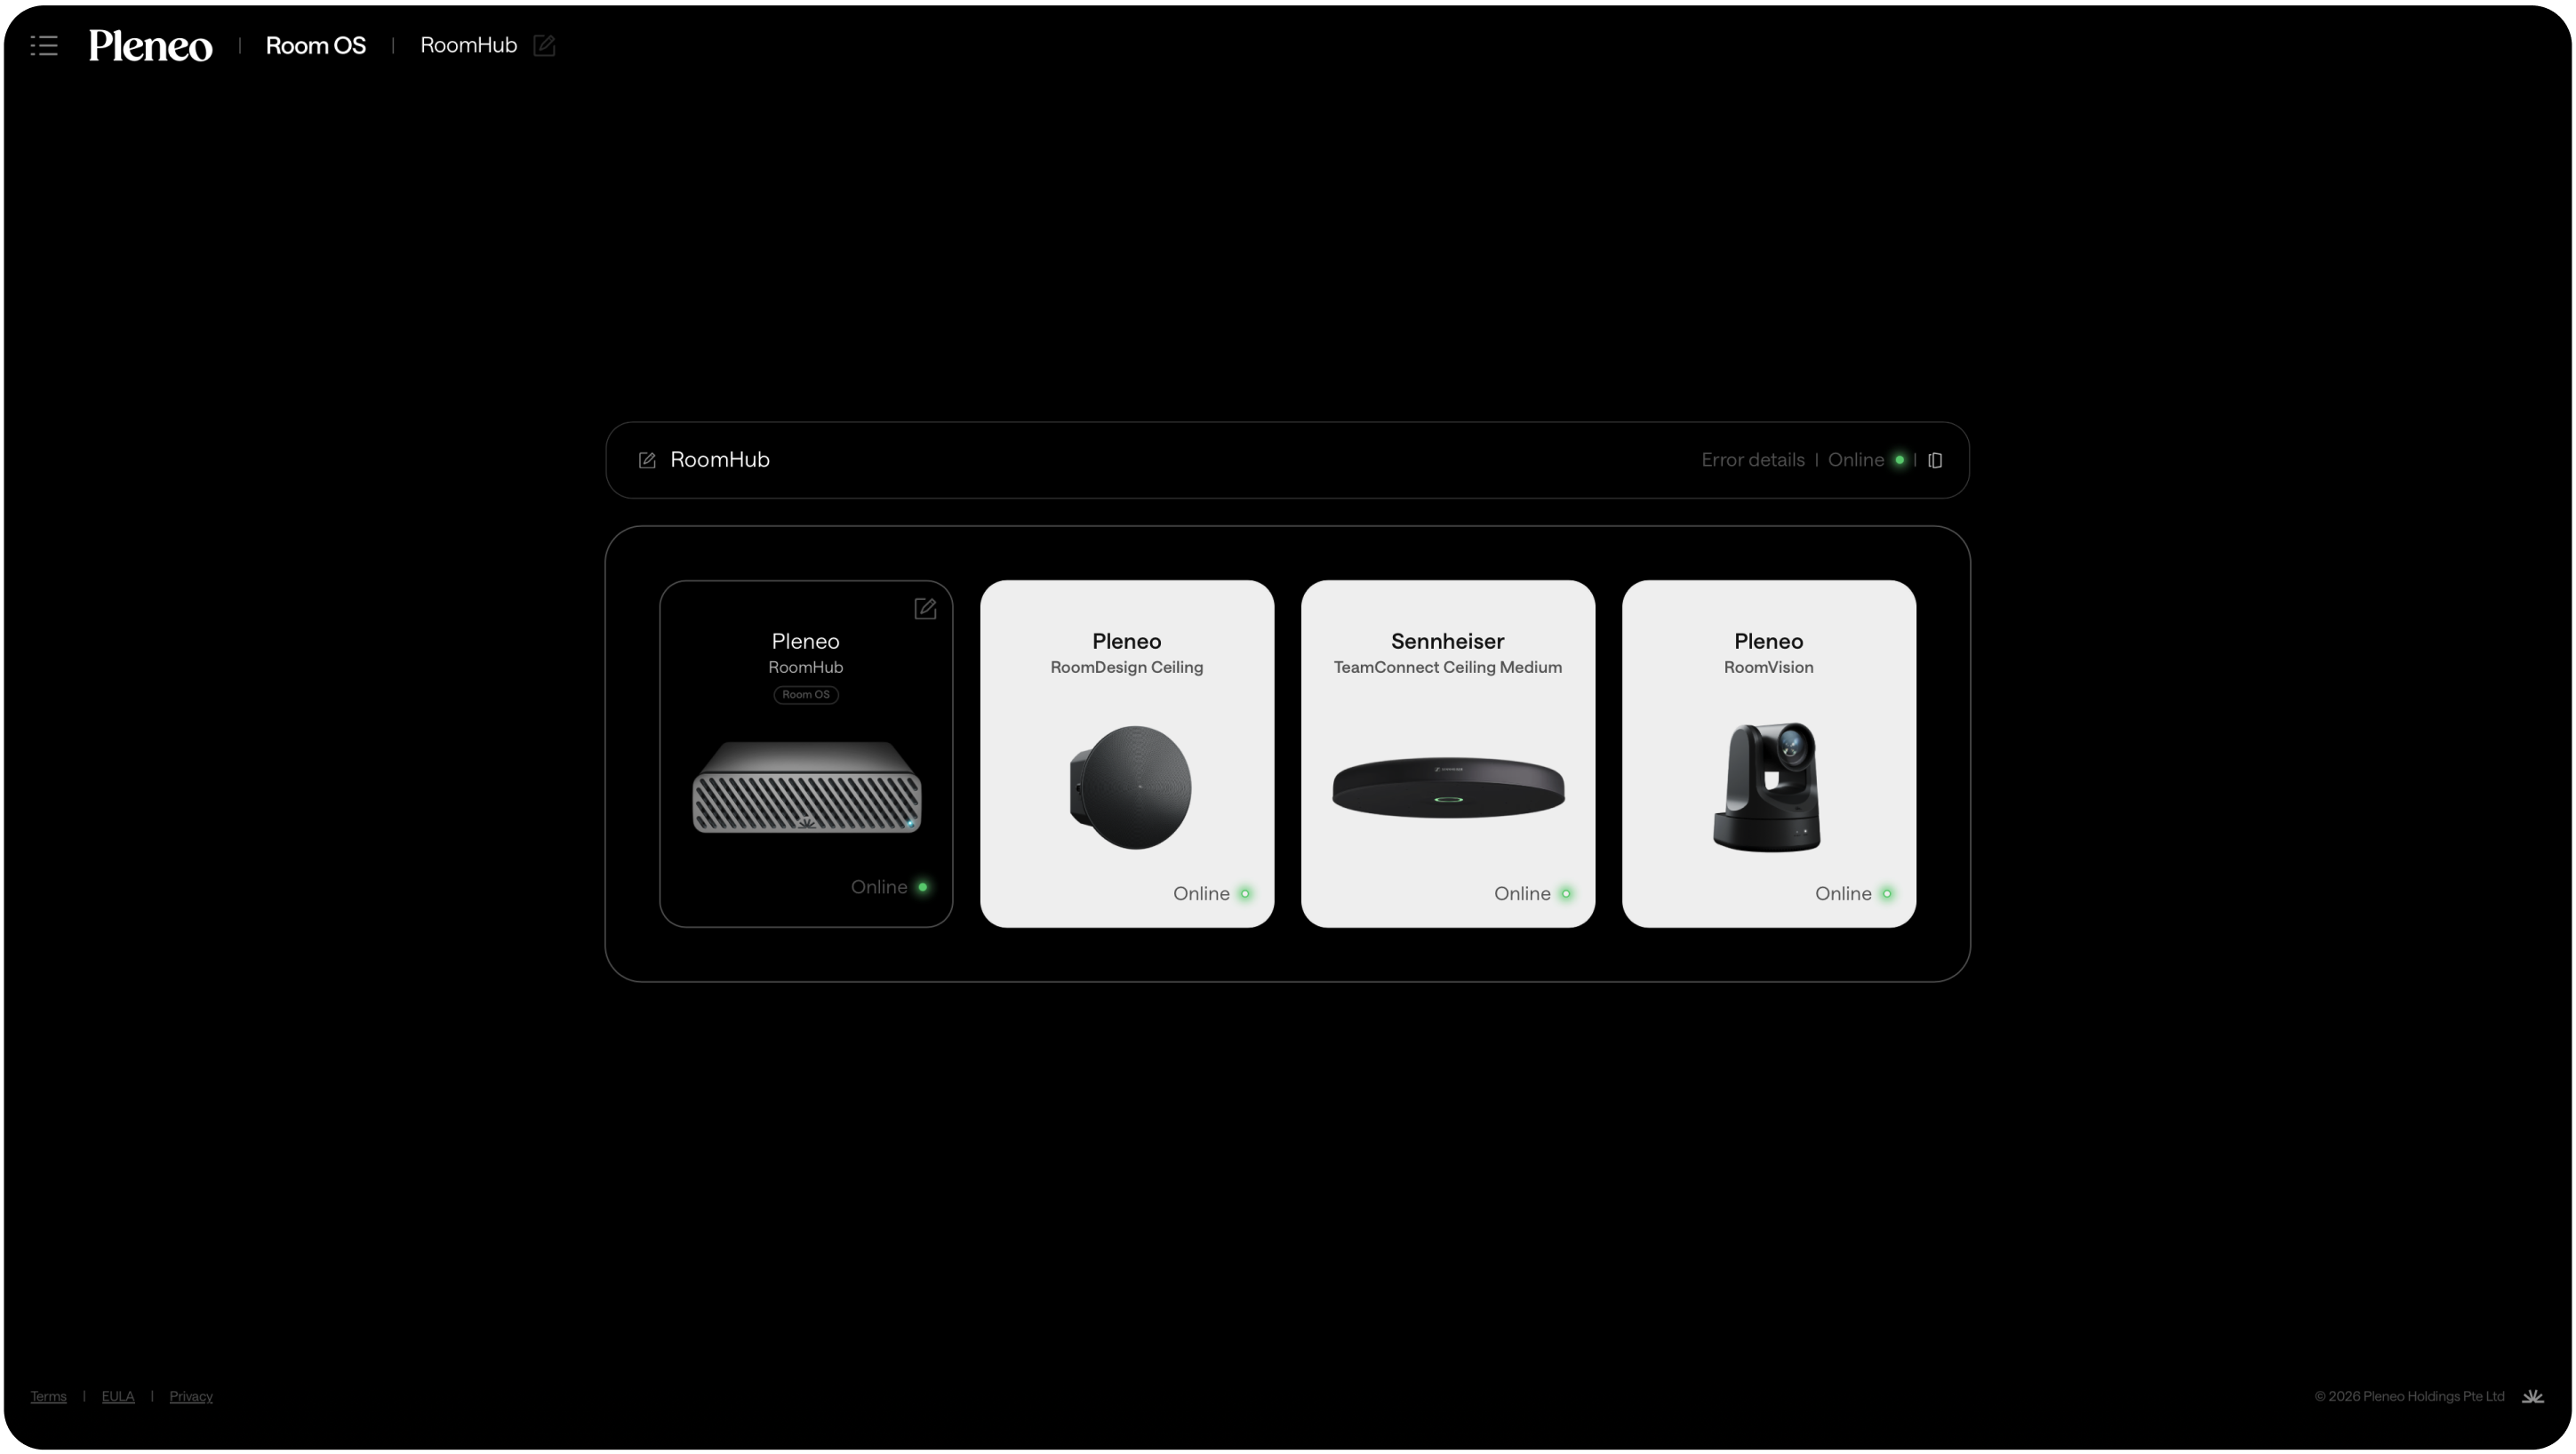
Adding Devices
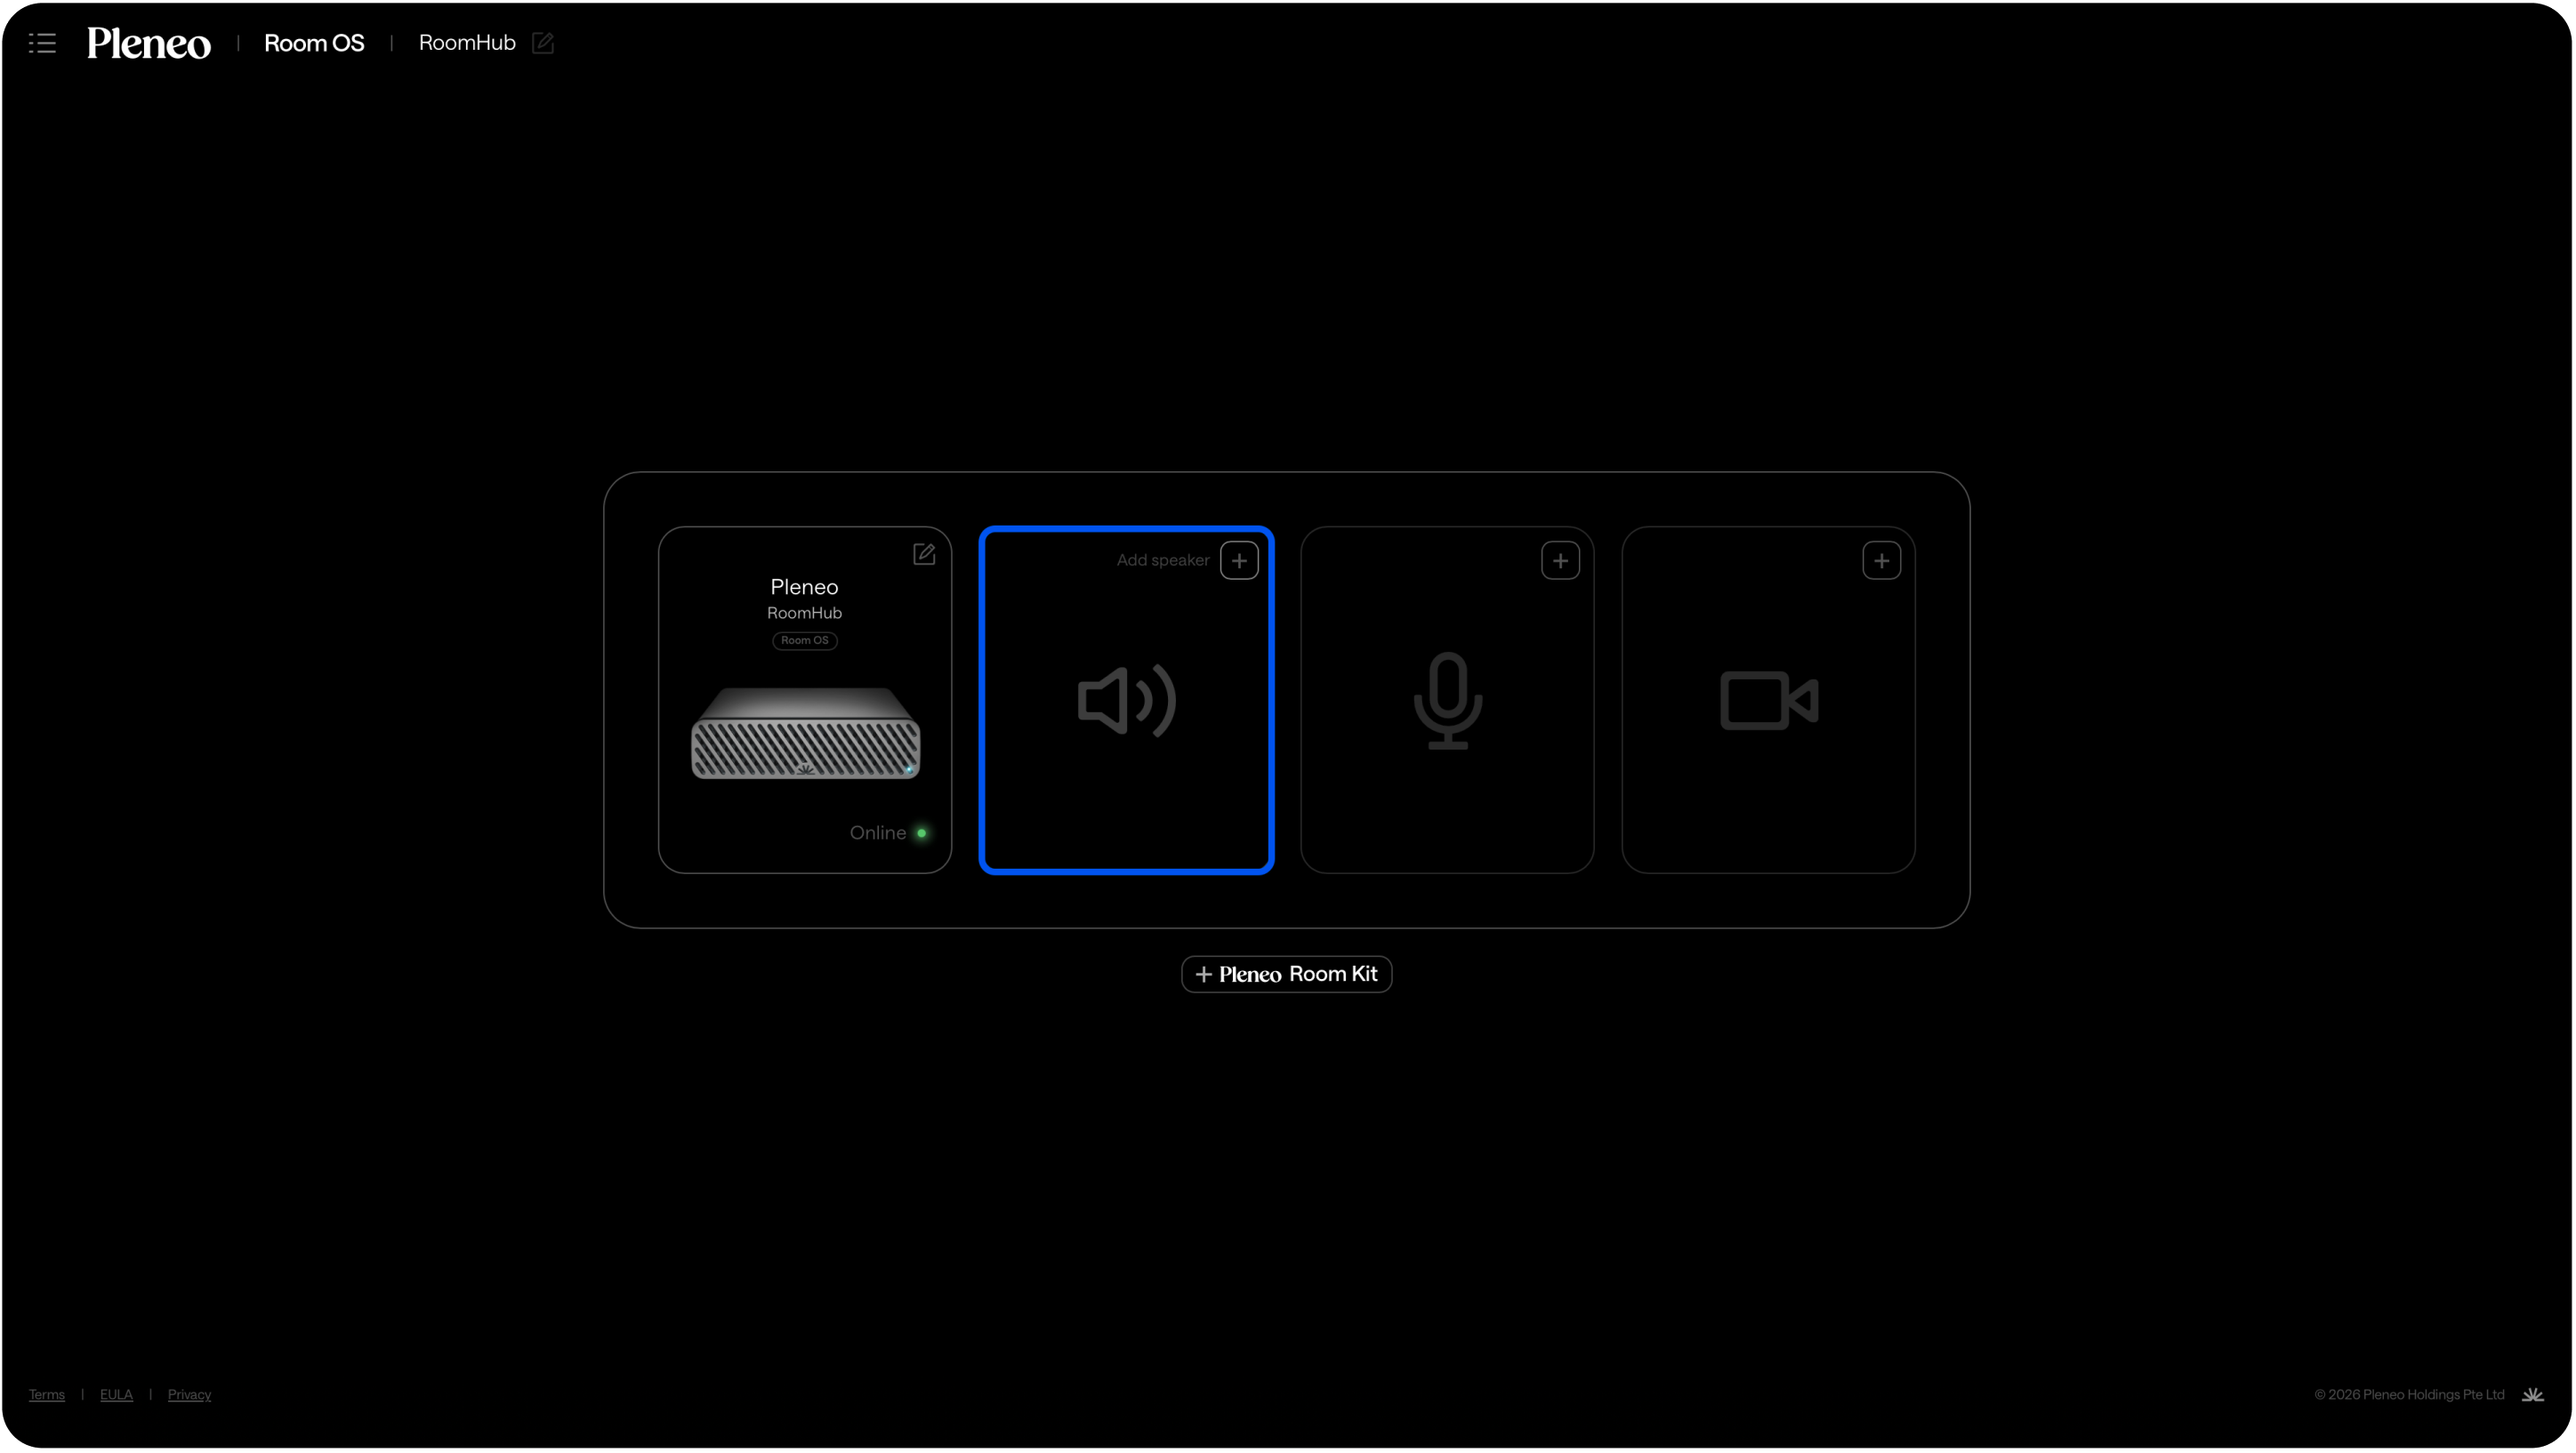
Add Speakers
Select Add Speaker
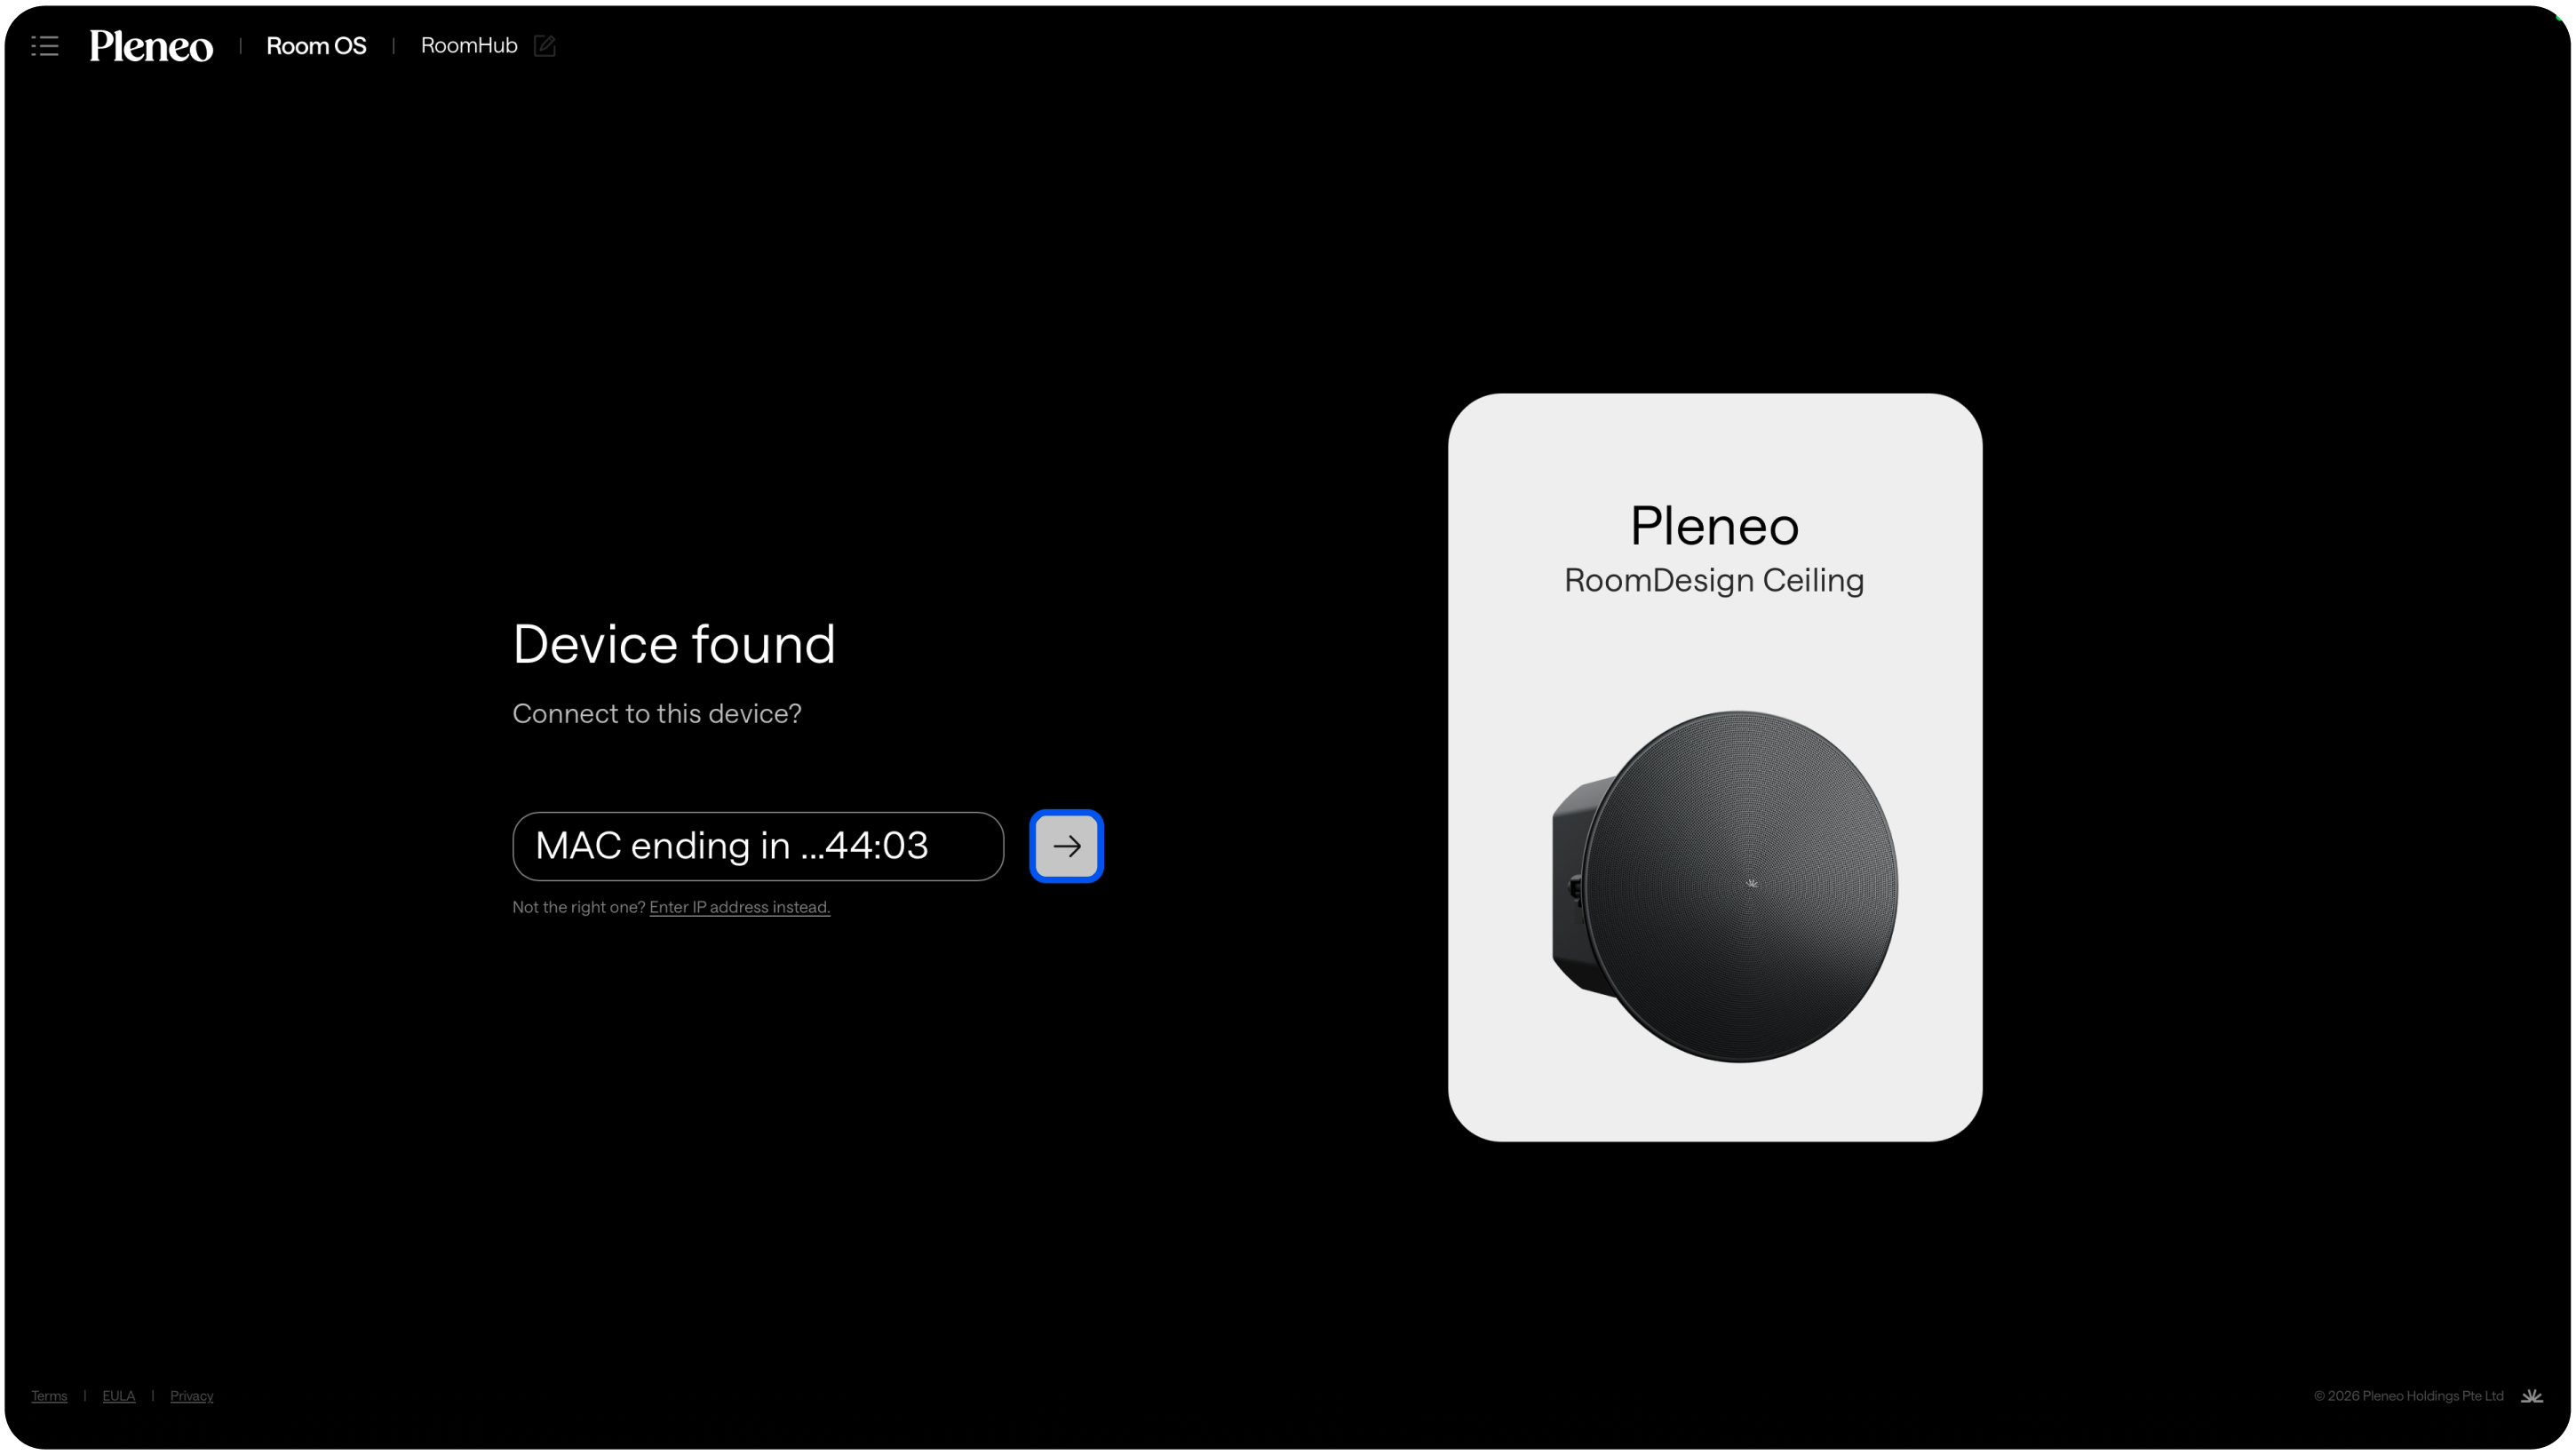
Choose the speaker model (e.g., Pleneo RoomDesign Ceiling) and press Add Speaker

RoomHub scans the network and discovers available speakers.
Select the units you want to include.
Add a Microphone
Select Add Microphone
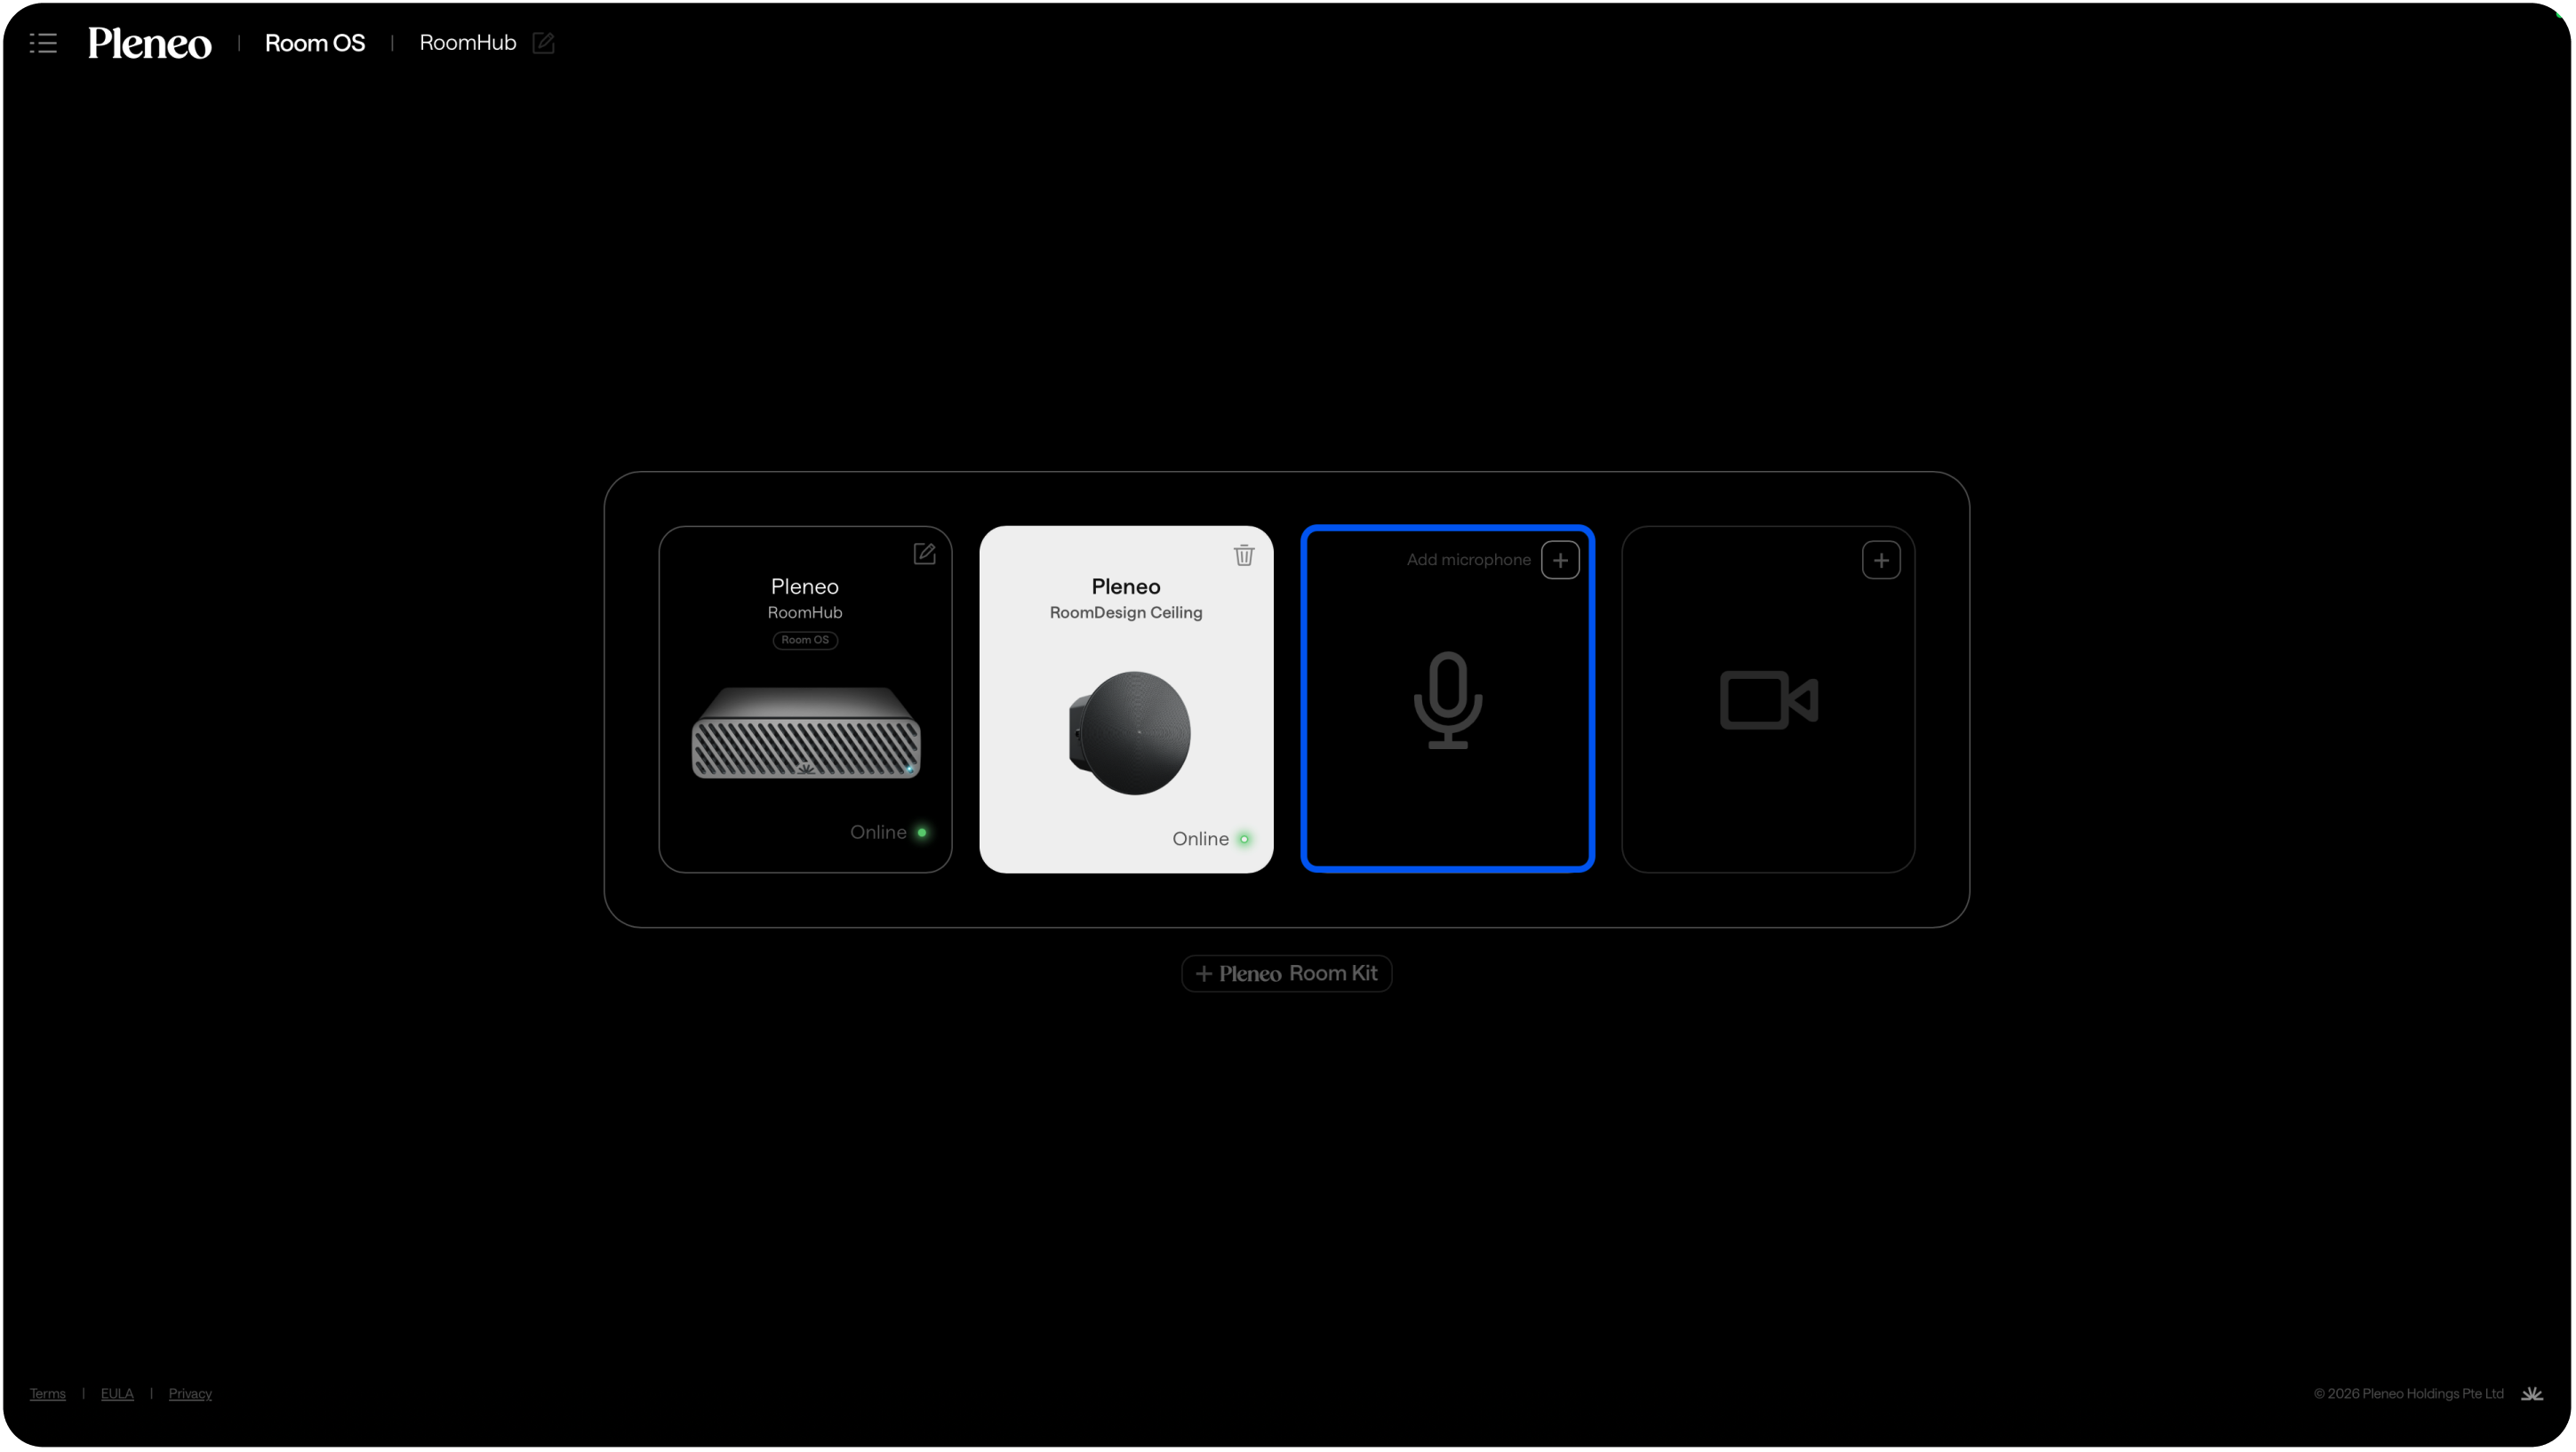
Select the microphone you want to have in your room.

If selecting Sennheiser TCCM, you need to enable third-party control in the manufacturer’s software. You can learn more about it here.
RoomHub scans the network and discovers the microphone automatically.
Select it to add it to the system.
Add a Camera
Select Add Camera
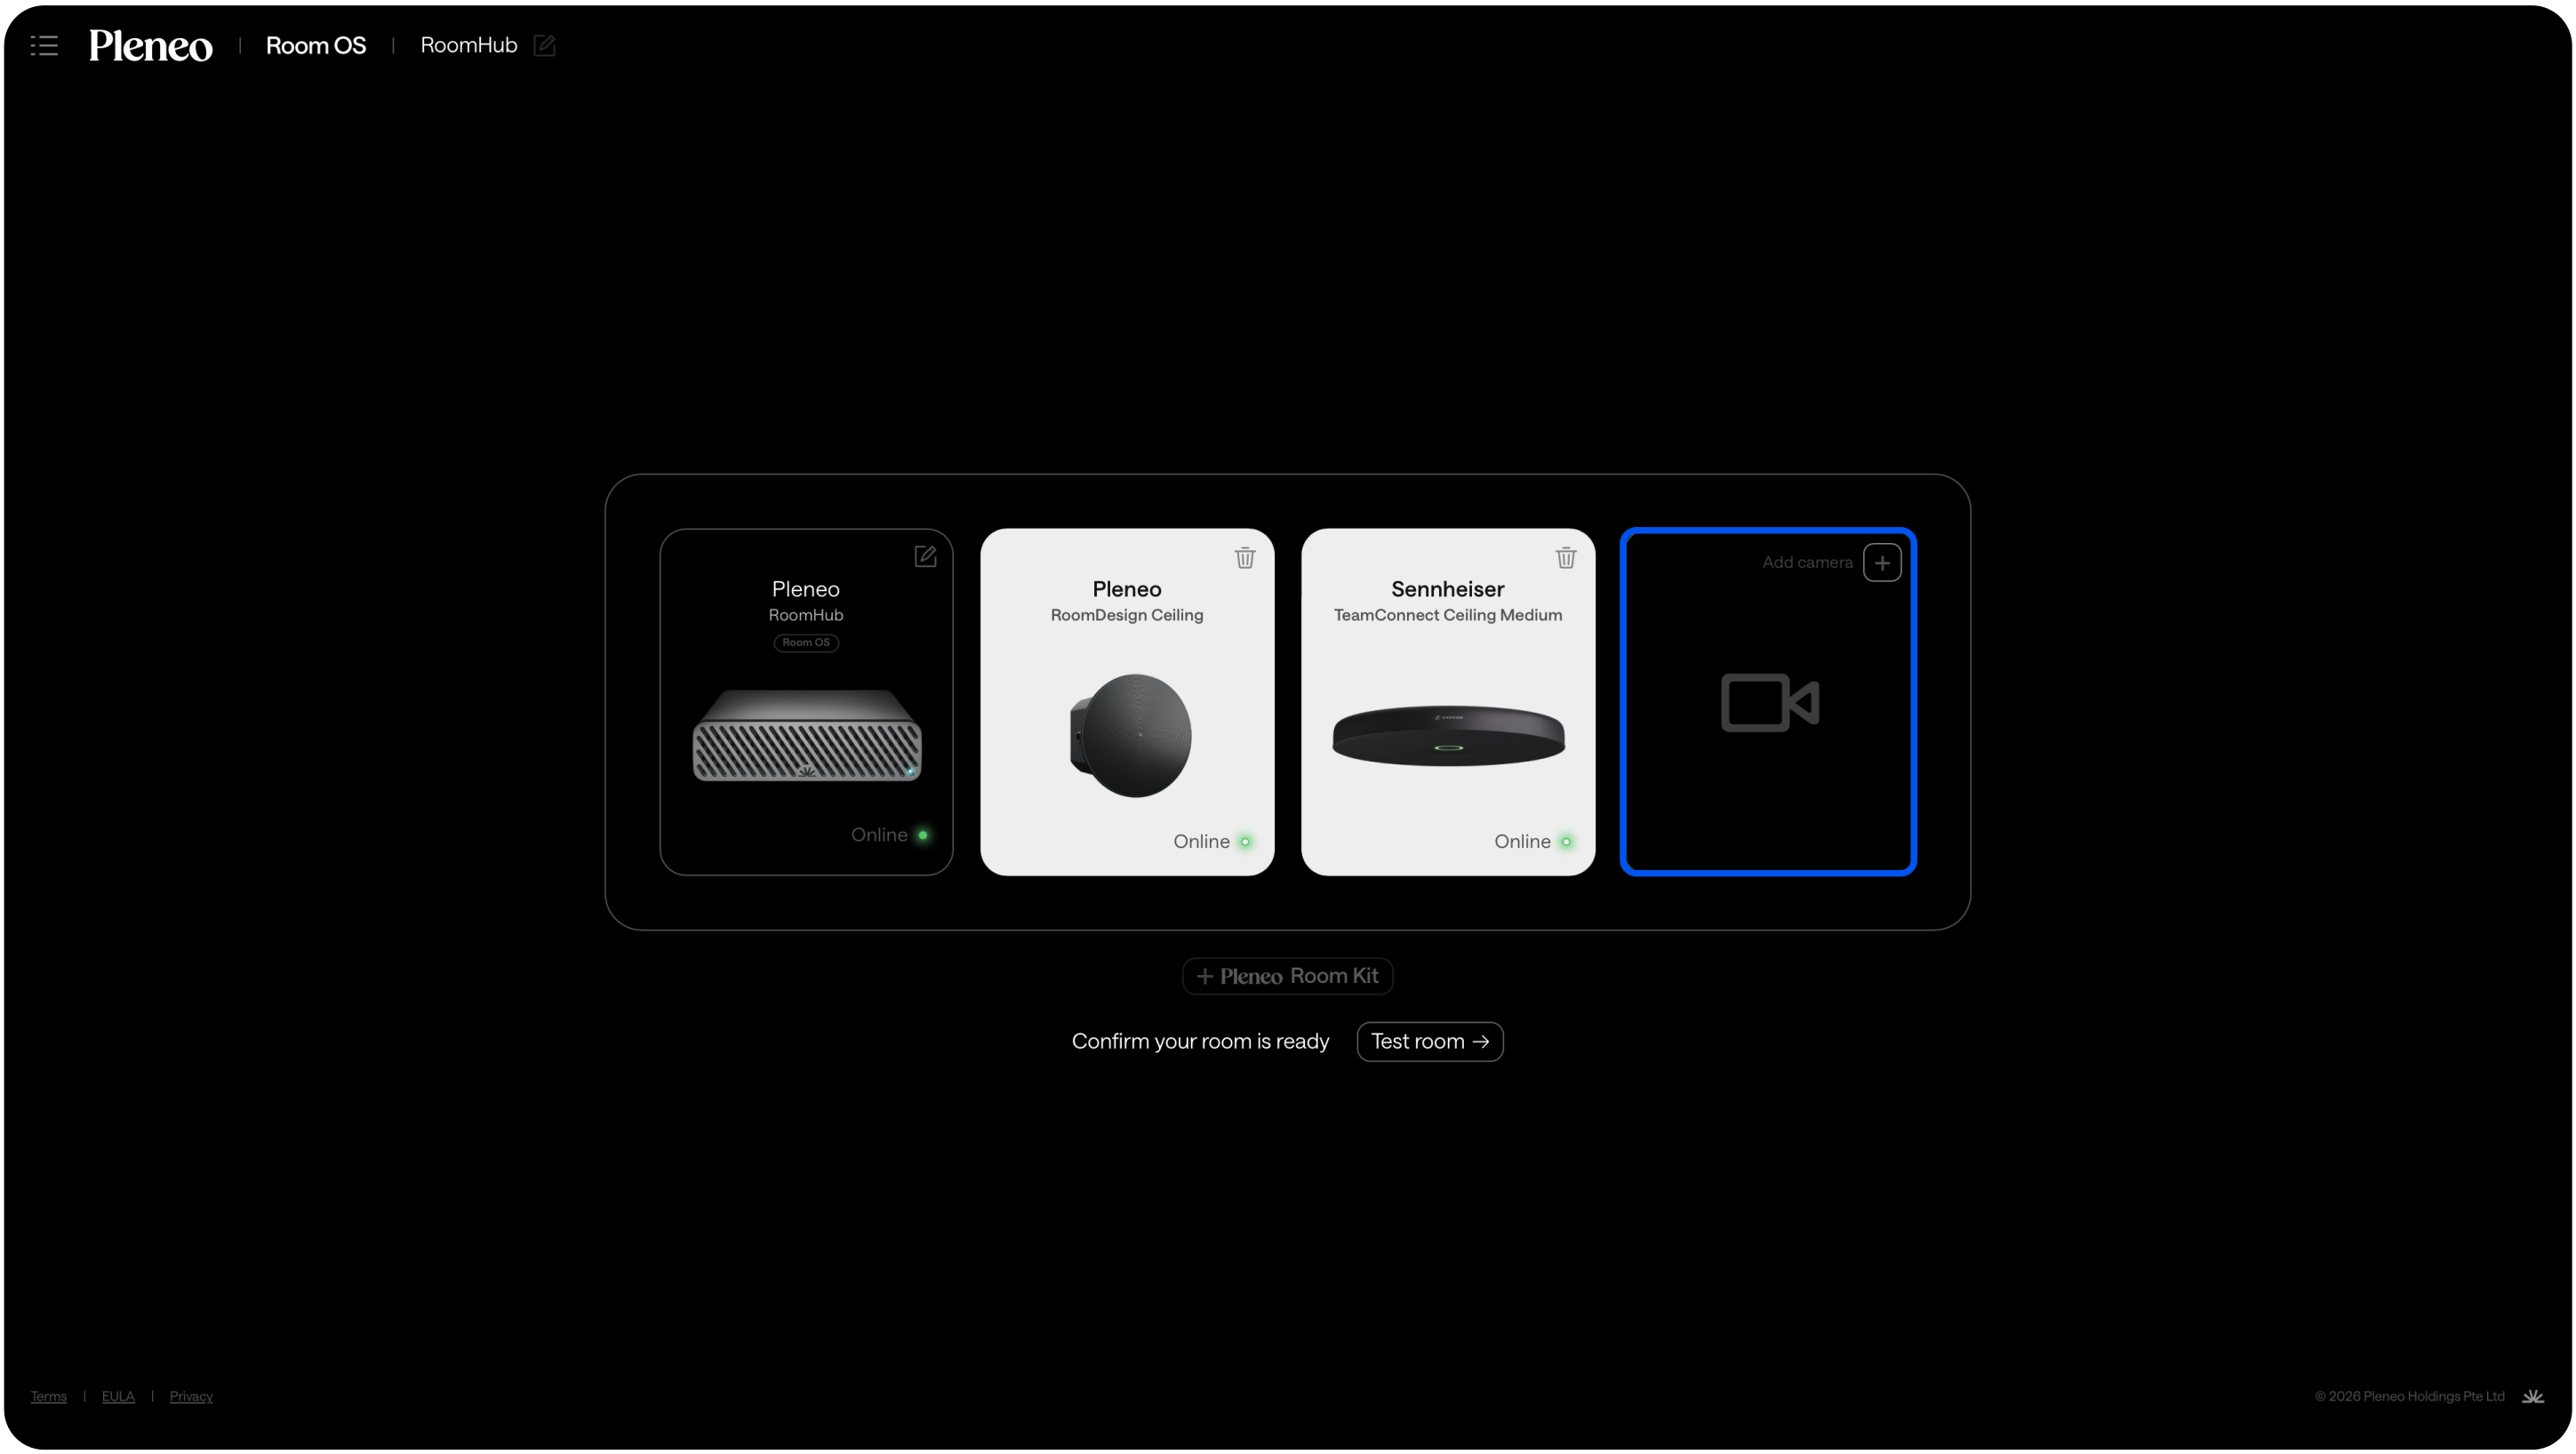
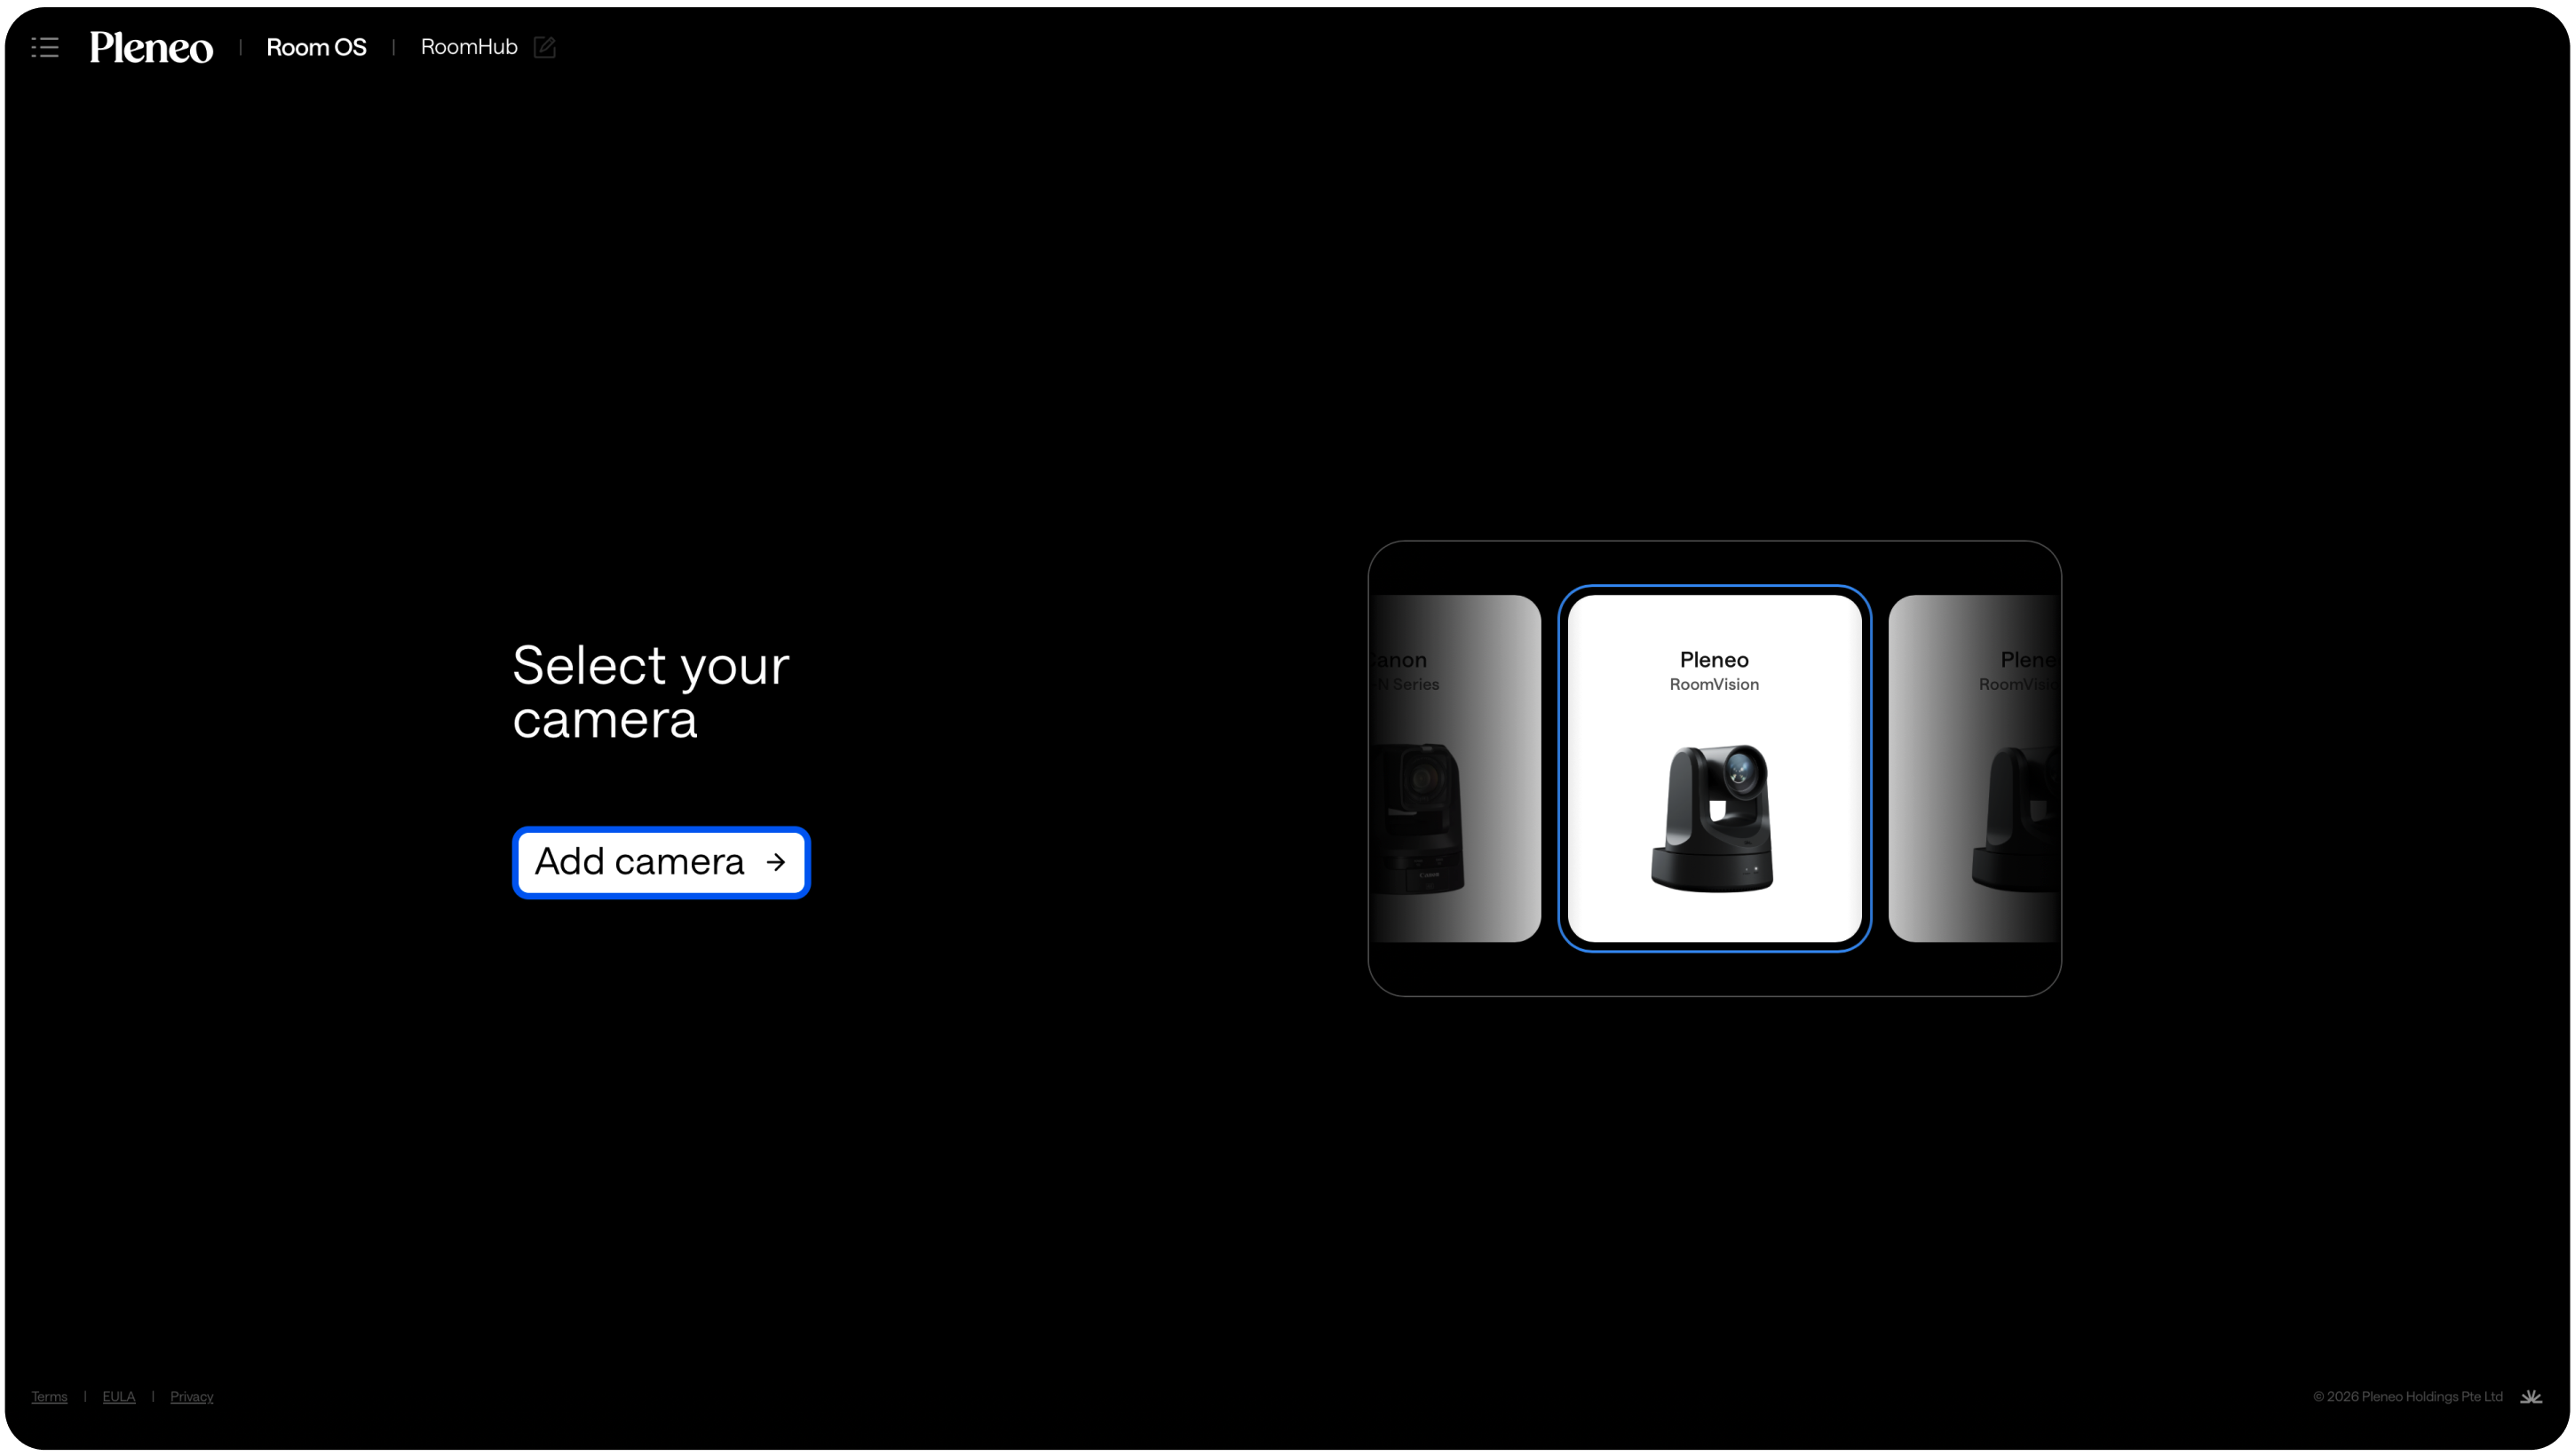
Choose your camera model
RoomHub scans the network and discovers the microphone automatically.
Select it to add it to the system.
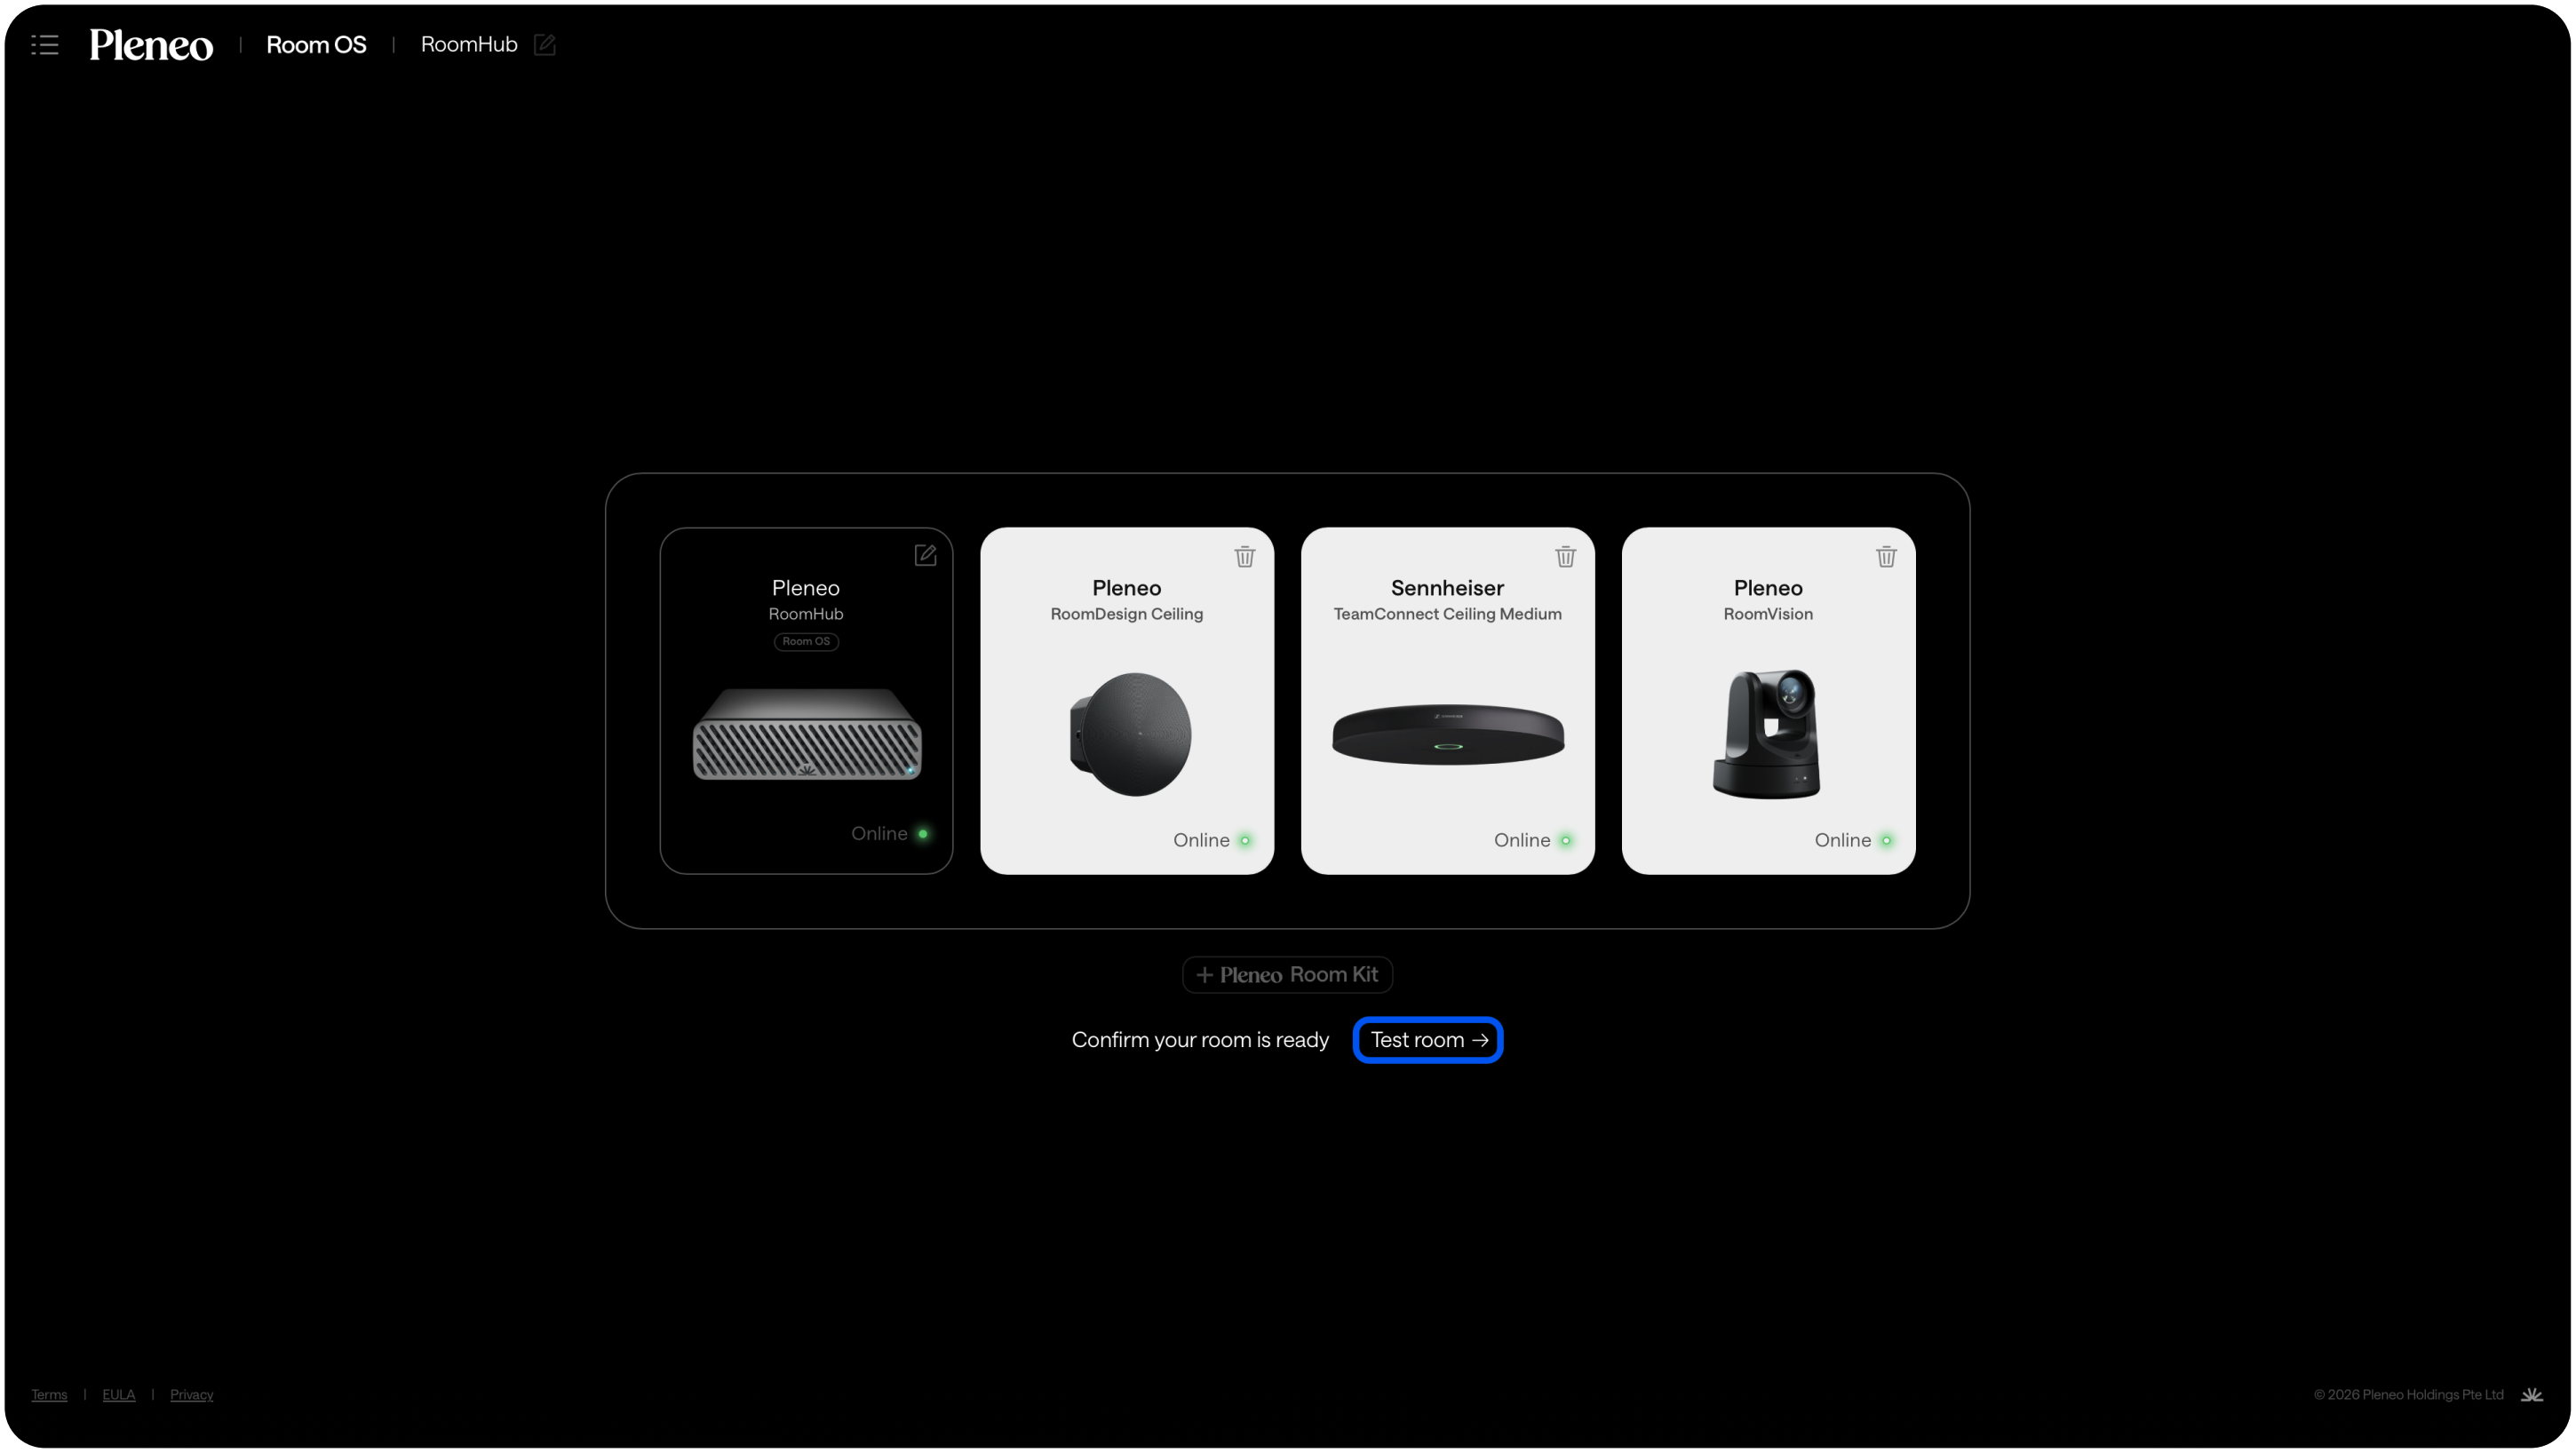
Your system is now defined.
Using RoomKits (Optional)
If you’re deploying a Pleneo Express RoomKit, setup is faster.
When selecting a RoomKit:
RoomHub knows which devices belong together
It scans for all required products at once
Devices are added in a single workflow
This reduces setup time even further.
Running AI AutoDeploy™
Once all devices are added, select Test Room.
RoomHub will automatically:
Connect to all devices
Create Dante routing (Networked Audio)
Test camera control
Verify microphone mute sync
Confirm Networked audio signal paths with noise.
After validation, audio optimization begins.
RoomHub plays test signals through the speakers and measures the room using the microphone. The system tunes the space specifically for its acoustics.
Every room is different.
Each room is tuned individually.
Camera Configuration
After audio tuning, configure camera tracking.
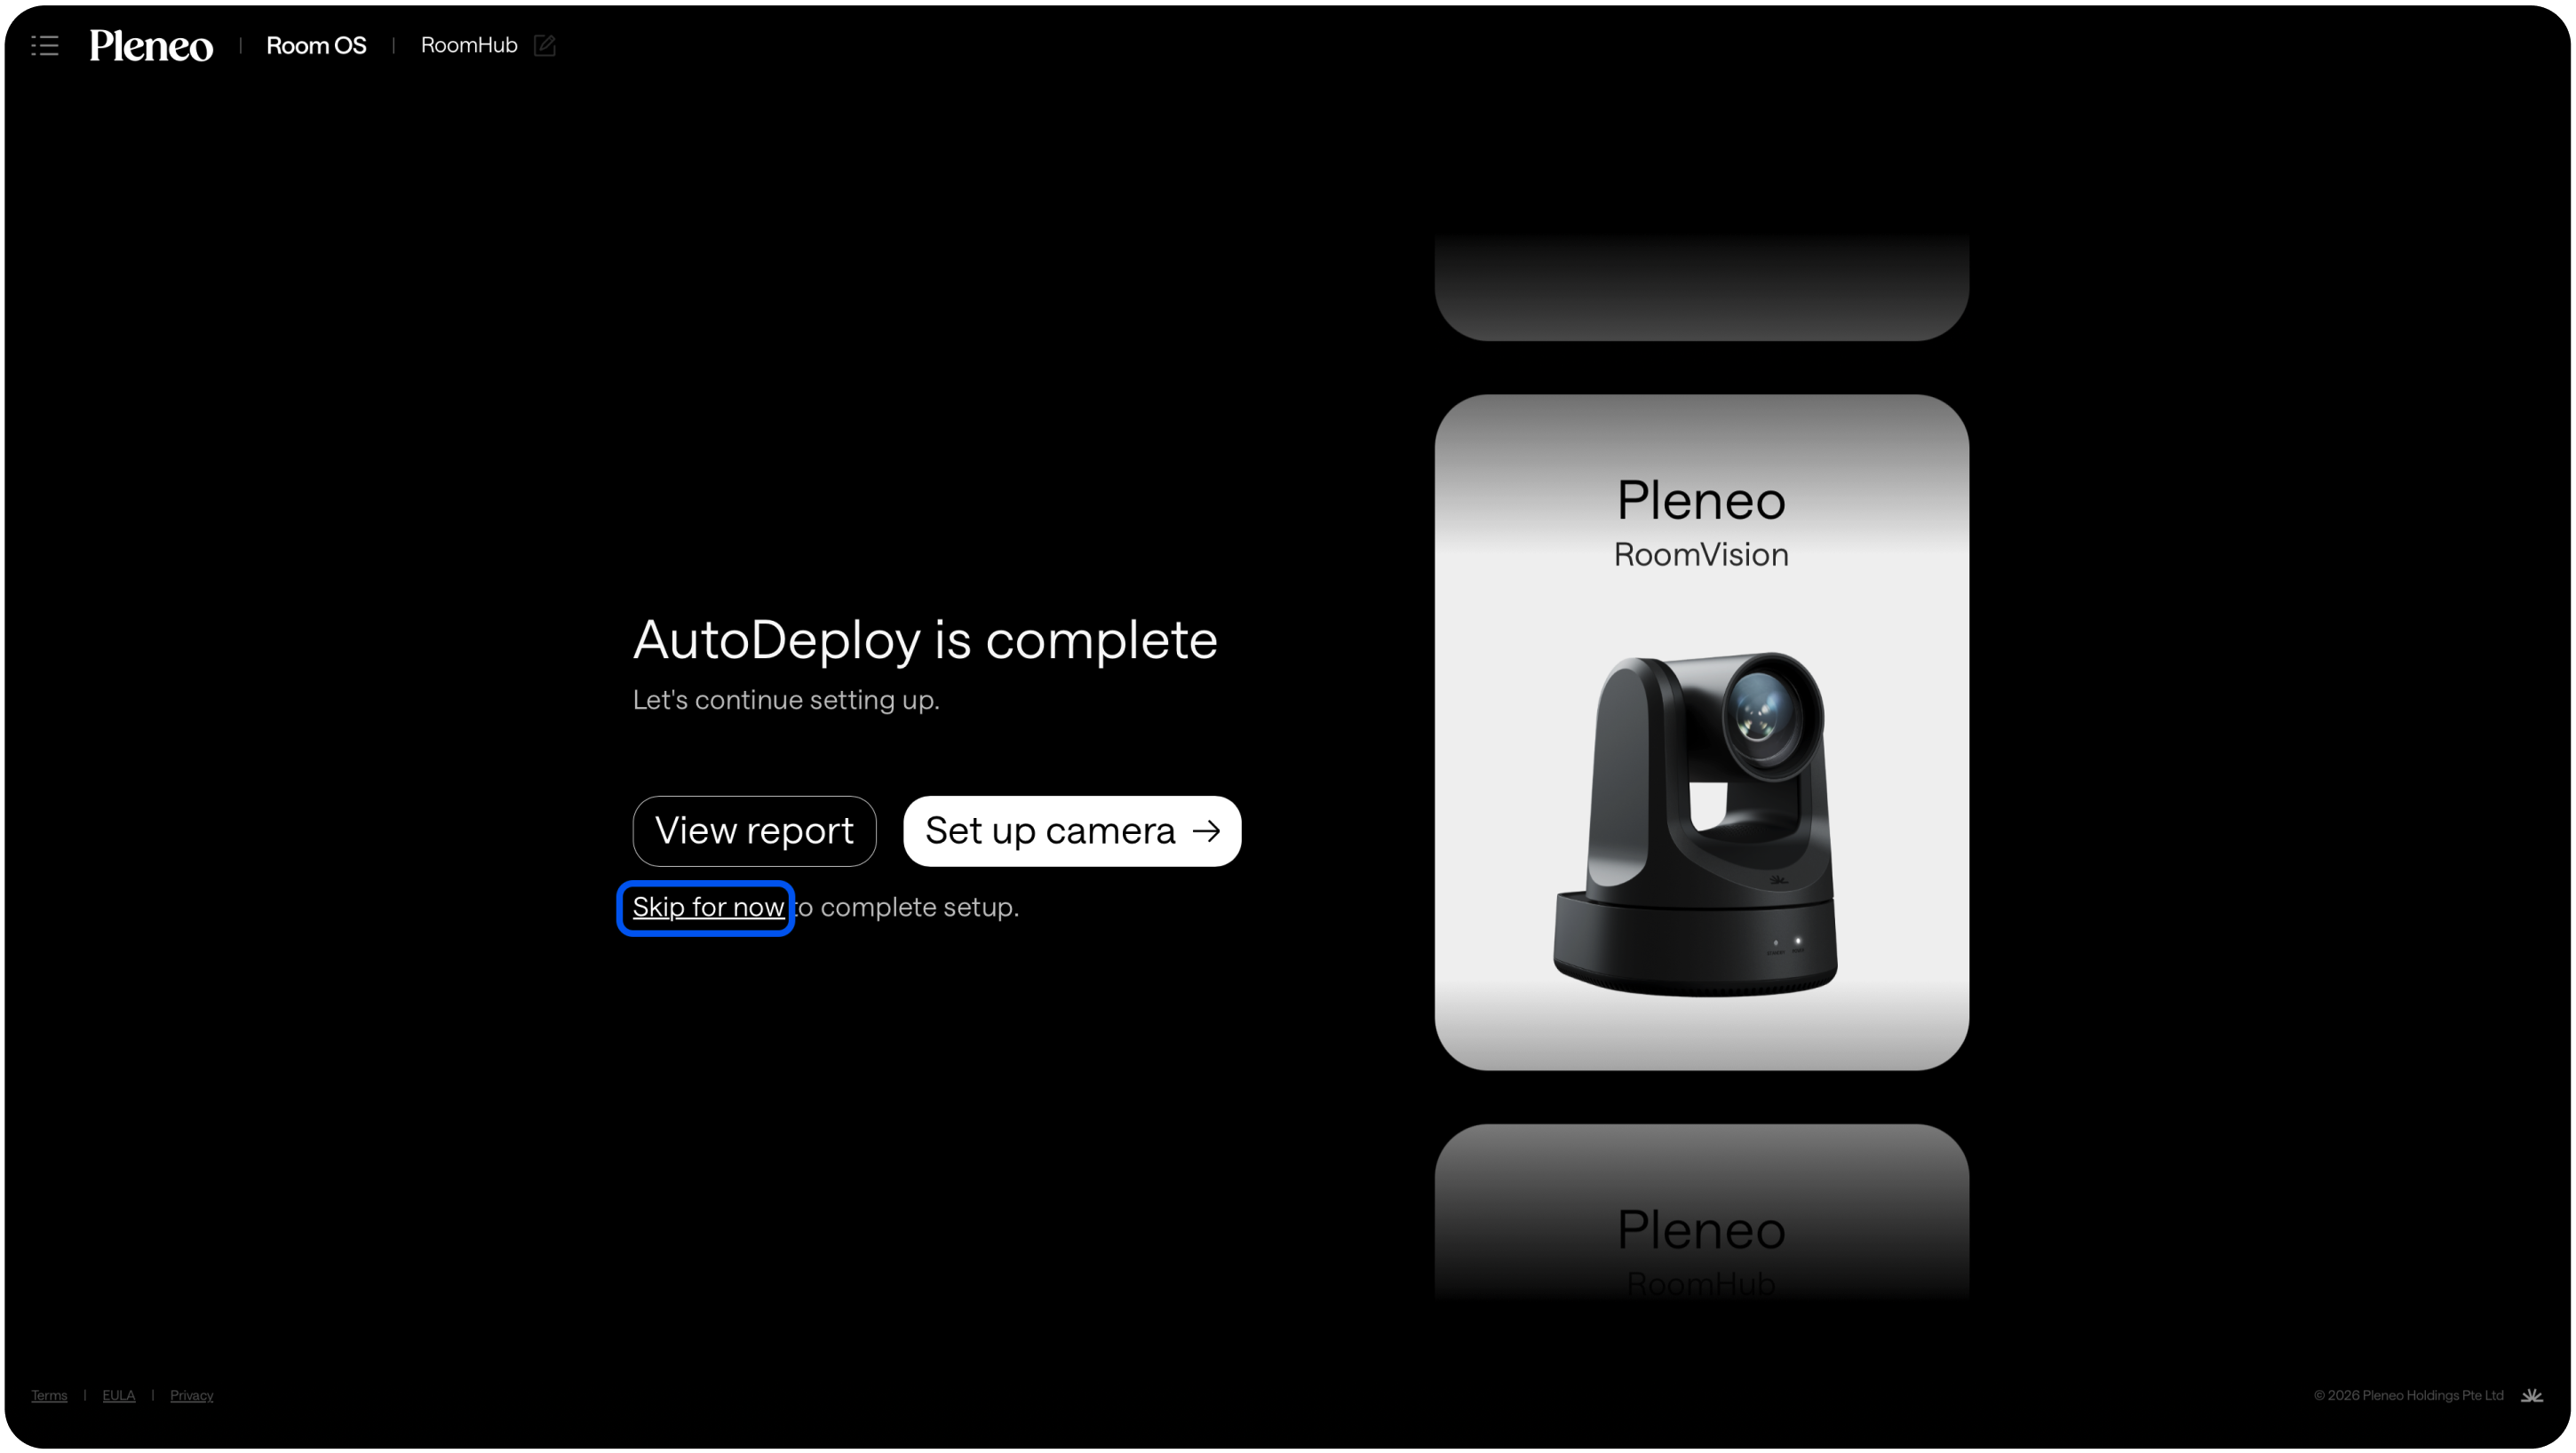
With RoomVision, auto framing is configured by Room OS automatically so you can skip this step. No extra steps are required.
If your camera does not include built-in tracking, RoomOS can provide audio-based tracking.
Select “Set up camera” and follow the guided setup described here.
Setup complete
Your room is now online and ready to be used.
In Summary
The WebGUI setup process lets you:
Discover devices automatically
Build the system step by step
Validate connections and routing
Run AI AutoDeploy™ for room-specific tuning
Enable intelligent camera tracking
Within minutes, the room is configured, tested, tuned, and ready to use.