
Deploy a room with Pleneo Cloud
Overview
This guide shows how to create and deploy a room using Pleneo Cloud.
You define the room once in the cloud.
When the hardware is connected on-site, the room configures itself automatically.
The process is simple, predictable, and designed for scale.
1. Create the room
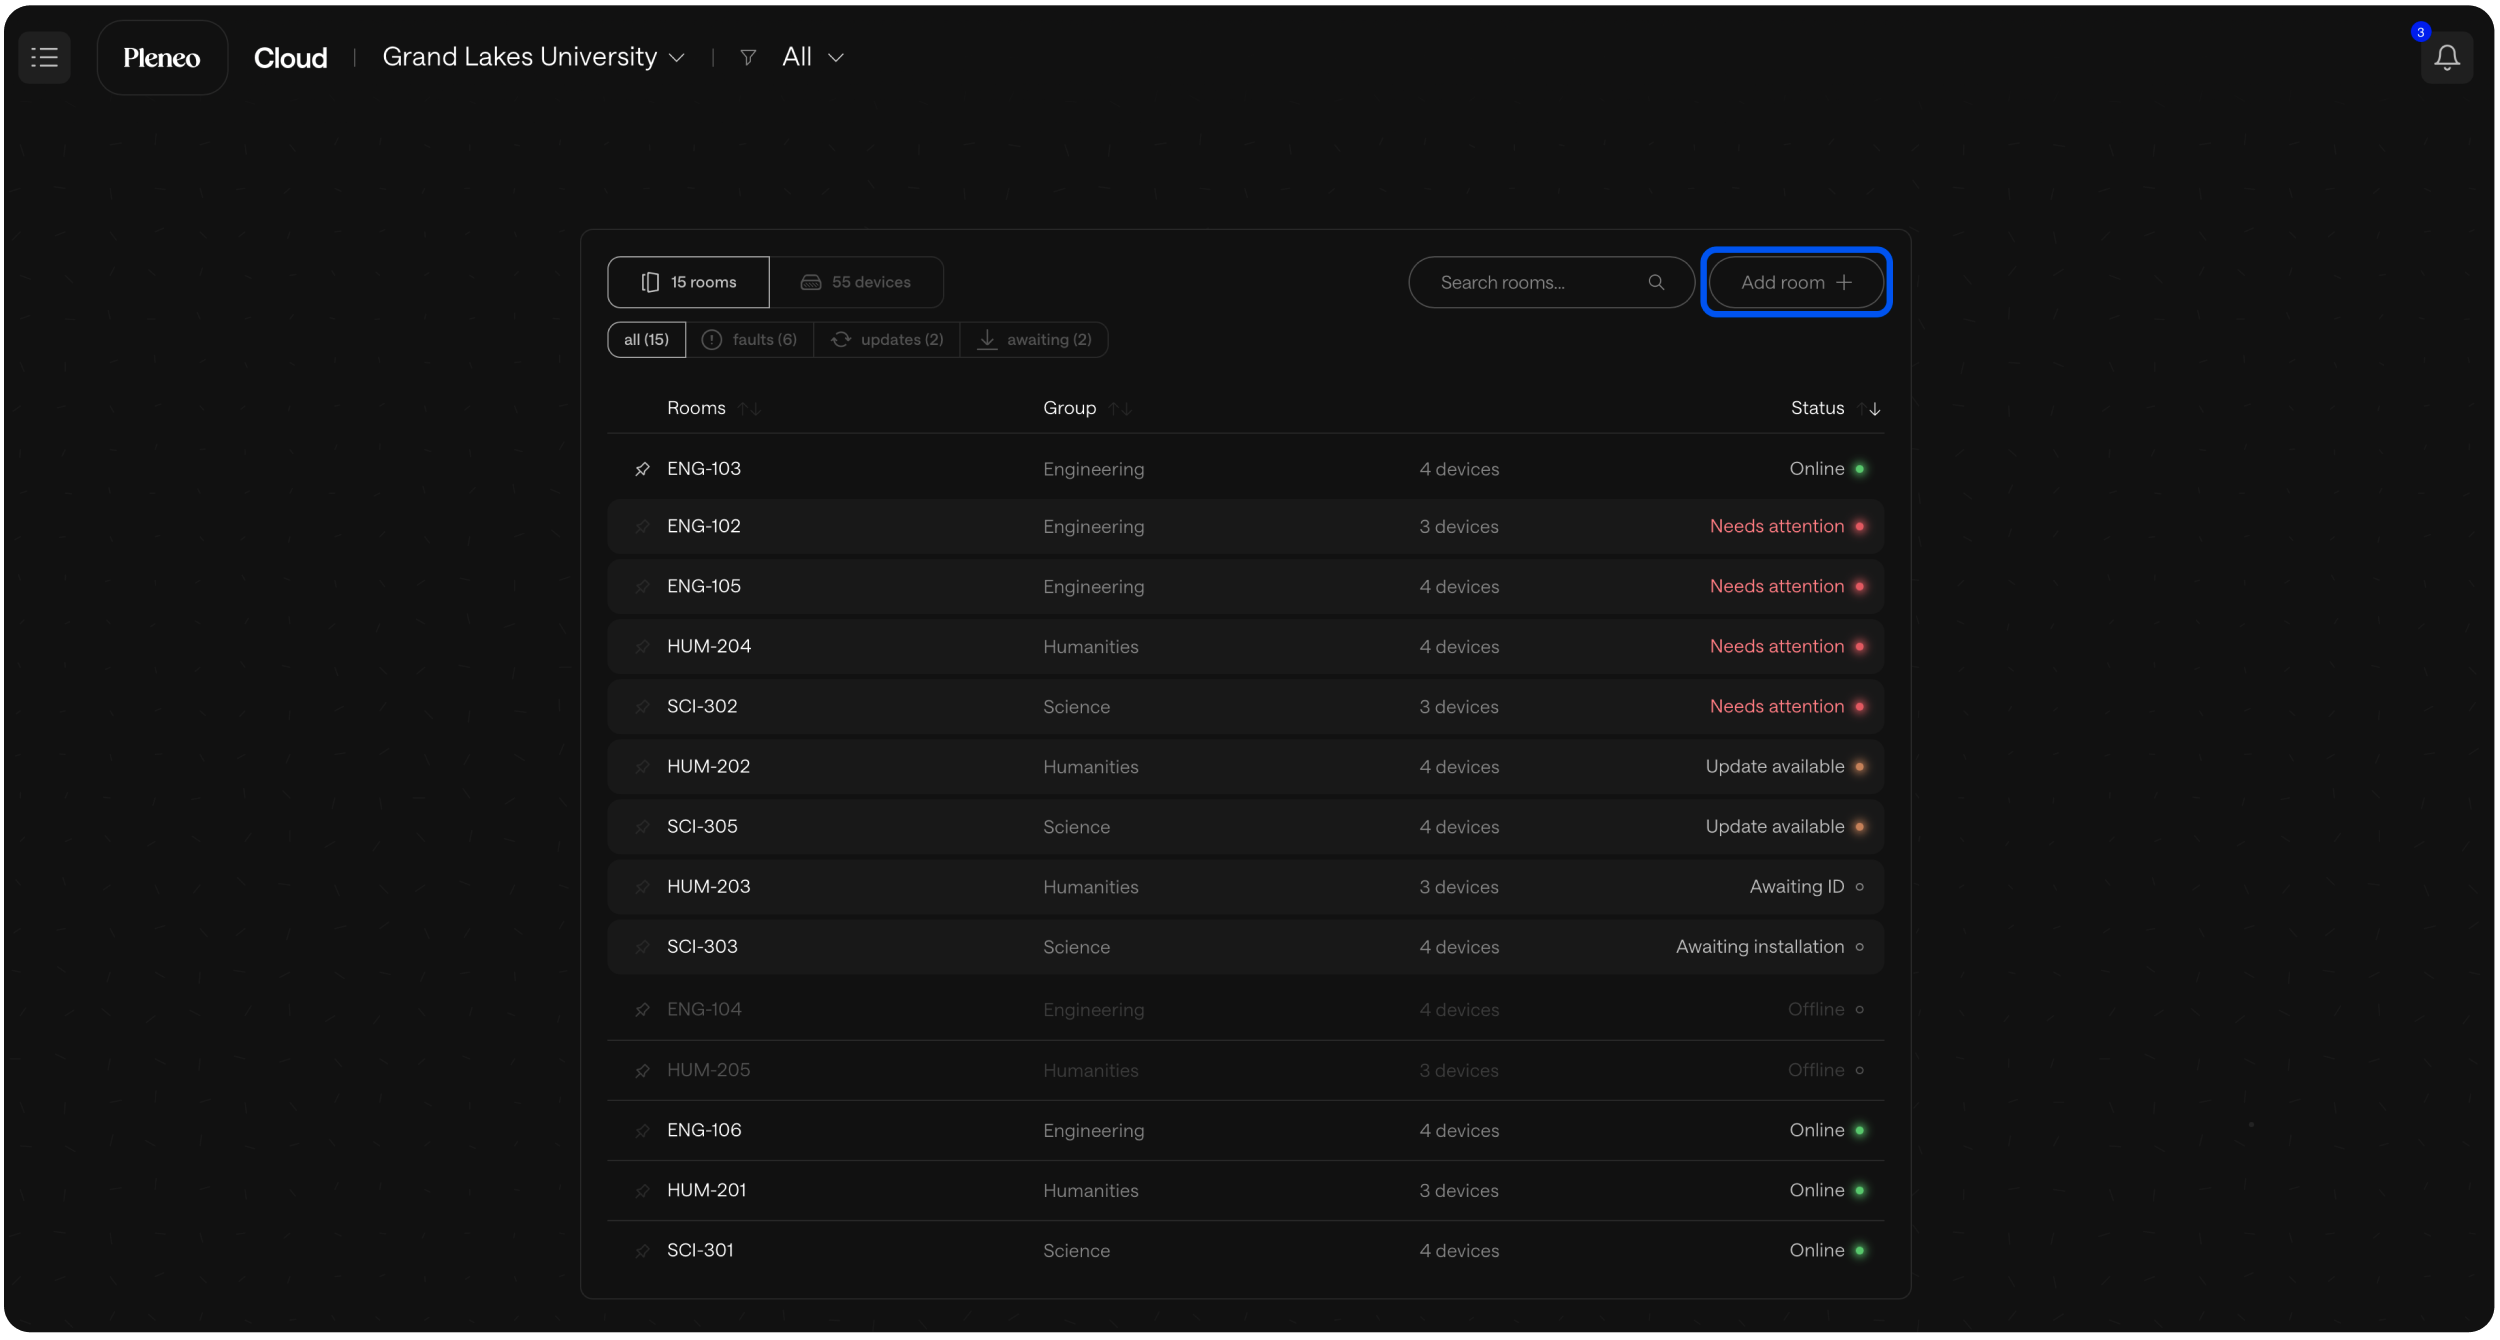
In the main view, select Add Room.
Enter a Name and select a Group (location) where you want the room to live.
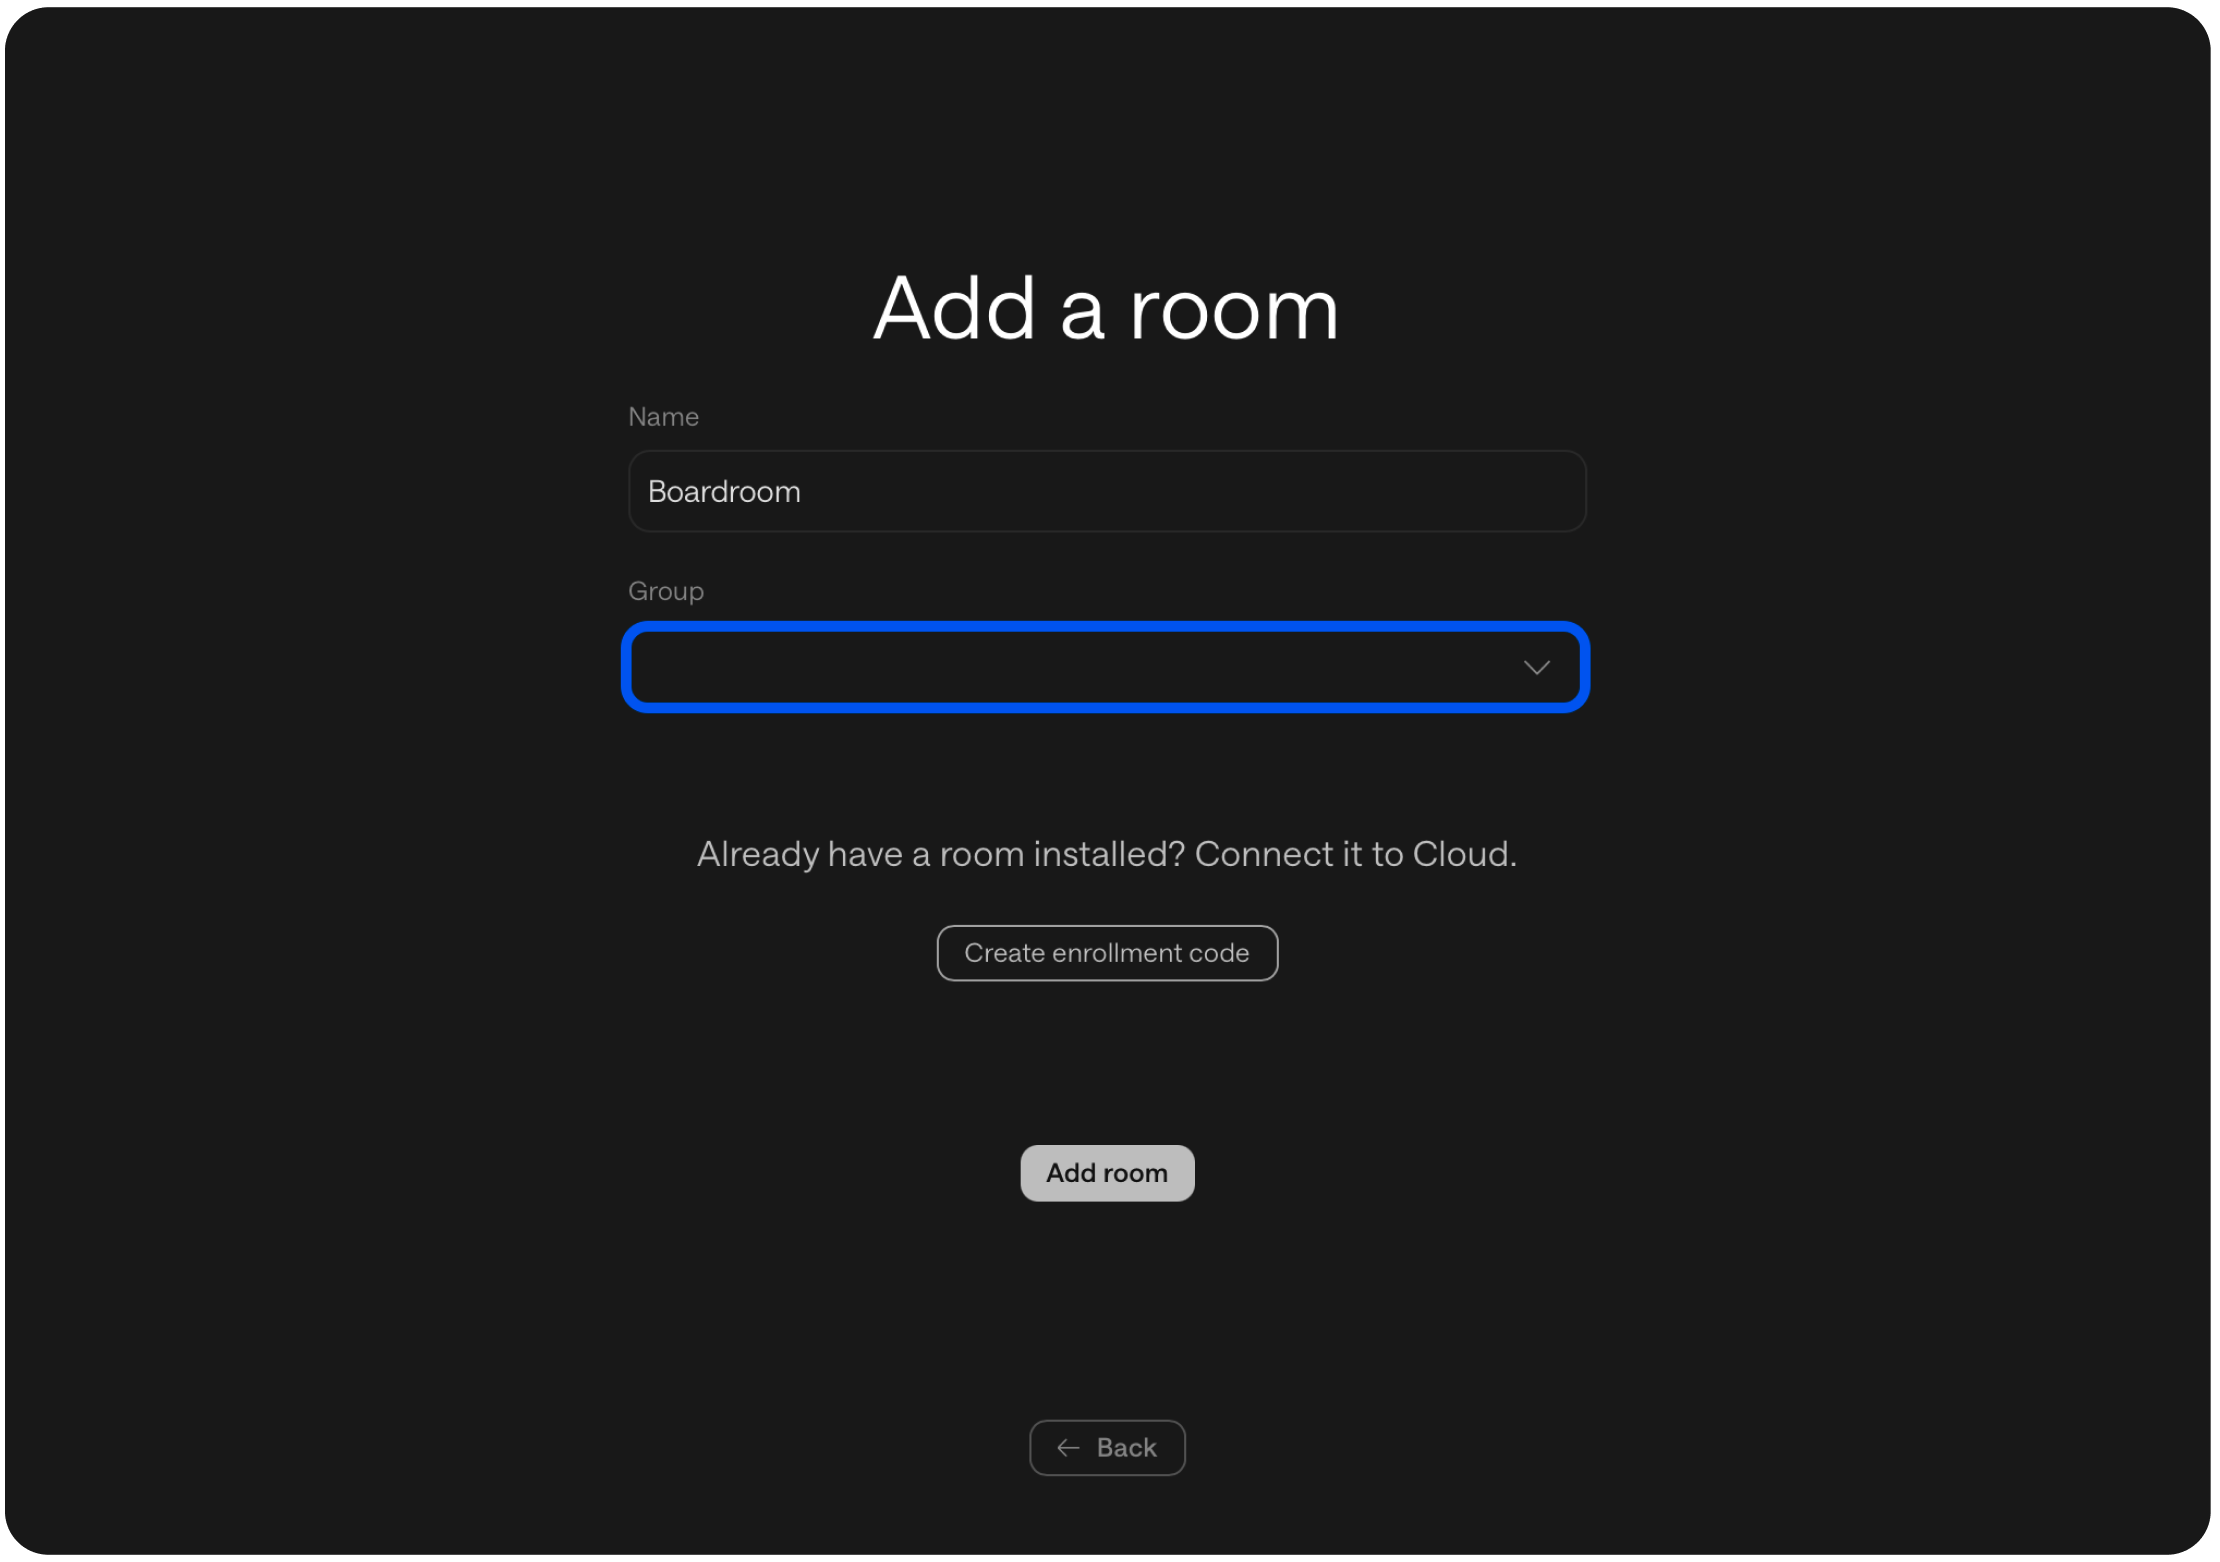
Press Add room to continue
2. Add devices to the room
Now you’ll add the hardware that belongs to the room.
Select Add Device Hub.
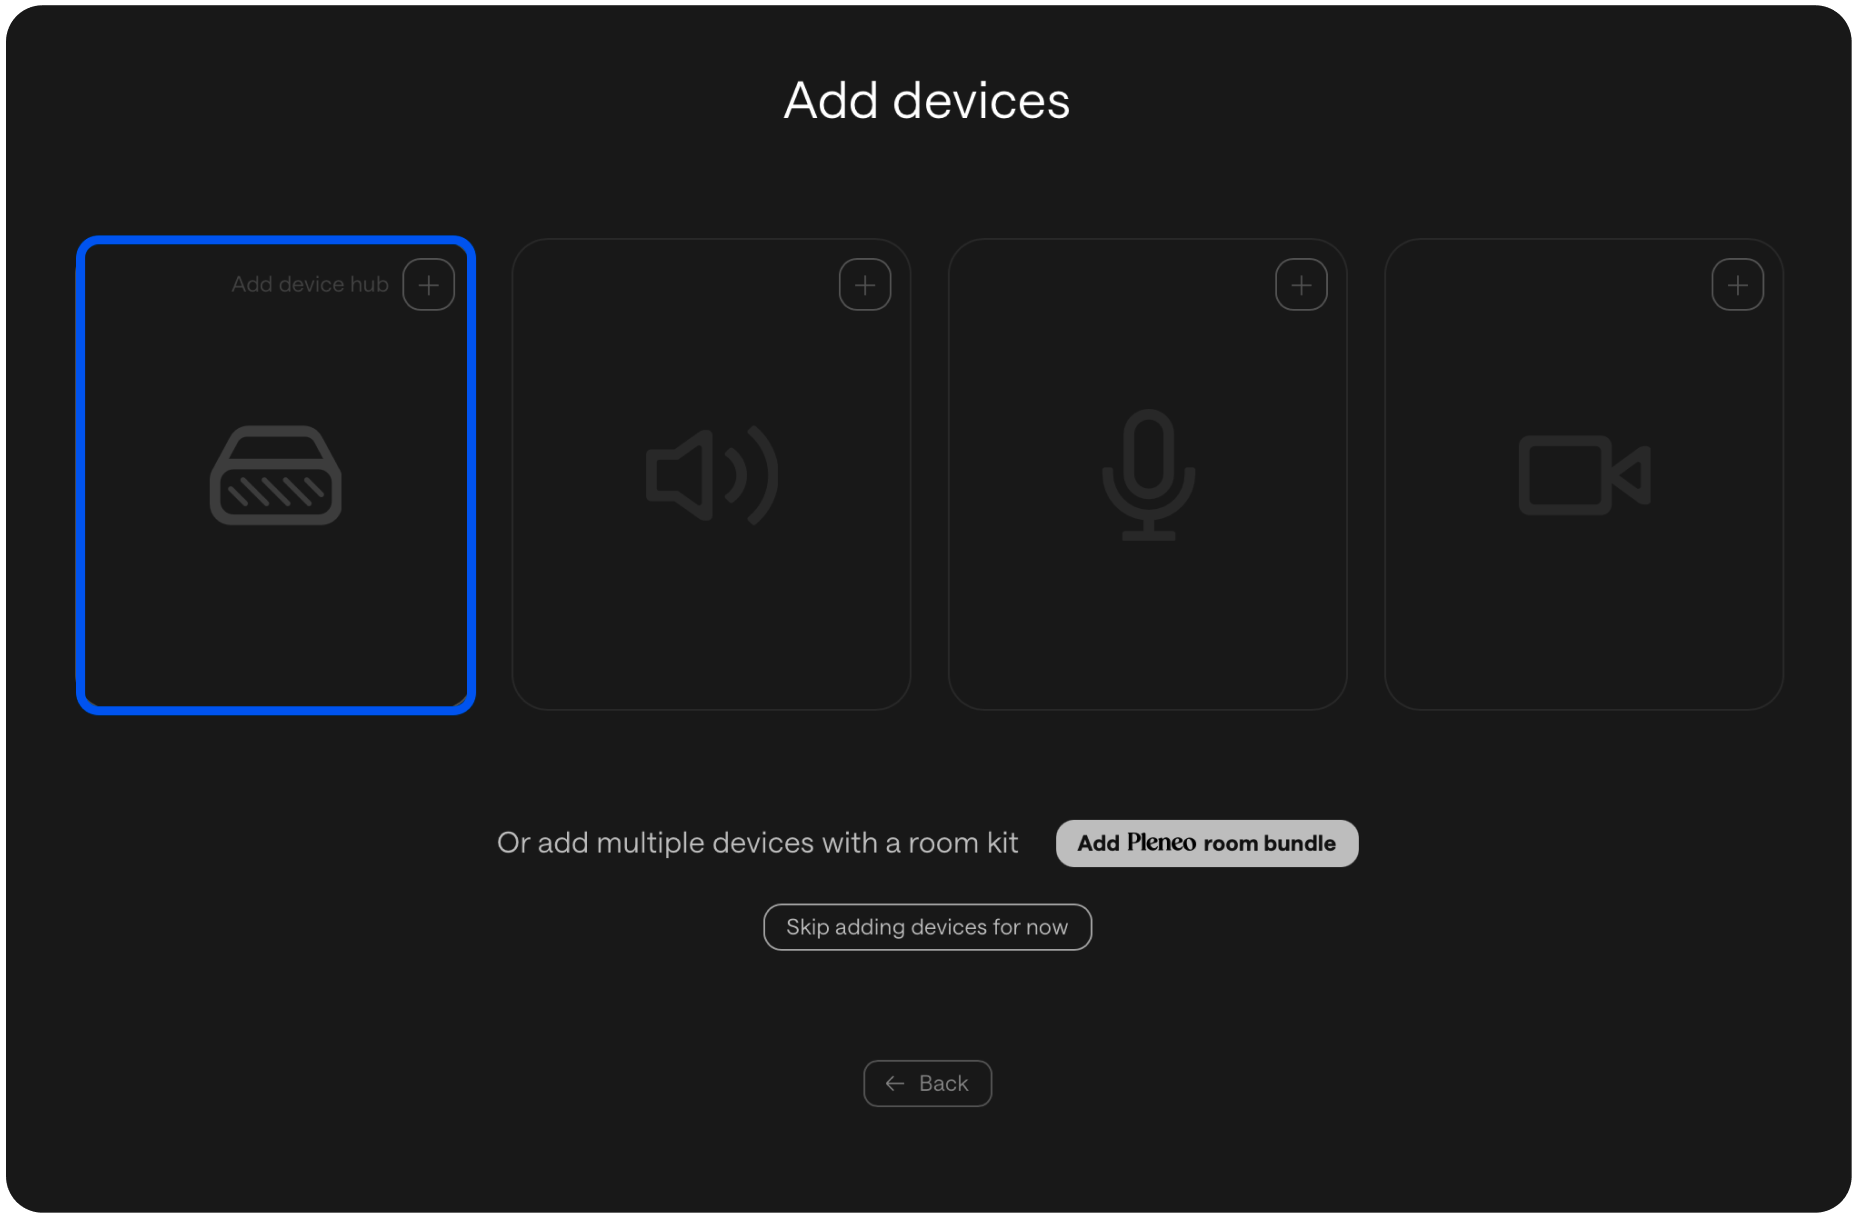
Choose Pleneo RoomHub.

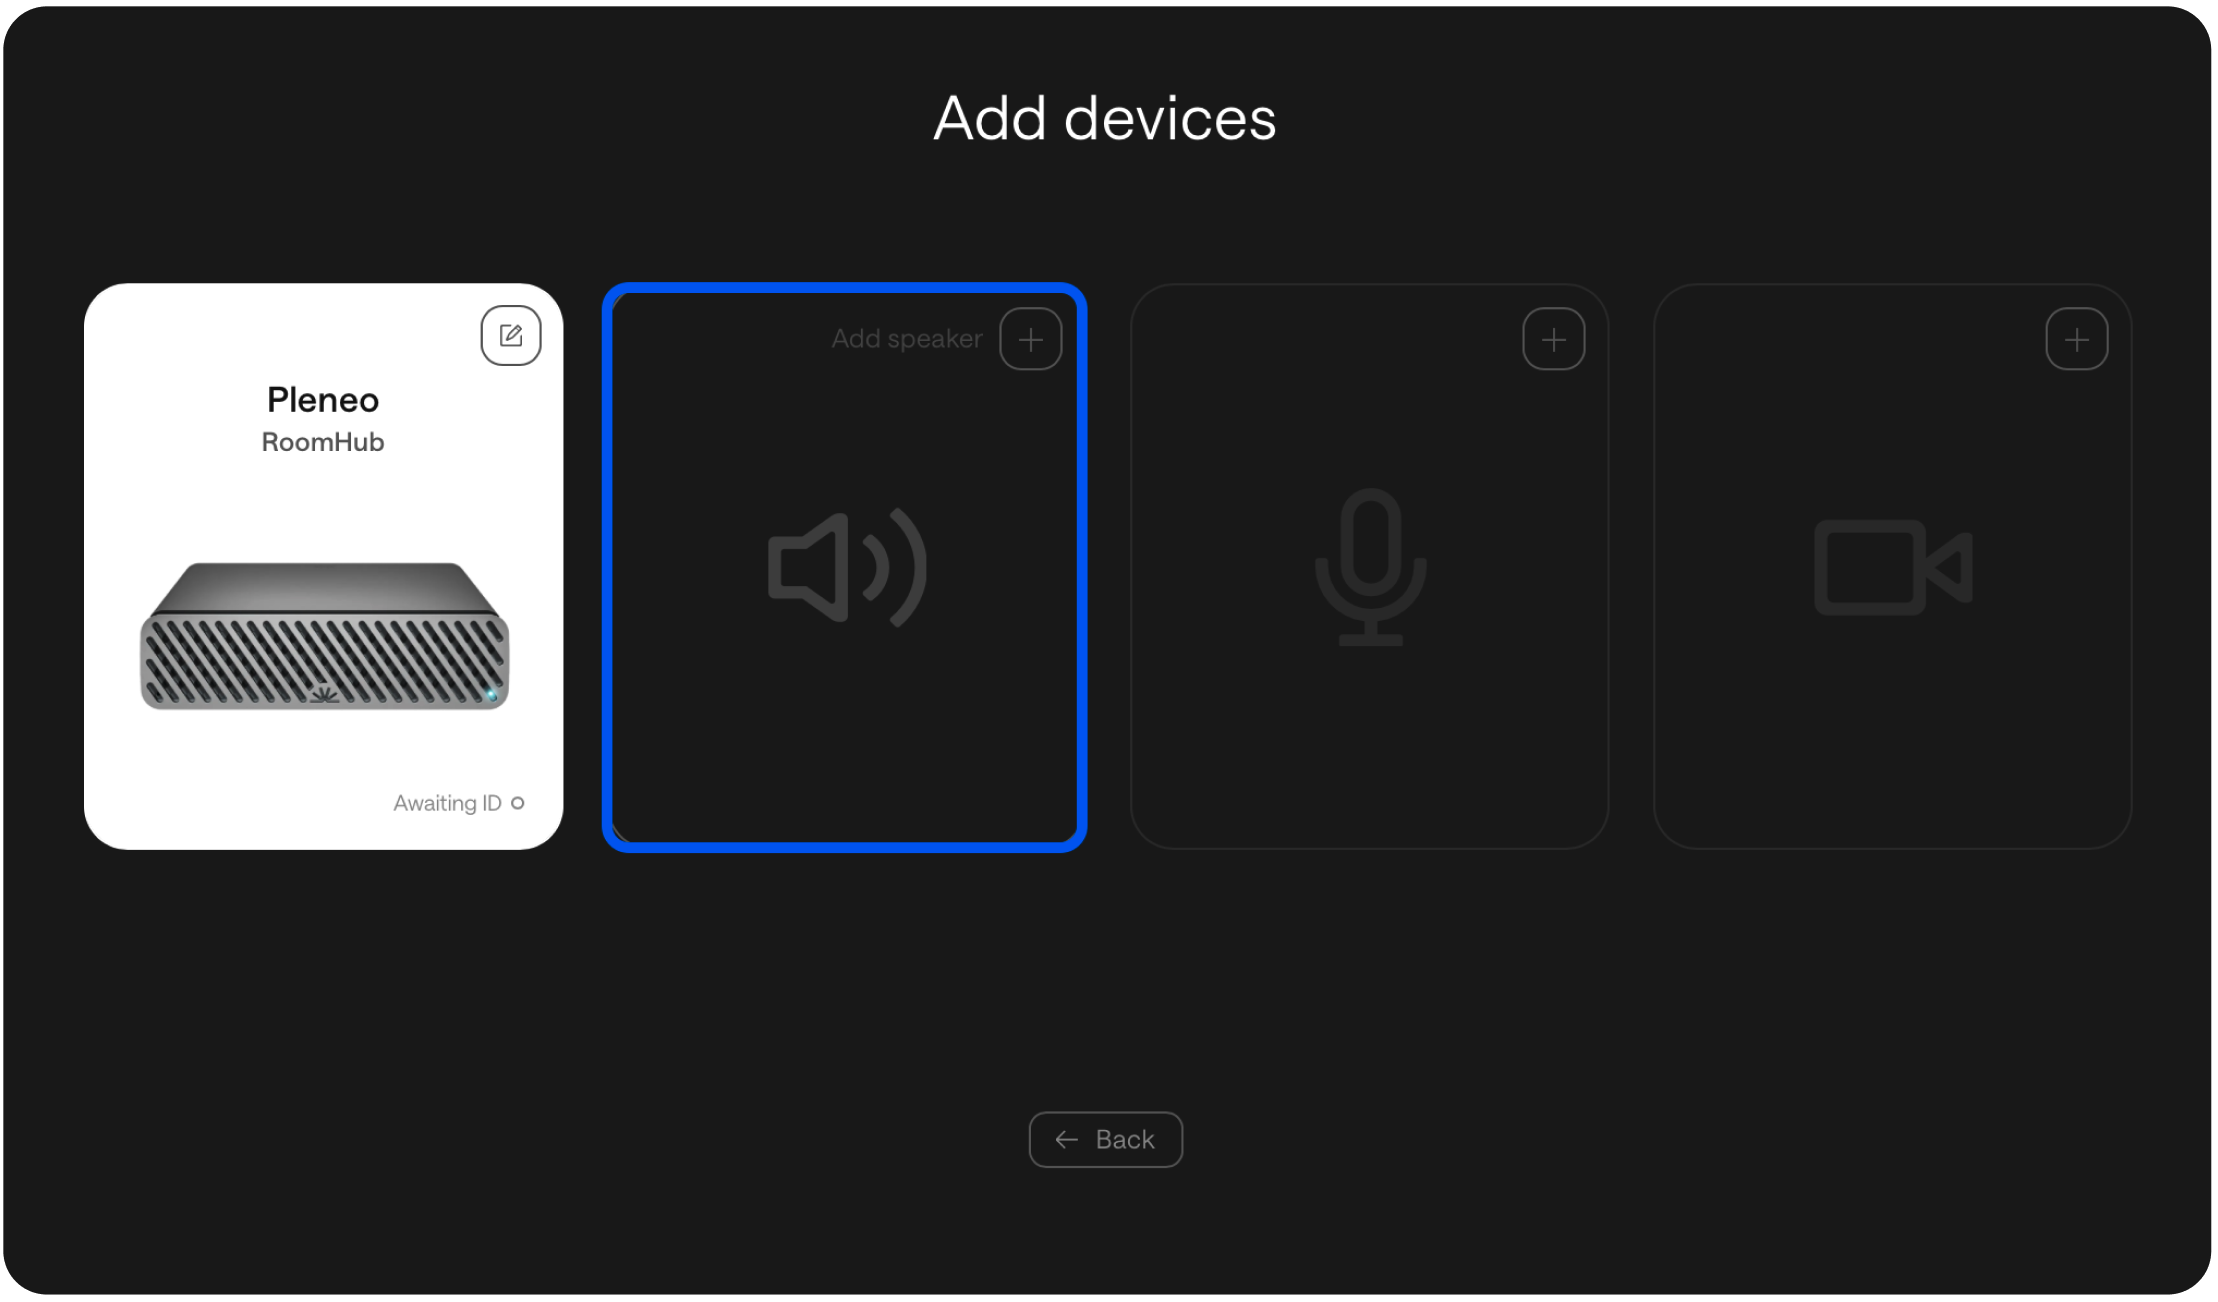
Enter the RoomHub MAC address so Pleneo Cloud can discover it automatically on the network.

Select Add Device.
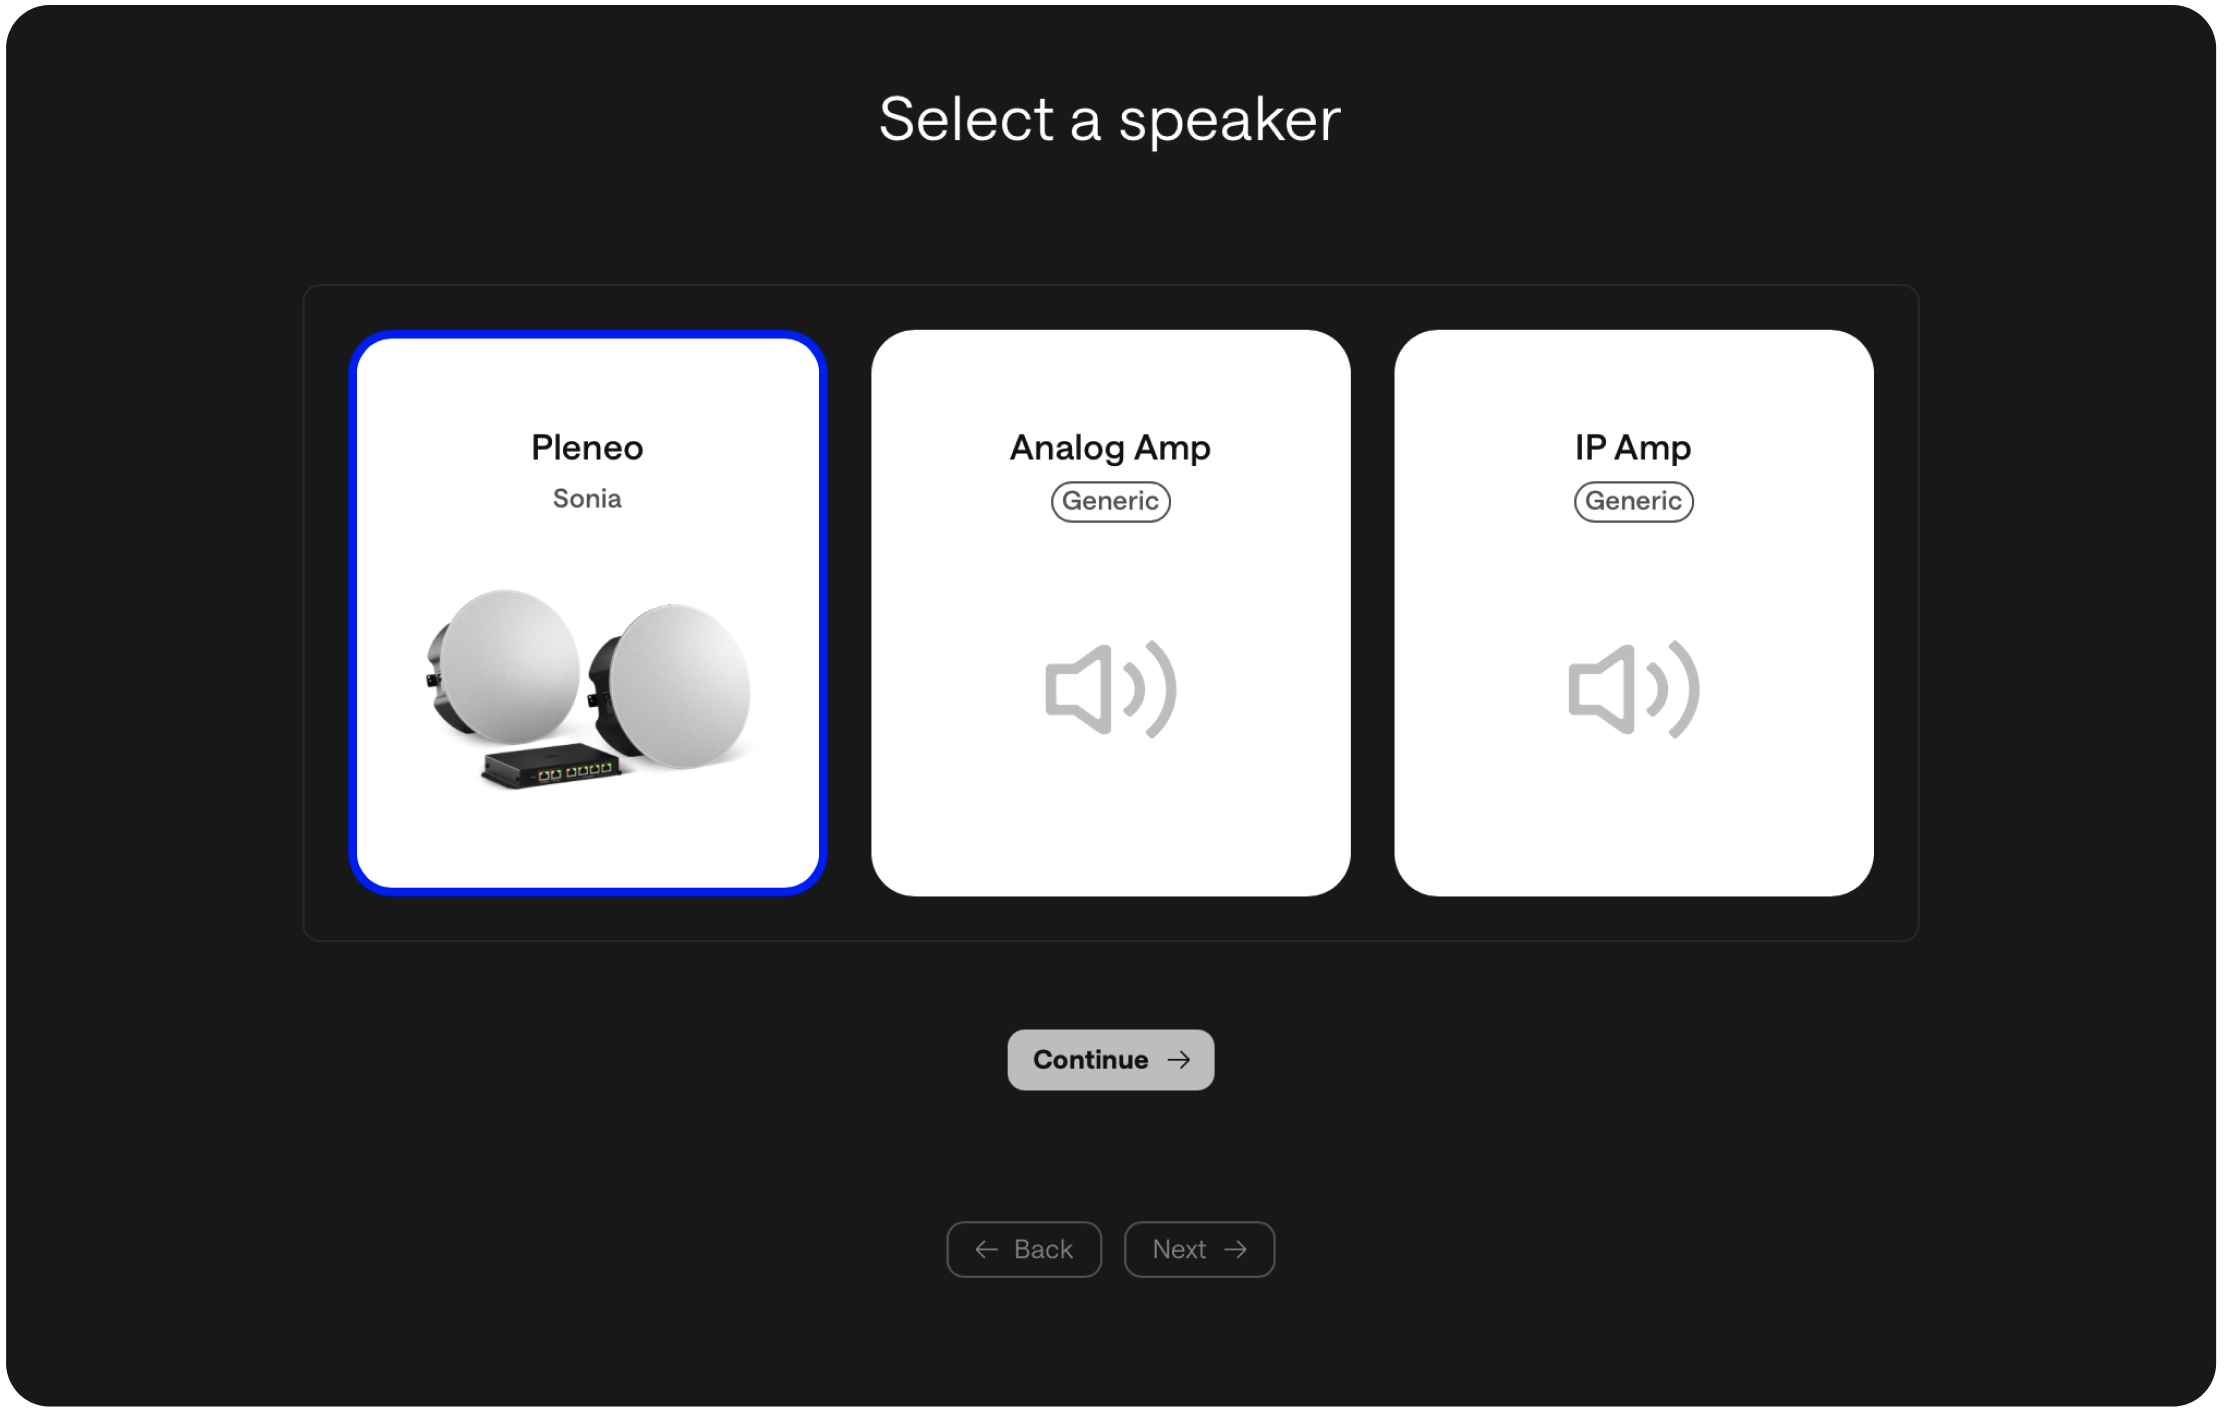
3. Add speakers
Select Add speakers.
Select Pleneo Sonia.
Enter the MAC address (same process as RoomHub) and Add Device.
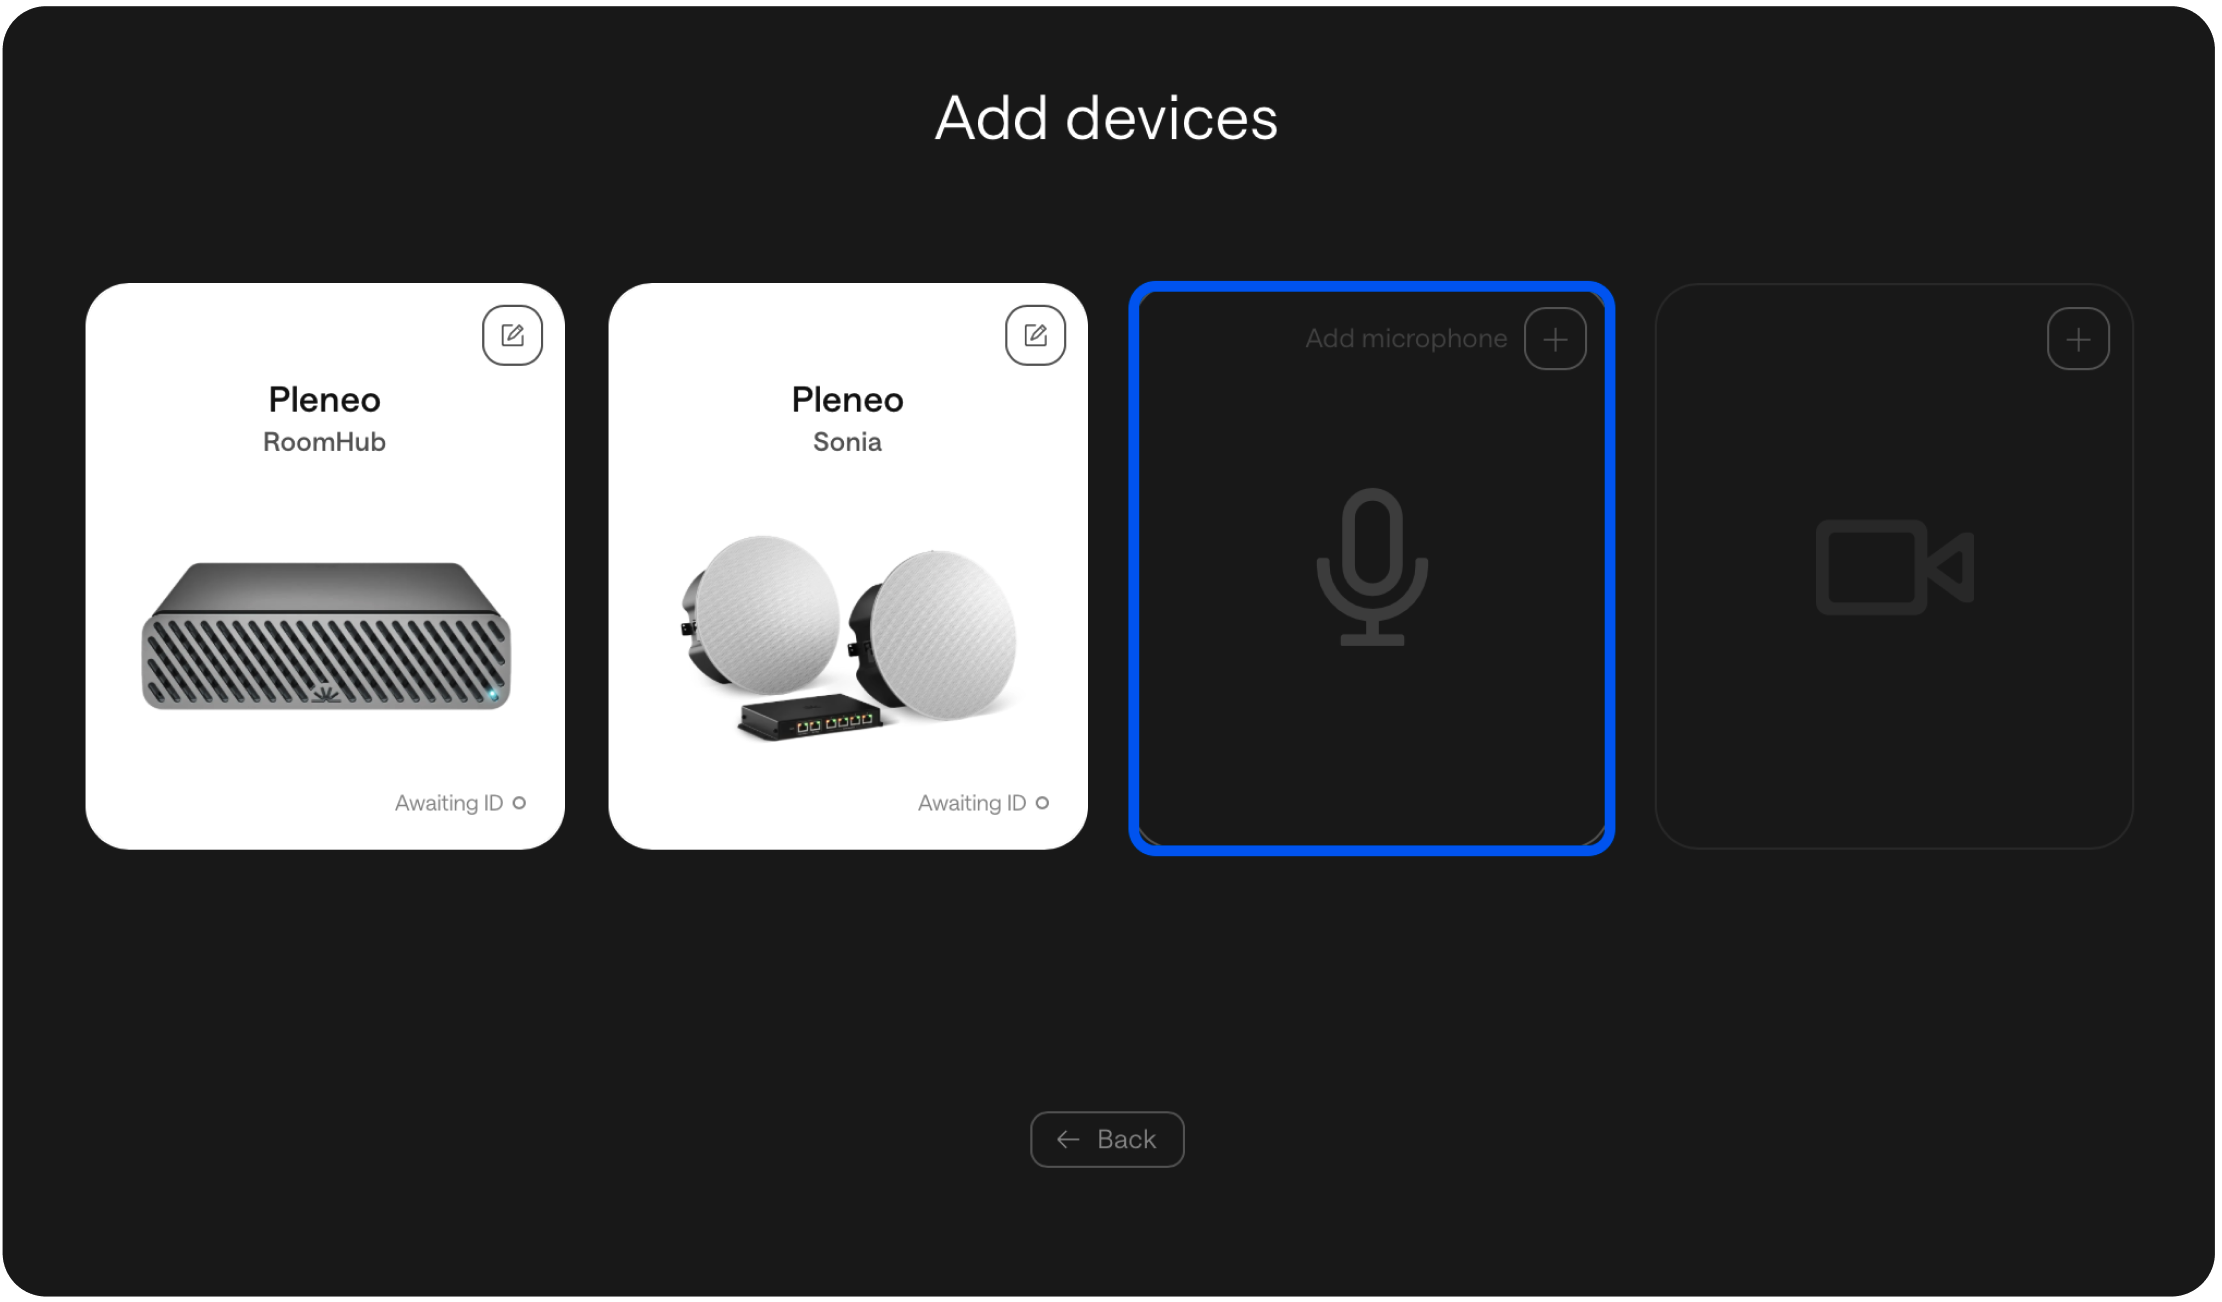
4. Add a microphone
Select Add microphone.
We support the most popular microphones from the biggest brands.
Select the microphone model you want to use.
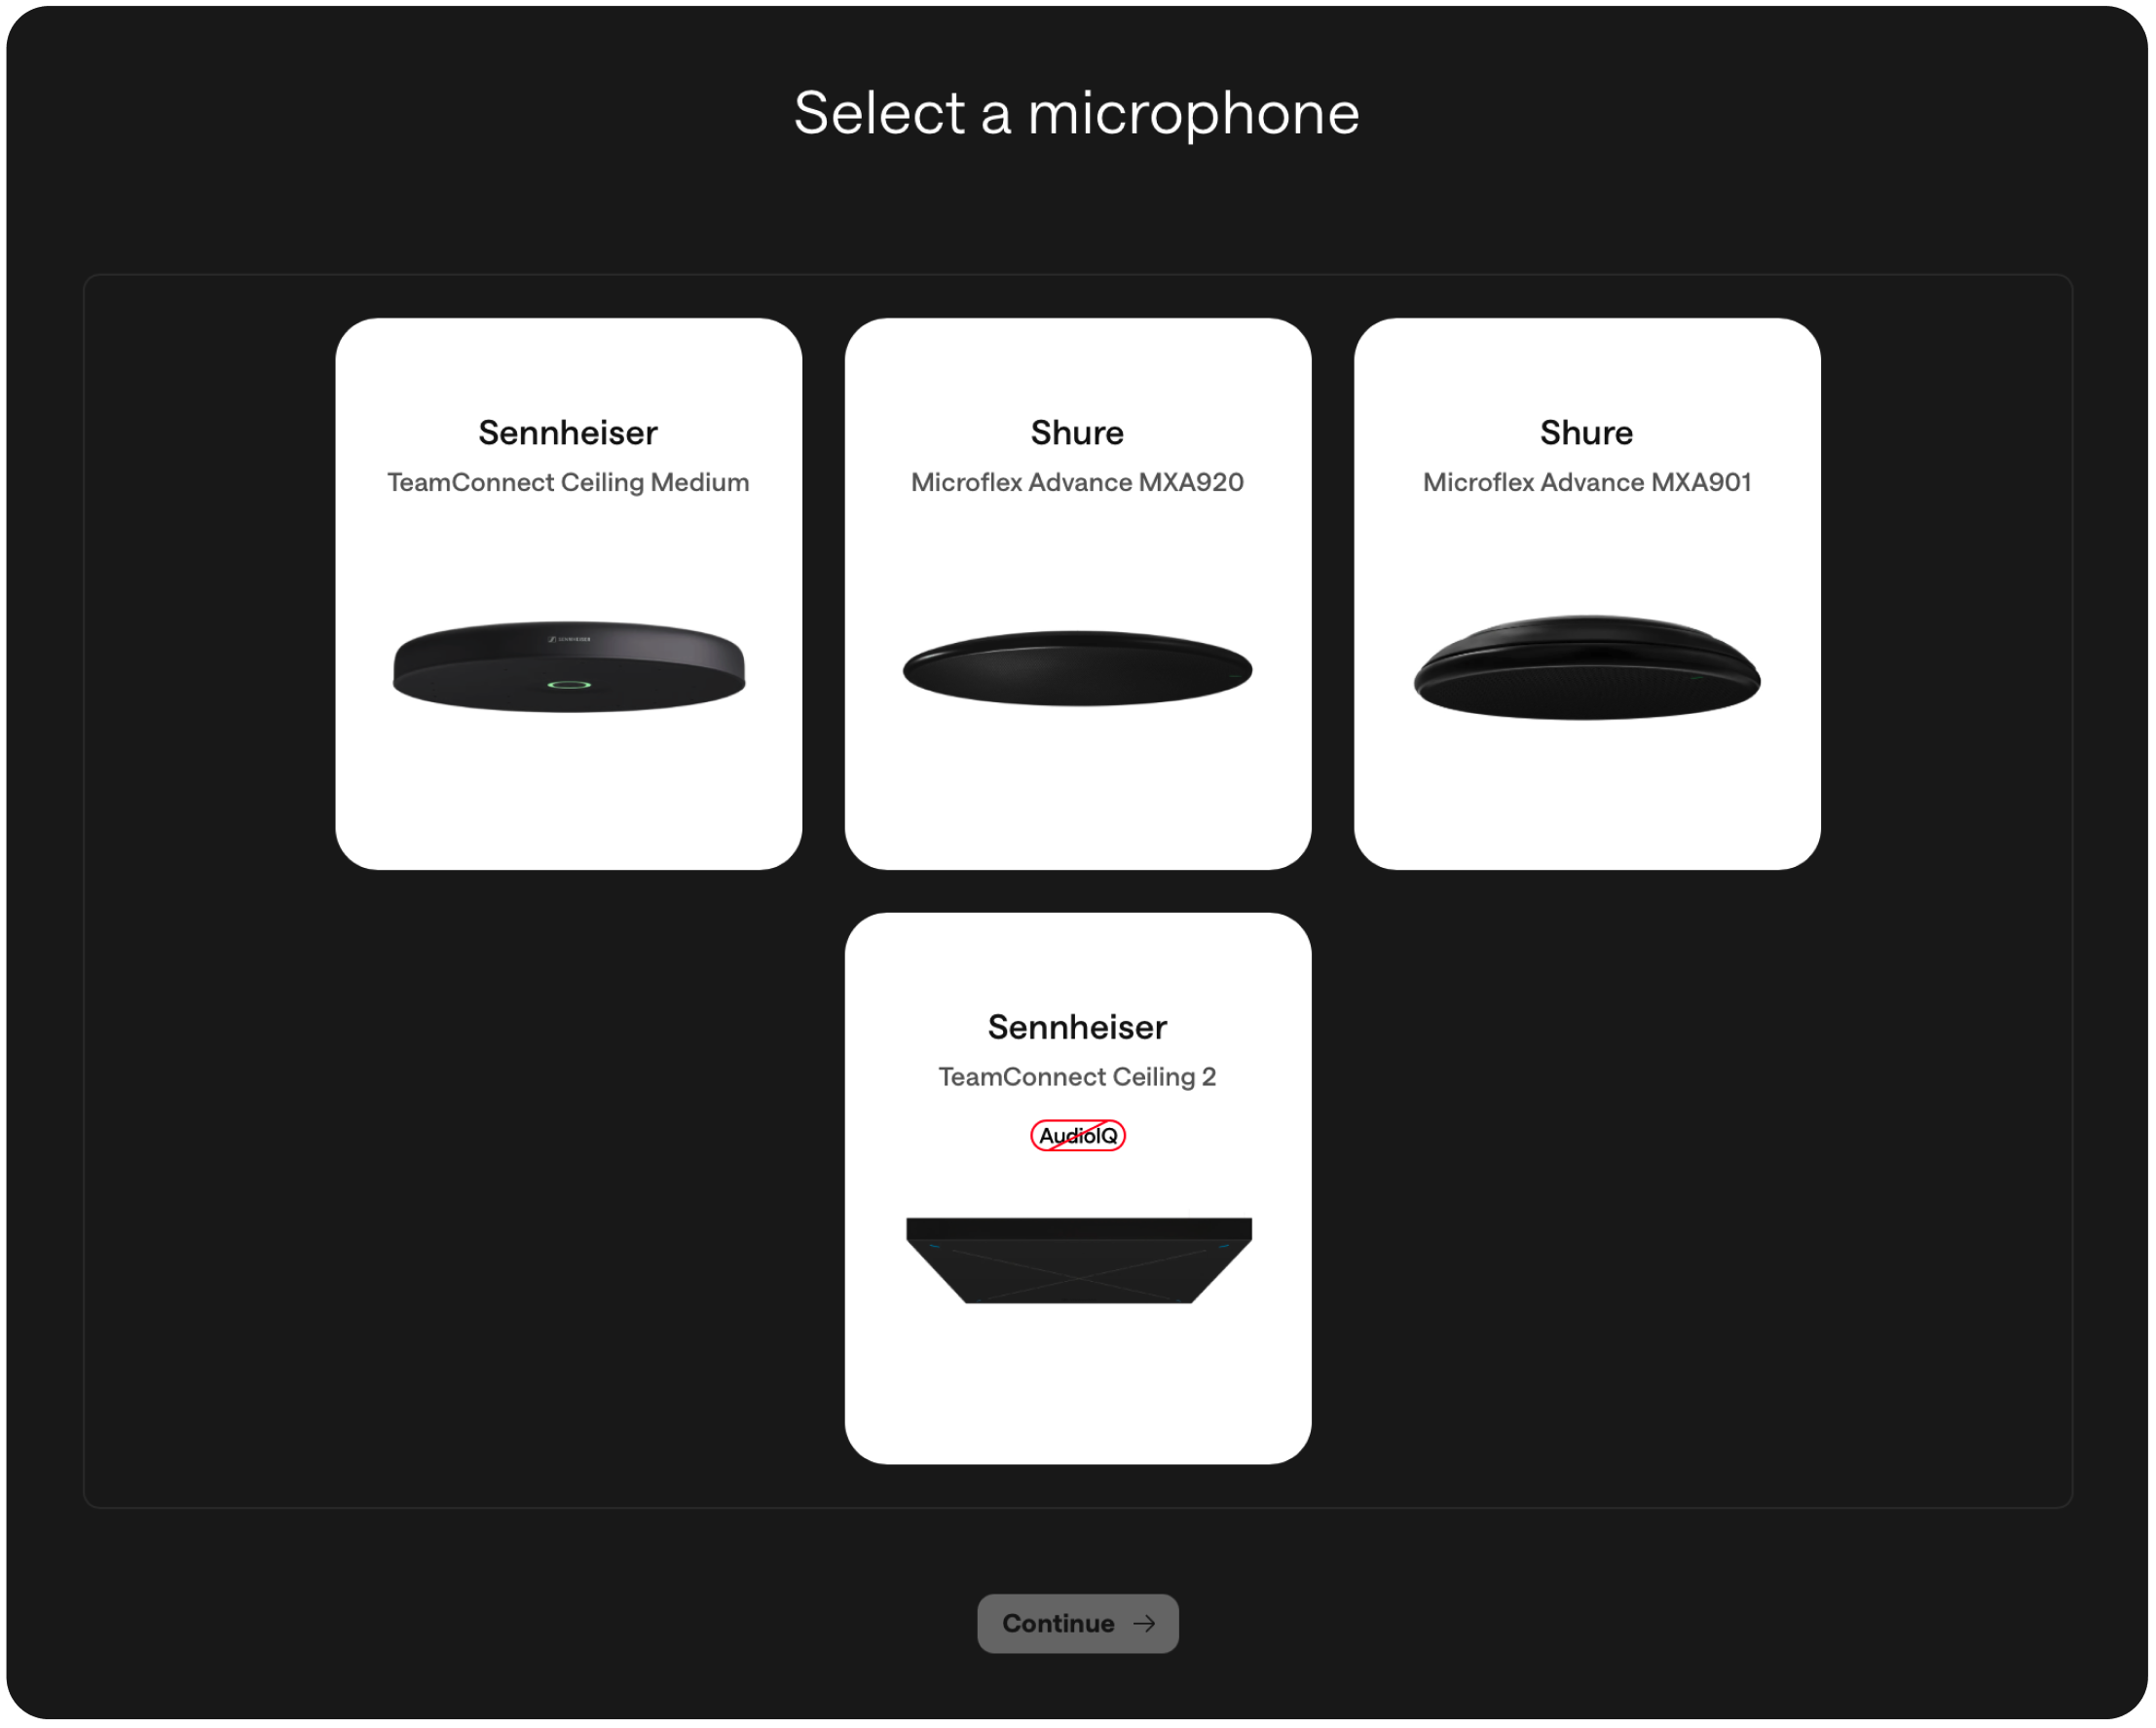
Enter the MAC address, just like in the previous steps, and select Add Device.
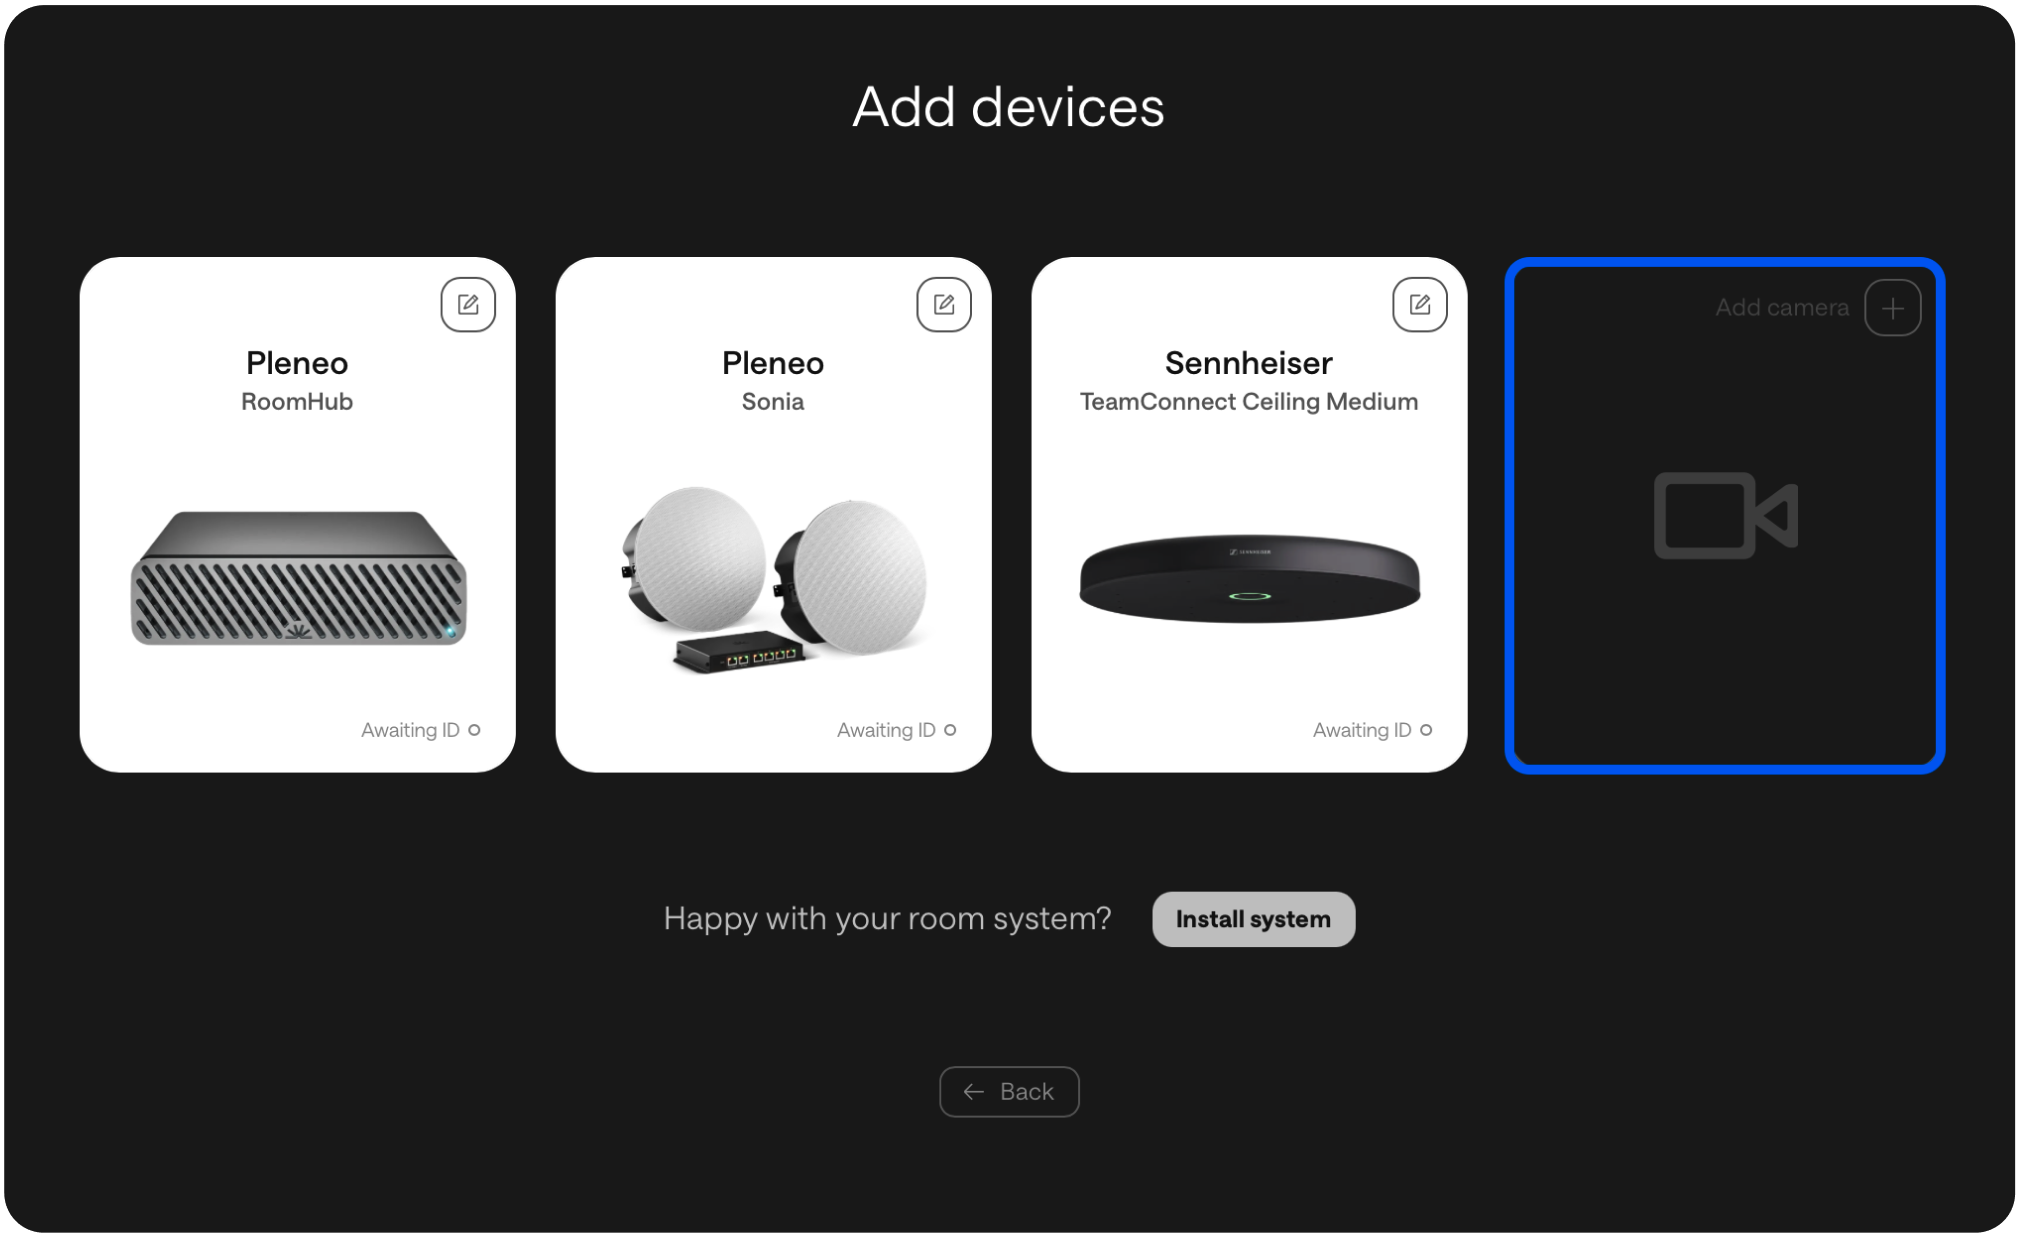
5. Add a PTZ camera (optional)
Select Add camera.
We have our own cameras, RoomVision, and we support the most popular PTZ-cameras from the major brands.
Select the PTZ camera model you want for the room.
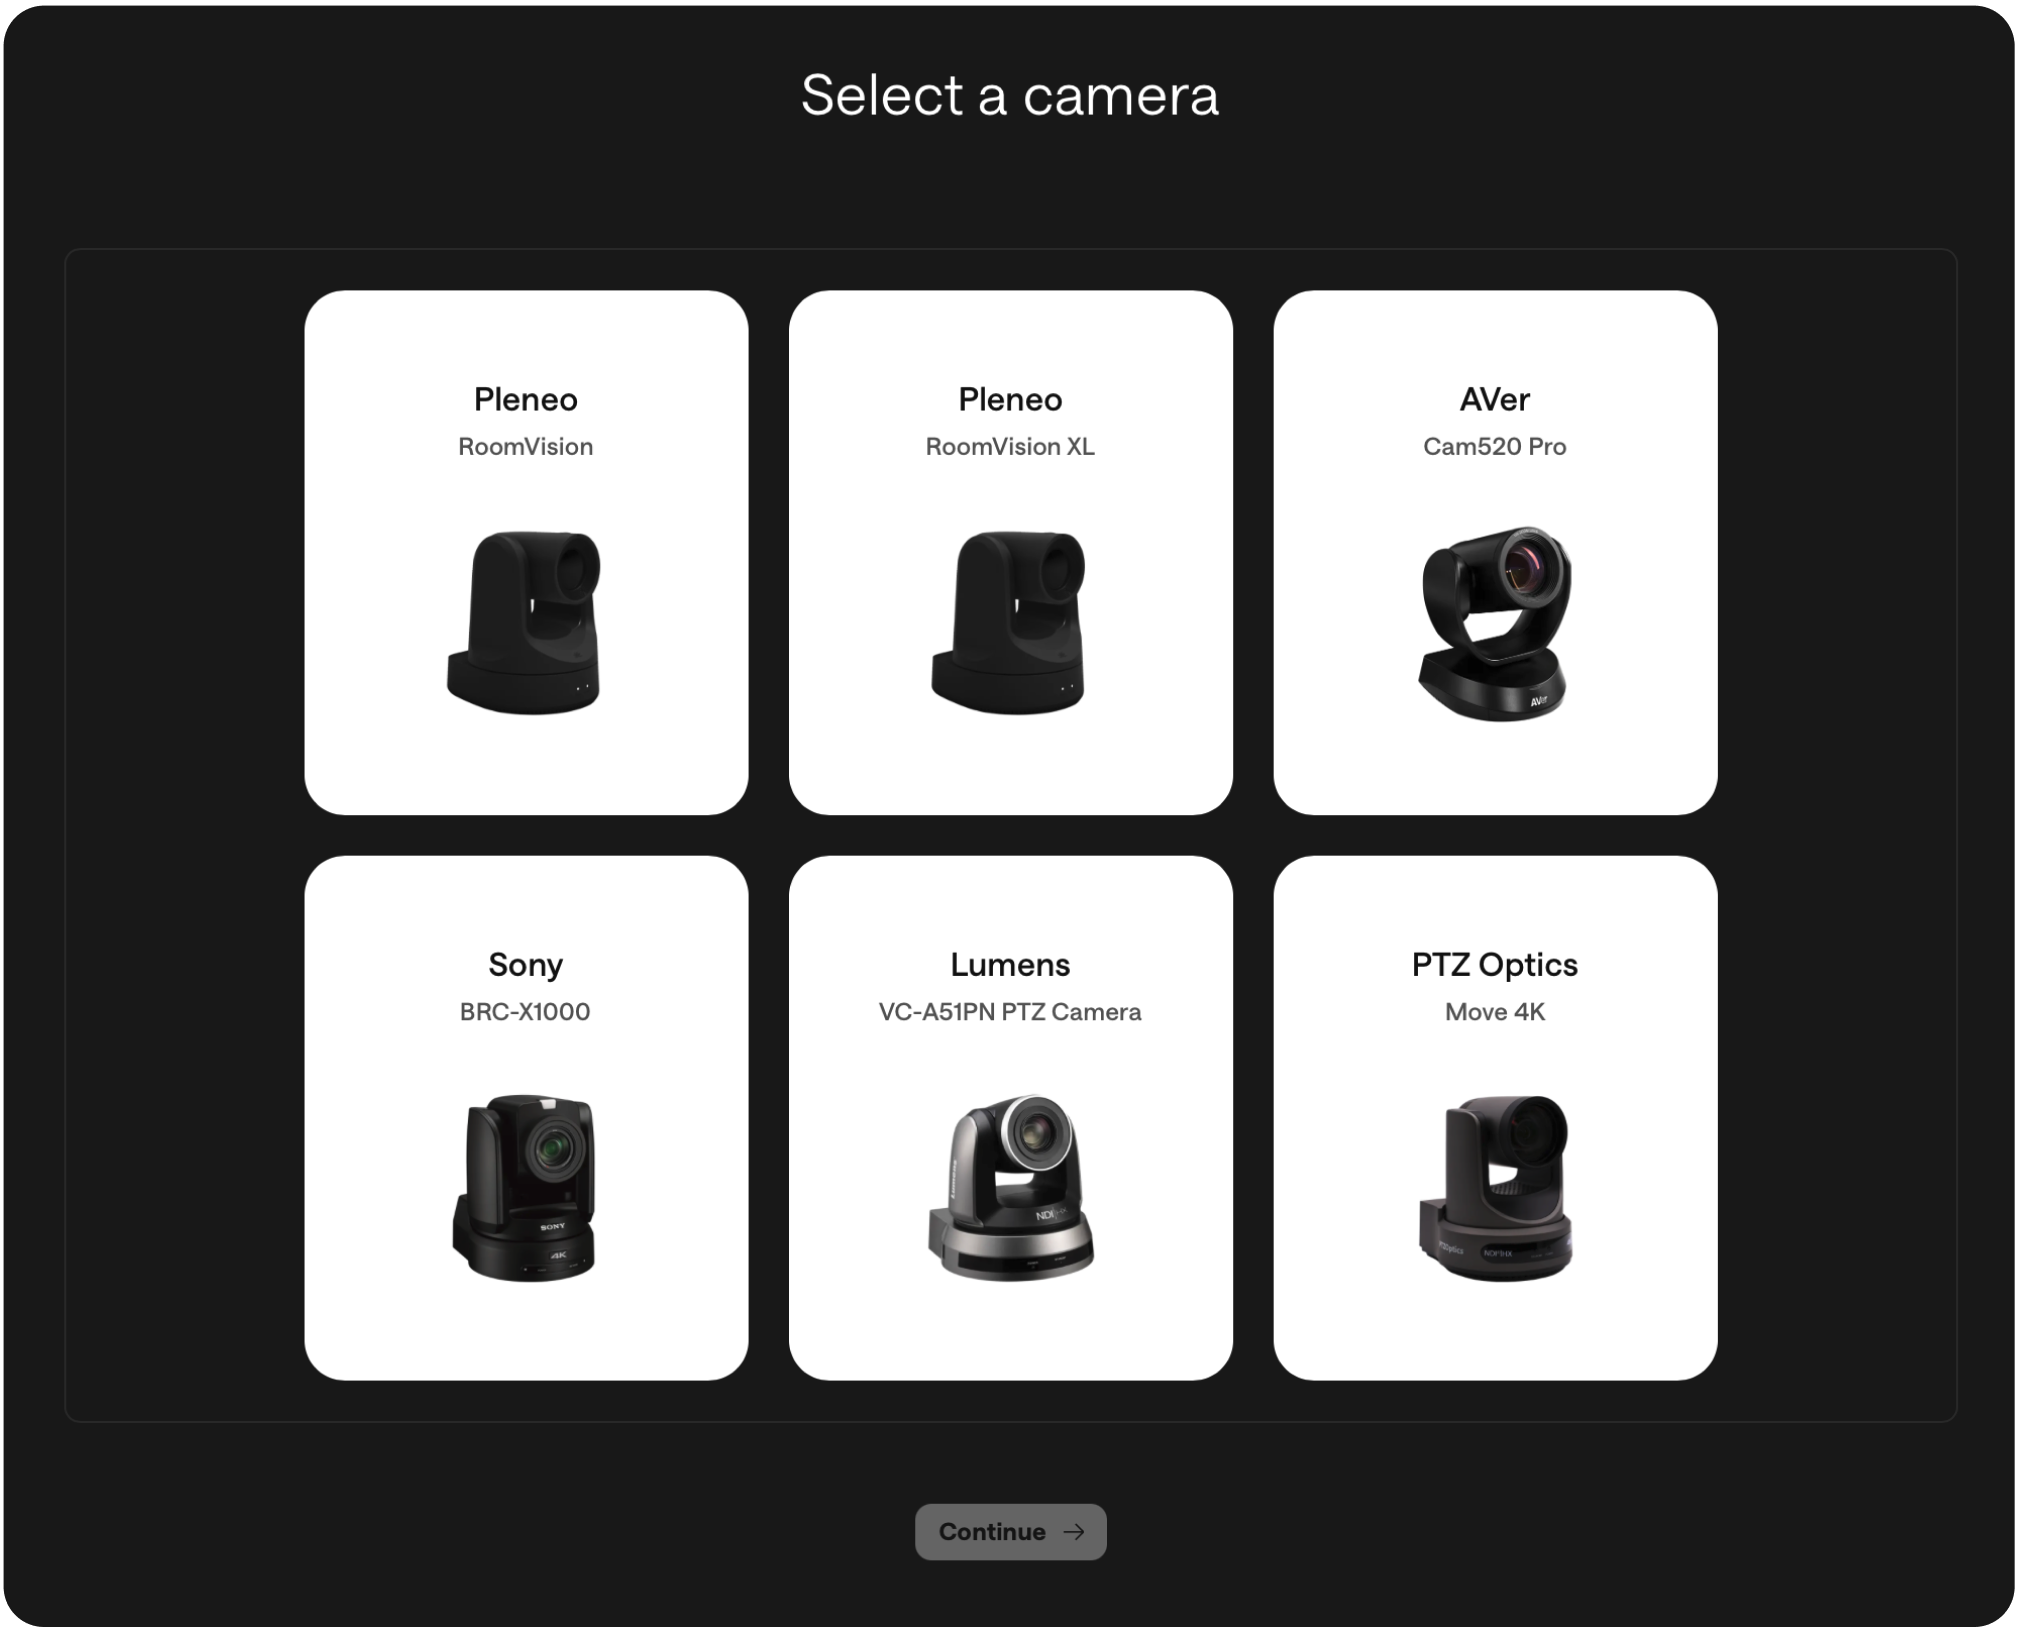
Enter the MAC address and select Add Device.
6. Ready to install
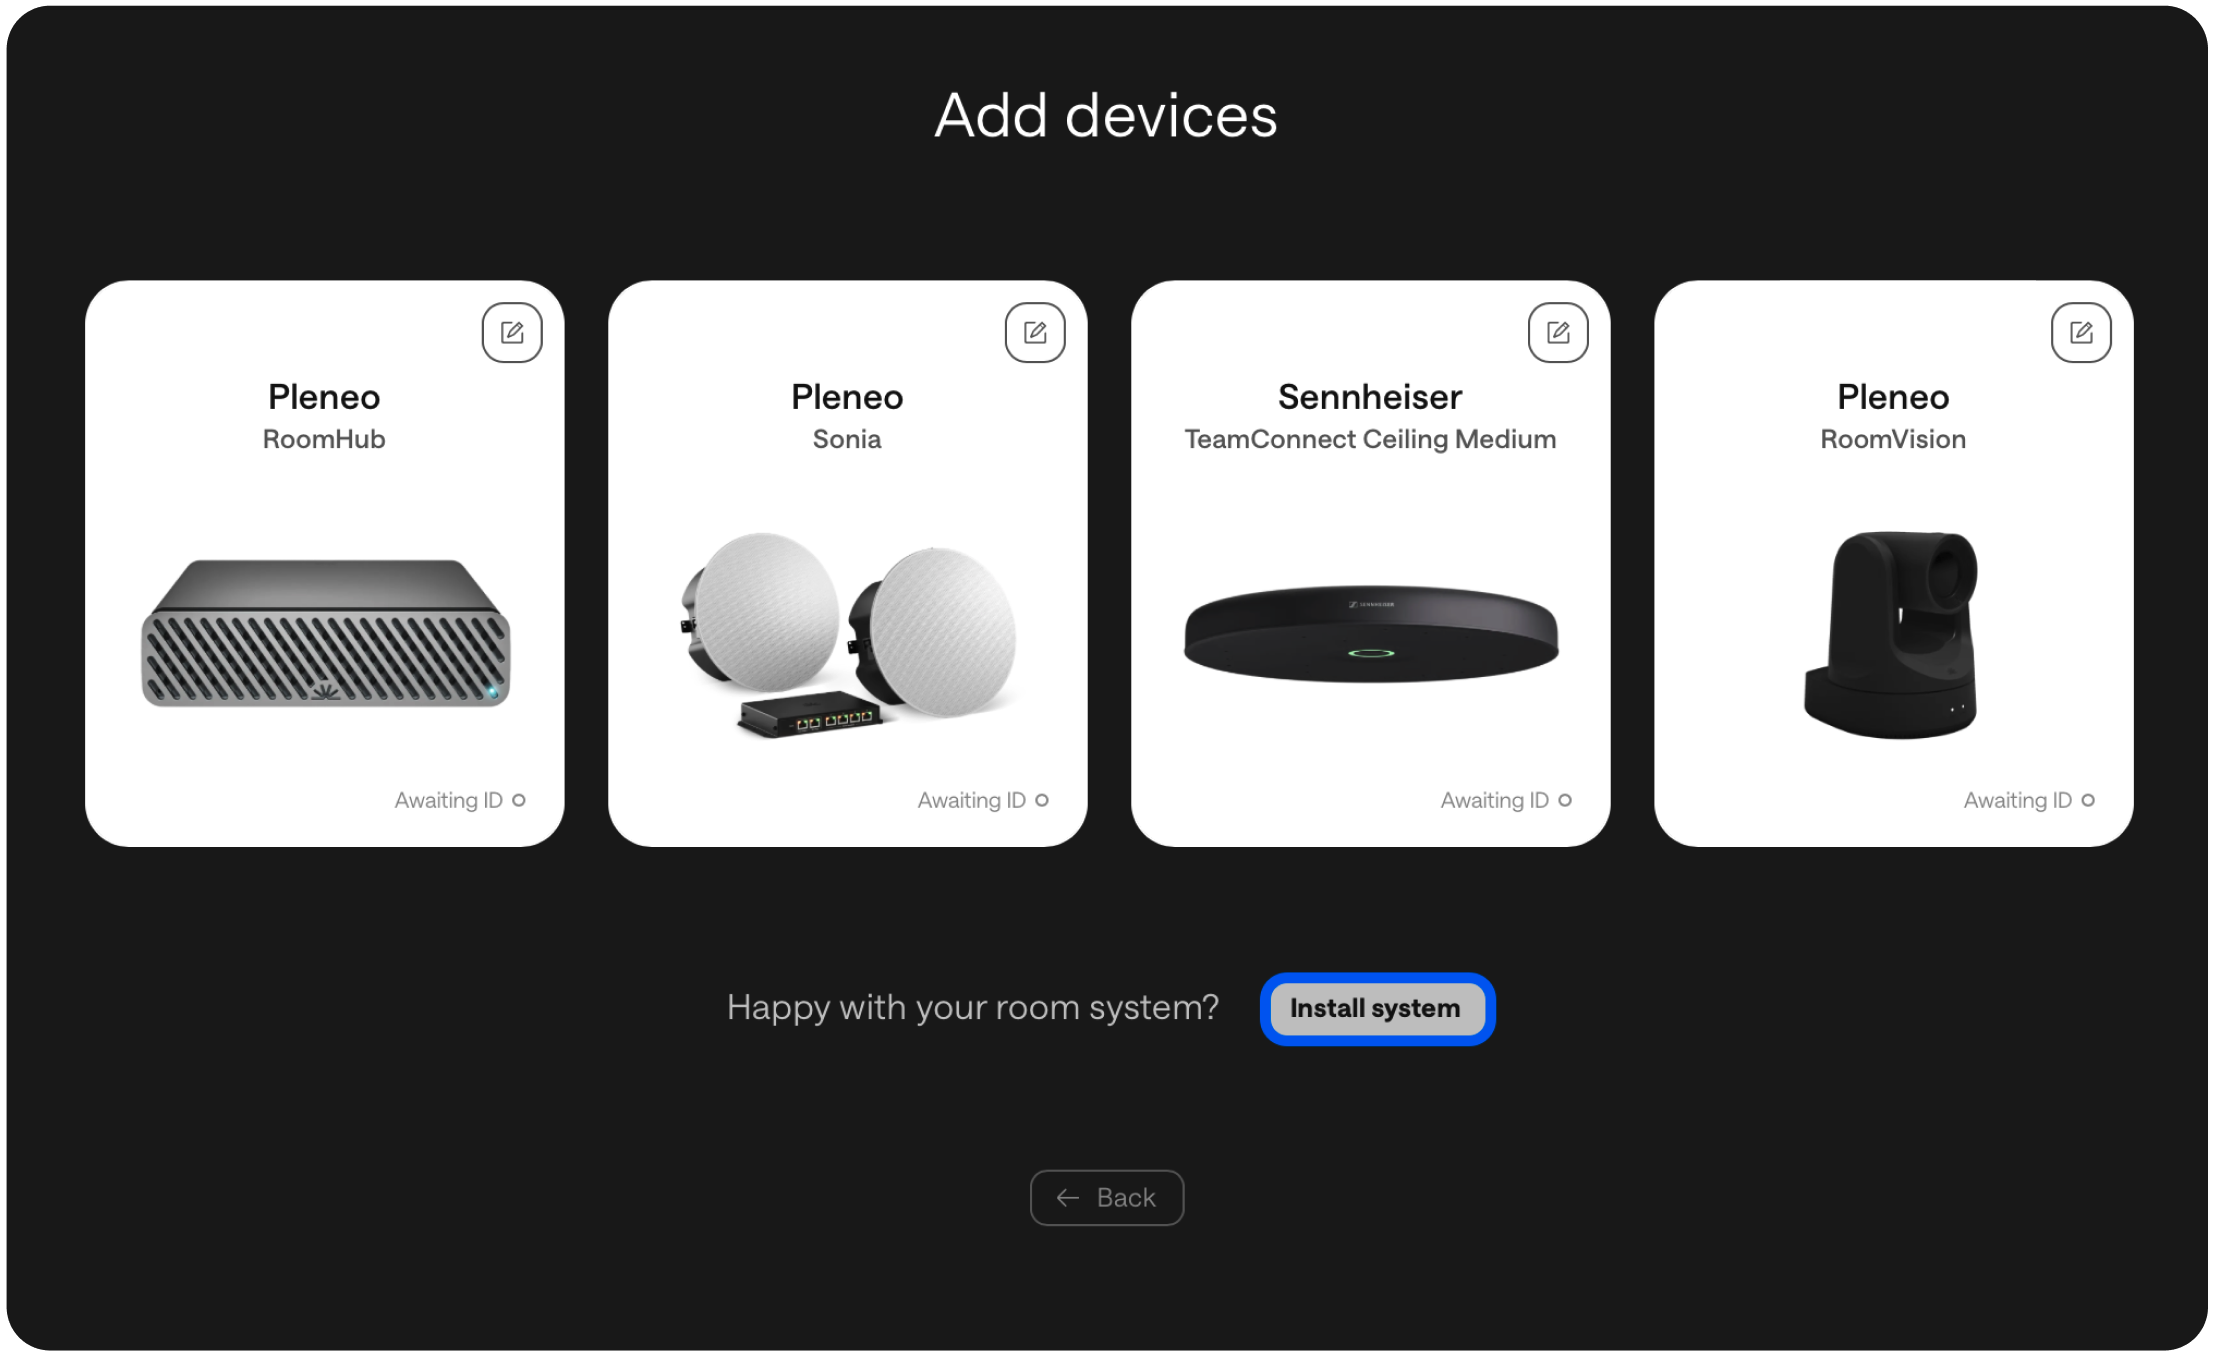
Select Install System.
At this point, the room is ready. You can ship the products to site.
When RoomHub is connected on-site and has internet access, it will automatically connect back to Pleneo Cloud, download the full system configuration, and run the AI AutoDeploy process.
Result
Your room is:
Automatically discovered
Fully tested and configured
Acoustically tuned
Ready for use
All with minimal on-site effort.
In Summary
Pleneo Cloud turns room deployment into a simple workflow.
Key takeaways:
Create and configure rooms in advance
Ship hardware without pre-configuration
Automatic setup when connected on-site
Consistent results across every room
Define the room once.
Pleneo Room OS takes care of the rest.