
Install RoomDesign Pro Pendant
Overview
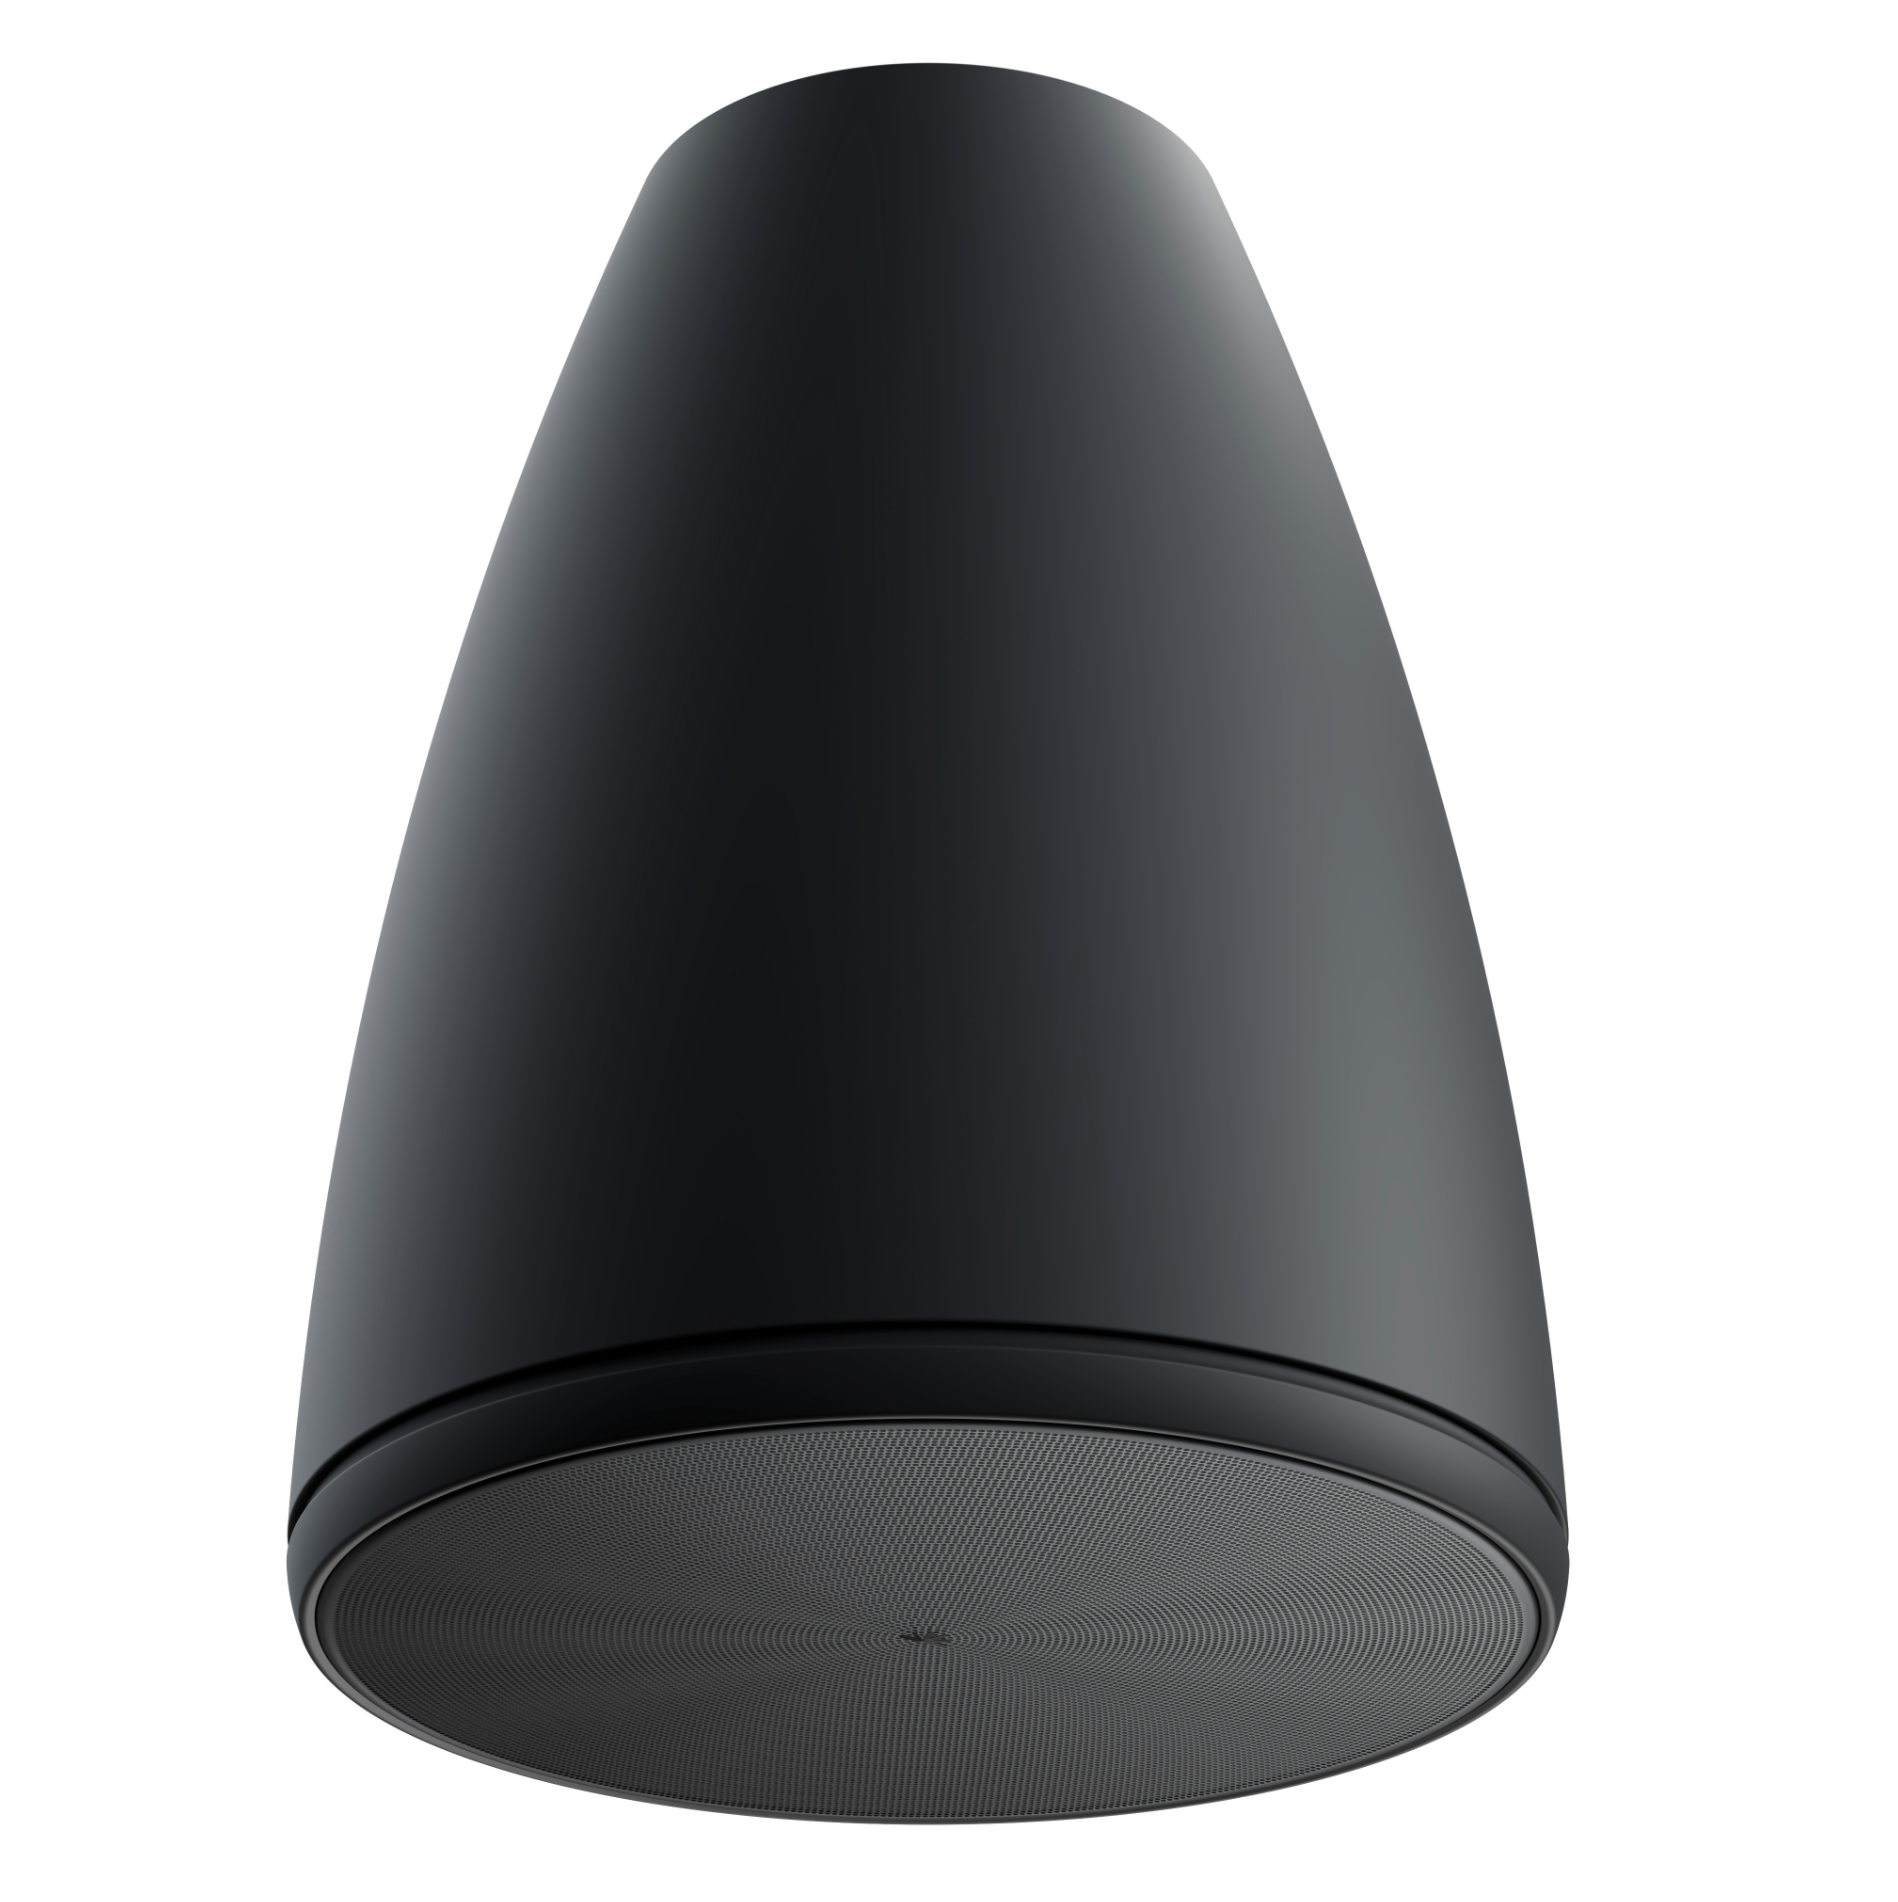
This guide shows how to install the RoomDesign Pro Pendant speaker in a clear, simple way.
Pendant speakers are ideal for high ceilings. They bring sound closer to listeners, improving clarity without filling the room with extra speakers.
Before You Begin
Before starting, confirm a few basics:
RoomDesign Pro Pendant uses an external amplifier
The ceiling structure can safely support the speaker and mount
You know which system you’re connecting to (8-ohm or 70/100V)
A quick check here keeps installation smooth.
Installation Steps
1. Choose the Mounting Location
Pick a ceiling position that places the speaker above the listening area.
Good practice:
Center the speaker over where people sit or stand
Avoid placing it too close to walls
Make sure the ceiling point is strong and secure
Pendant mounting works best in tall or open spaces.
2. Mount the Speaker
Mounting is straightforward.
Steps:
Secure the suspension hardware to the ceiling
Adjust the cable so the speaker hangs at the right height
Check that the speaker hangs straight and feels stable
3. Set the Operating Mode
Set the mode before connecting the amplifier.
Use the selector dial:
8-ohm for standard amplifier setups
70/100V for distributed audio systems
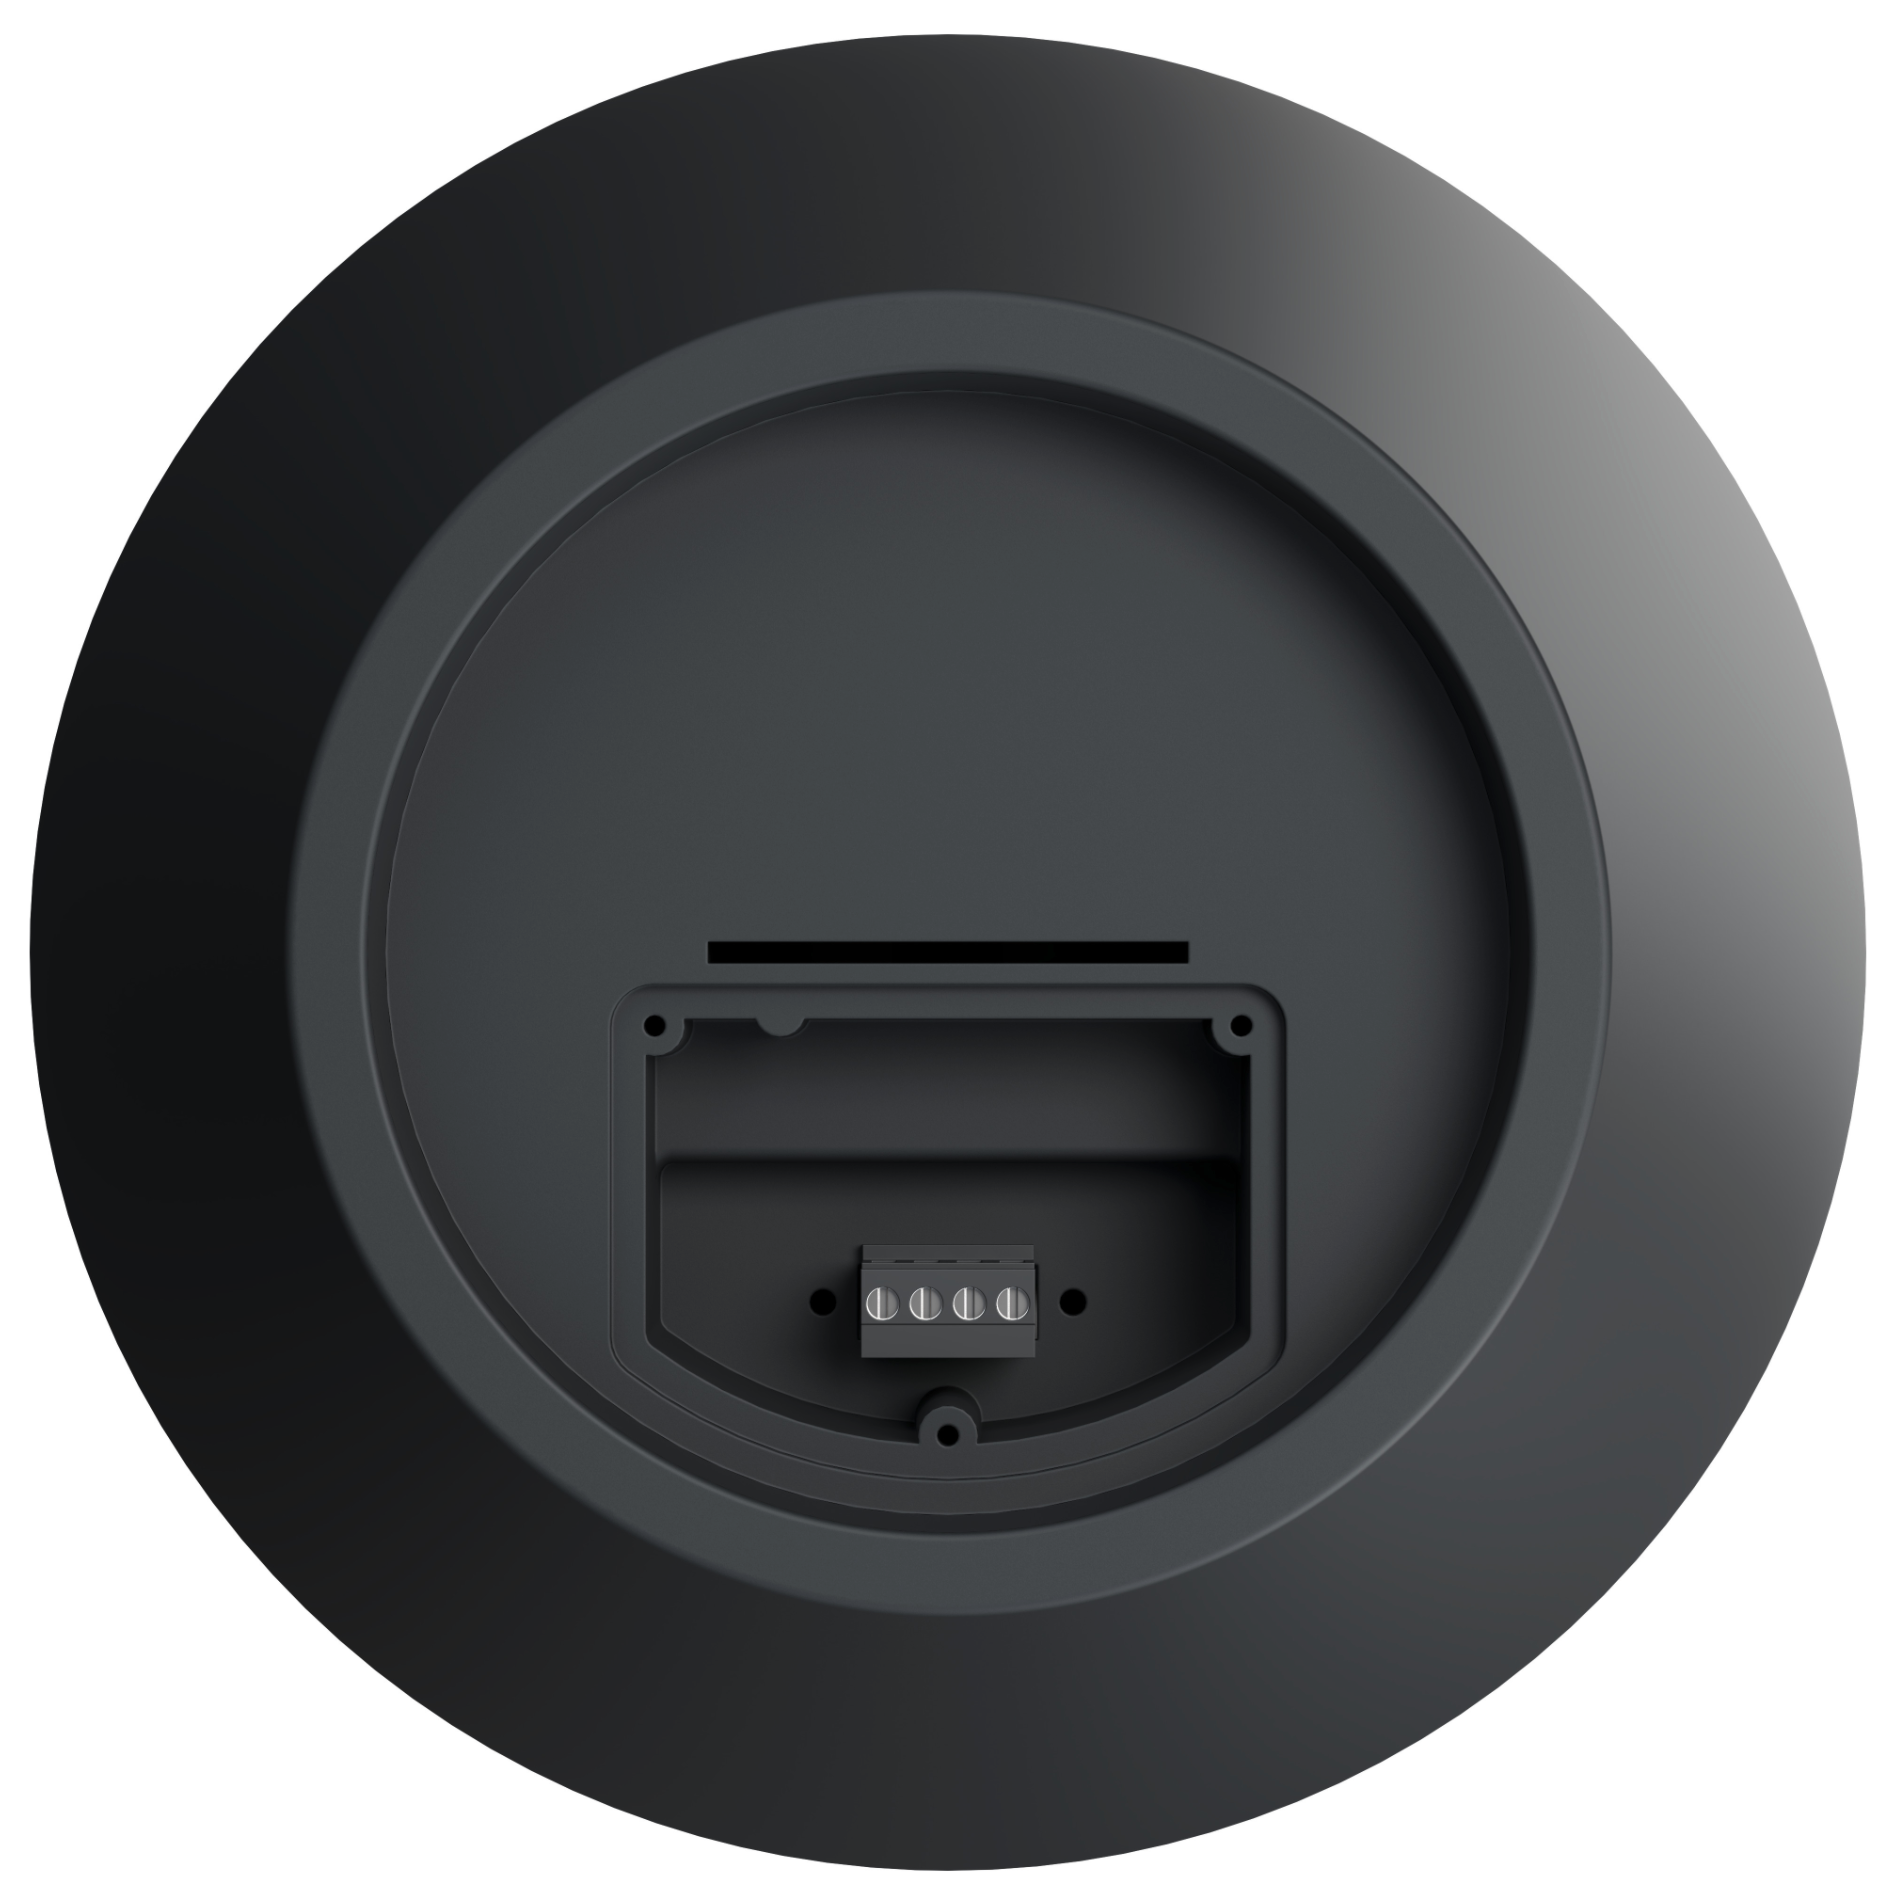
4. Connect the Speaker
Finish by connecting the cable.
Steps:
Connect the speaker cable to the terminal on the speaker
Route the cable neatly for a clean look
Connect the other end to the external amplifier
Make sure all connections are secure.
Installation Complete
RoomDesign Pro Pendant is now installed and ready to use.
Pendant mounting delivers clear, focused sound in spaces where traditional ceiling speakers aren’t practical.
In Summary
RoomDesign Pro Pendant is designed for simple, clean installs.
Key takeaways:
Ideal for high or open ceilings
Uses an external amplifier
Flexible 8-ohm or 70/100V operation
Brings sound closer to listeners
Hang it.
Connect it.
The room sounds right.