
Install RoomVision
Overview
This guide walks you through installing RoomVision and getting it ready for use in your meeting space.
RoomVision is designed for simple installation and natural-looking video. One cable powers and controls it. One mount secures it. The system is ready in minutes.
Before You Begin
Before installing, confirm a few basics:
A PoE network connection is available at the camera location
The mounting position is decided (above display, below display, or side wall)
The video output type is selected (HDMI, SDI, or USB)
Planning this first makes installation quick and predictable.
Installation Steps
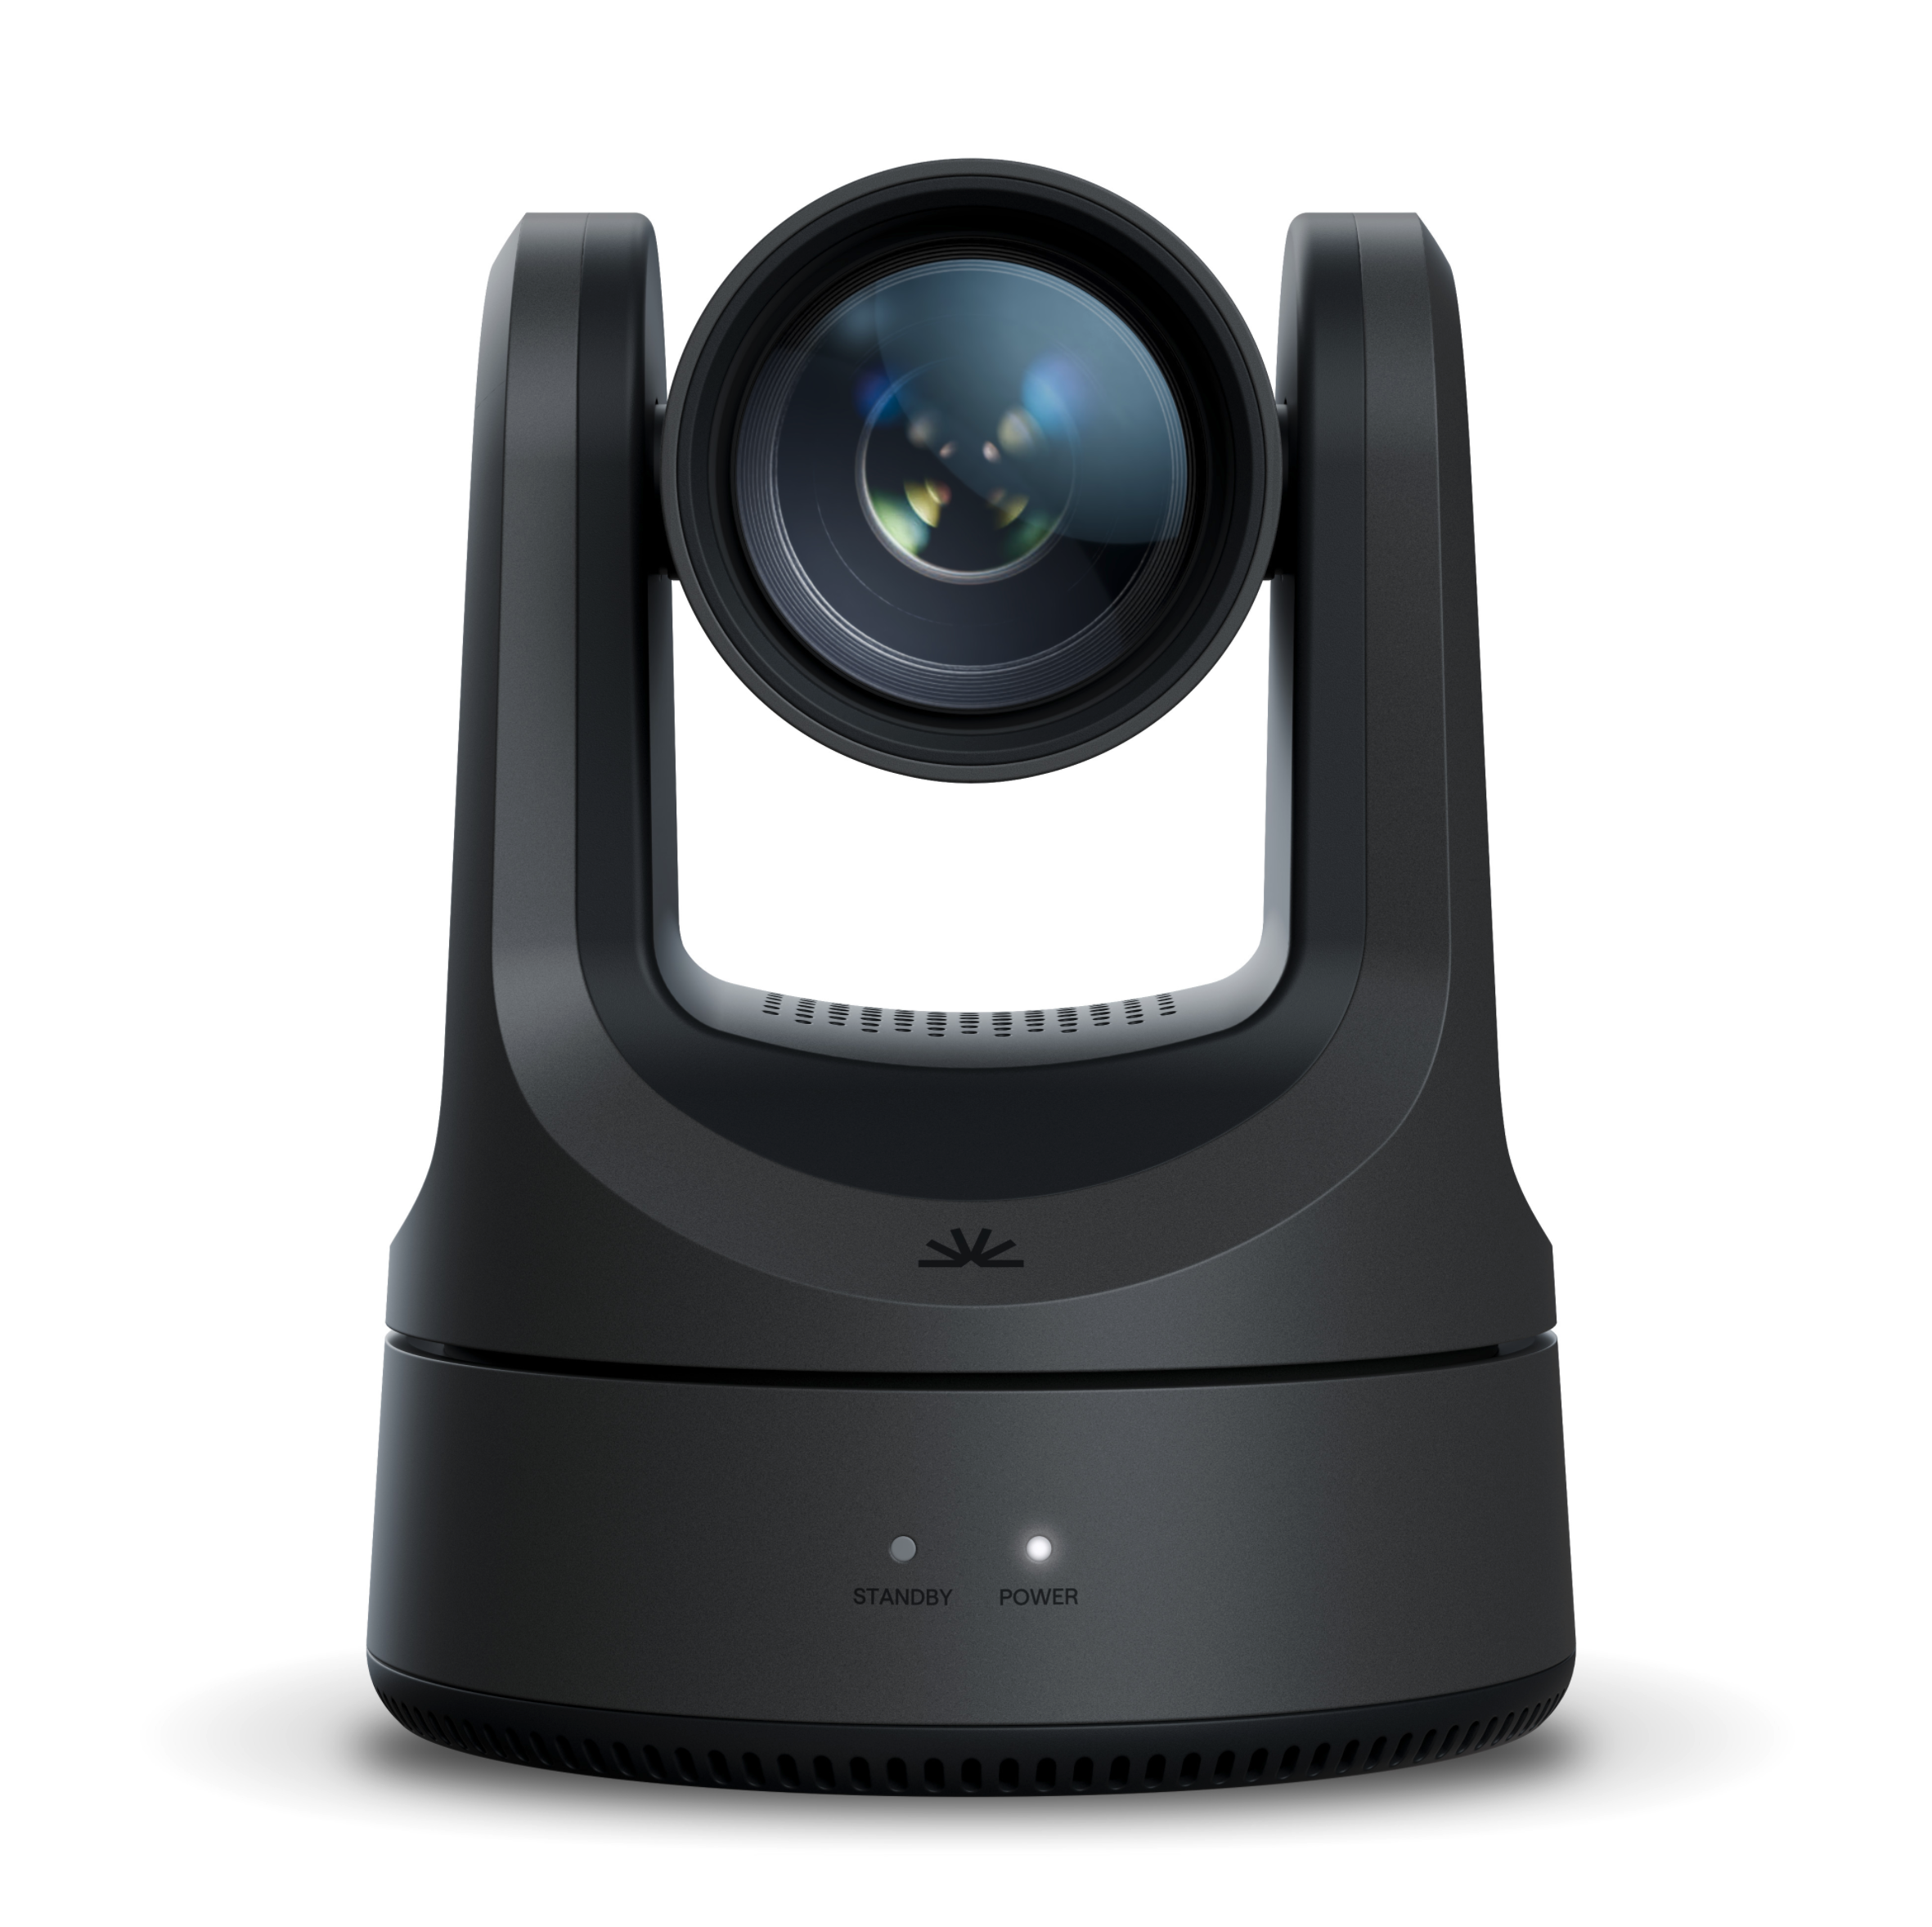
1. Mount the Camera
Mount RoomVision where faces look natural and the seating area can be fully framed.
Recommended positions:
Centered above the display (most common)
Centered below the display (more eye-level)
Side wall, if front-wall mounting isn’t possible
Secure the camera using appropriate hardware.
Make sure it’s level and firmly fixed.
2. Connect Network and Power
RoomVision uses a single cable for power and control.
Steps:
Connect a network cable from the LAN port to a PoE switch
No external power supply is needed.
The camera powers on automatically.
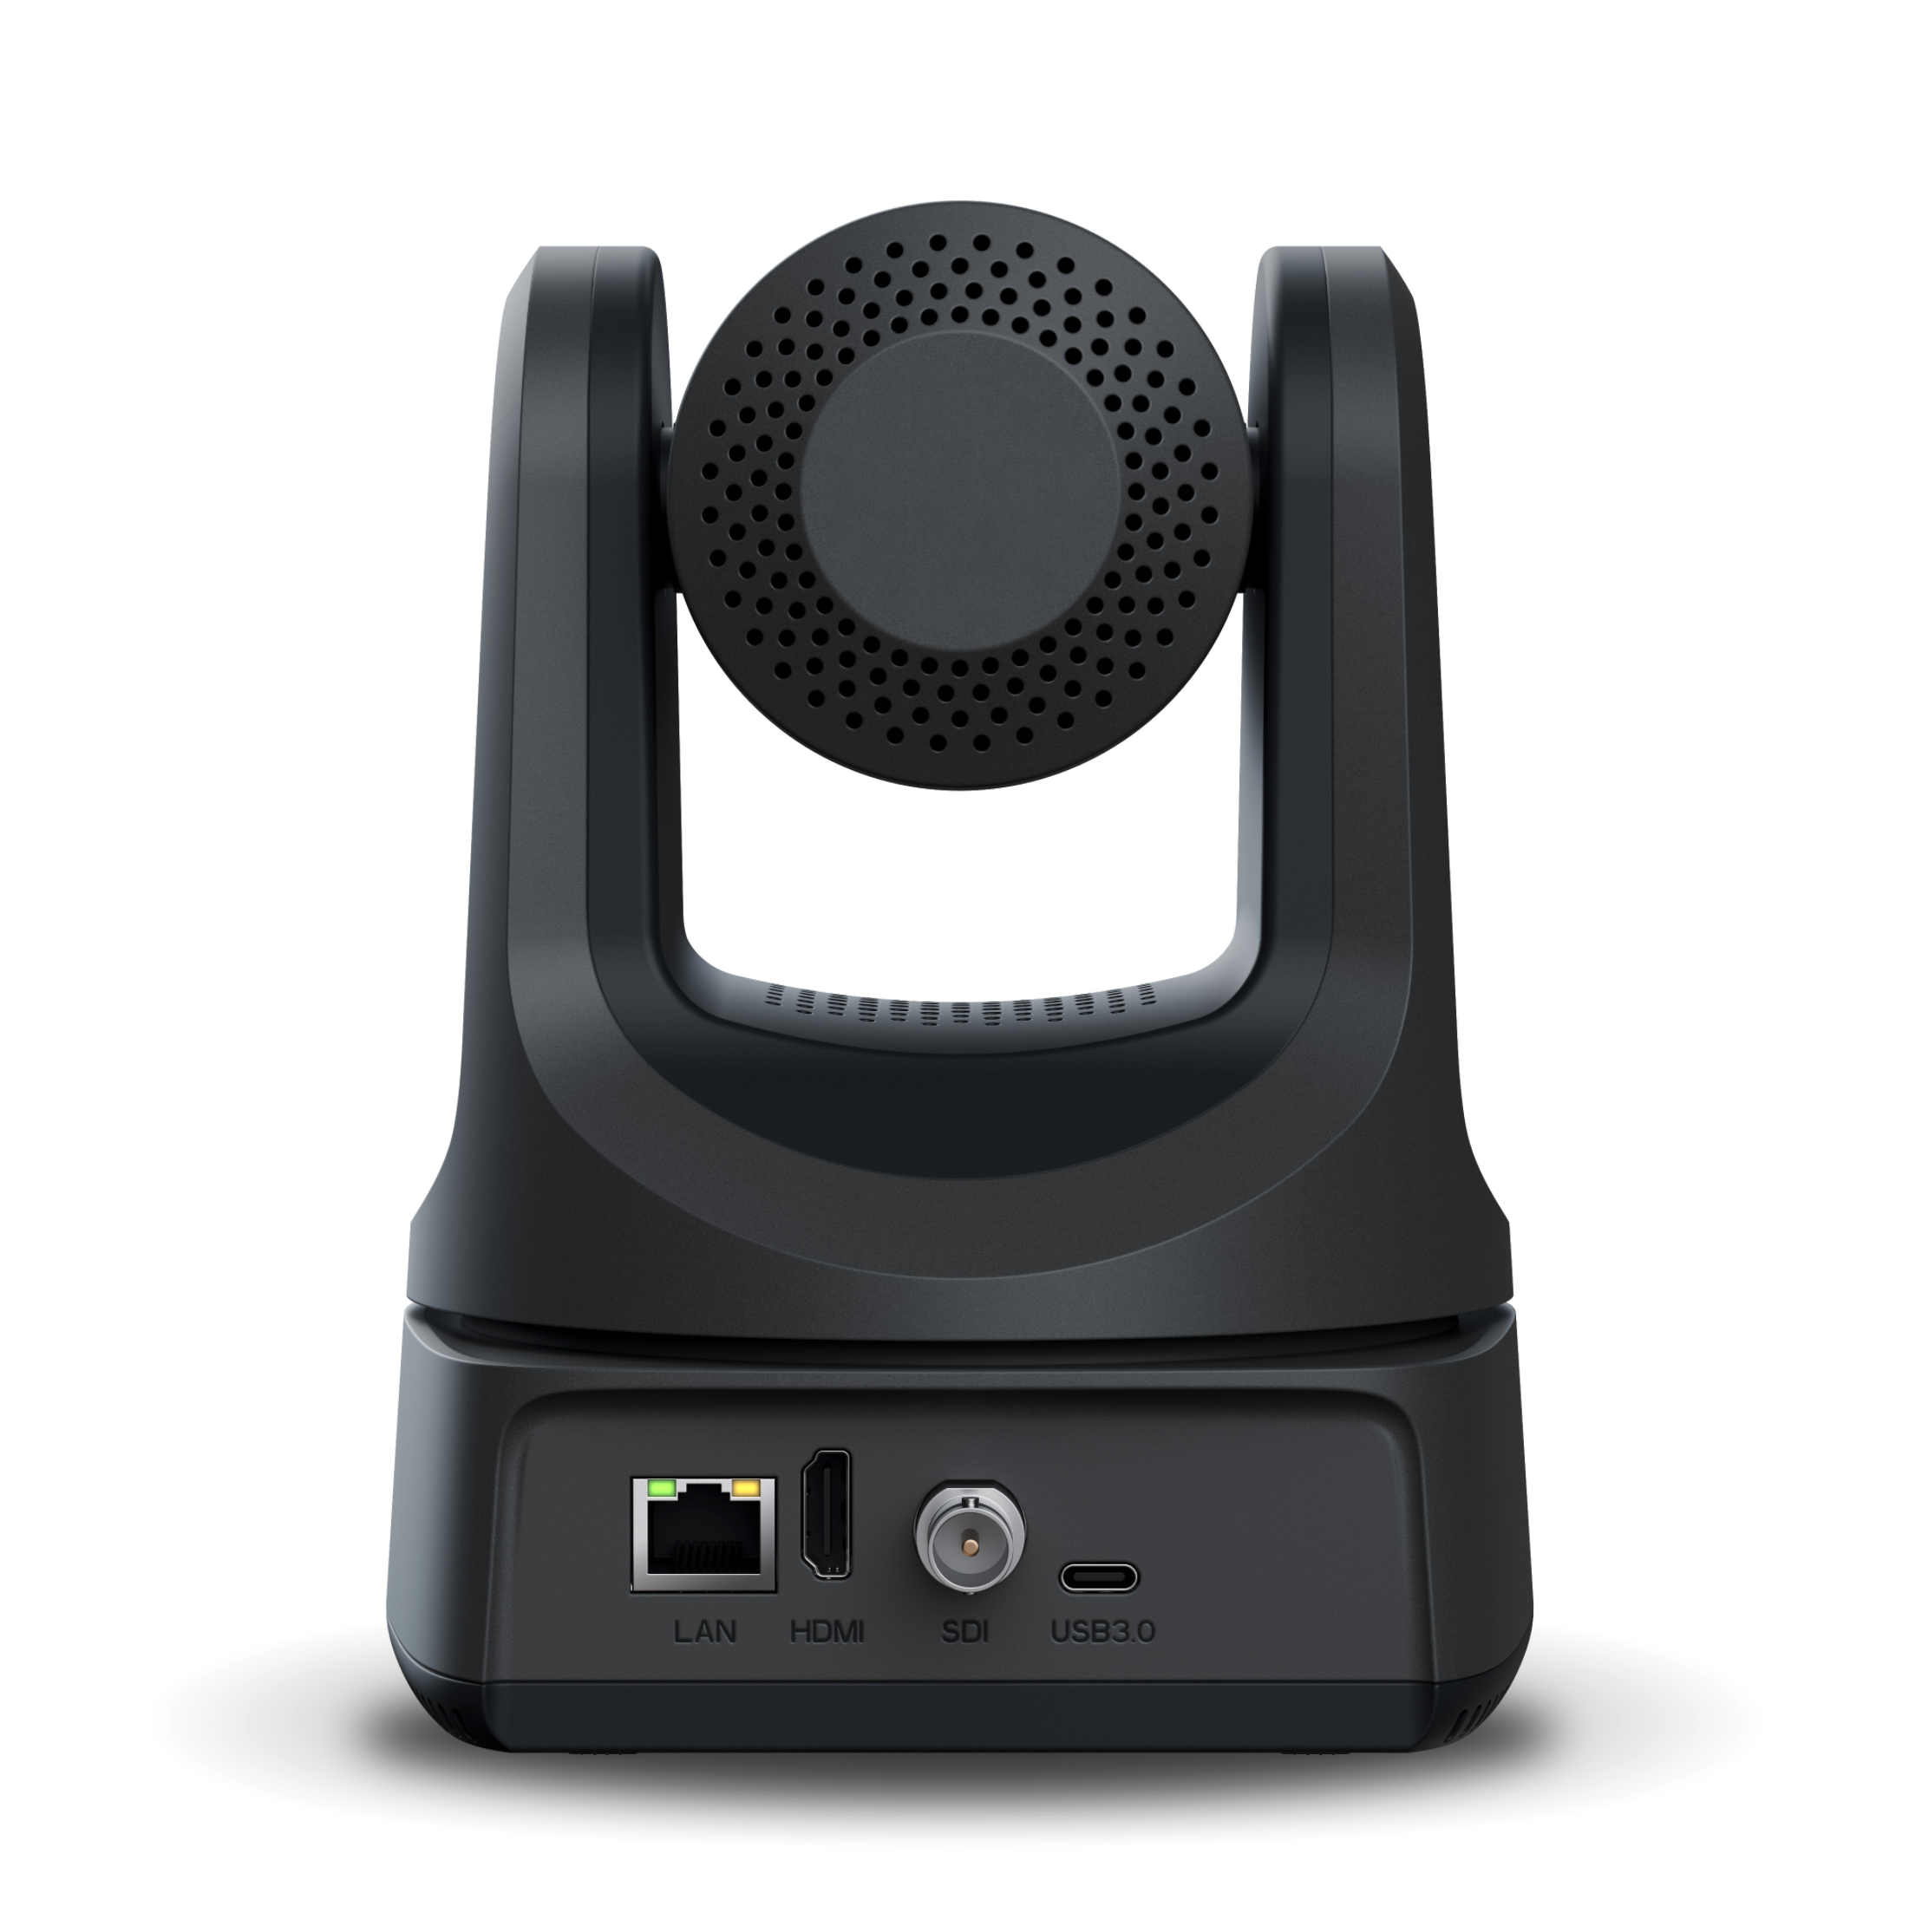
3. Connect Video Output
With power and control handled over LAN, connect the video output that fits your system:
HDMI (v1.3) for most room systems
SDI for professional AV workflows
USB 3.0 for USB-based rooms or BYOD setups
Choose the output that matches how the room is used.
Installation Complete
RoomVision is now installed and ready for use.
With humanoid-based tracking, smooth PTZ movement, and a clean single-cable setup, it delivers hands-free, consistent video for modern meeting rooms, without added complexity.
In Summary
RoomVision is designed to be easy.
Key takeaways:
Simple mounting options
Single PoE+ cable for power and control
Flexible video outputs
Natural, automatic camera tracking
Mount it.
Connect one cable.
The camera takes care of the rest.