
Installing RoomDesign Pro Surface
Overview
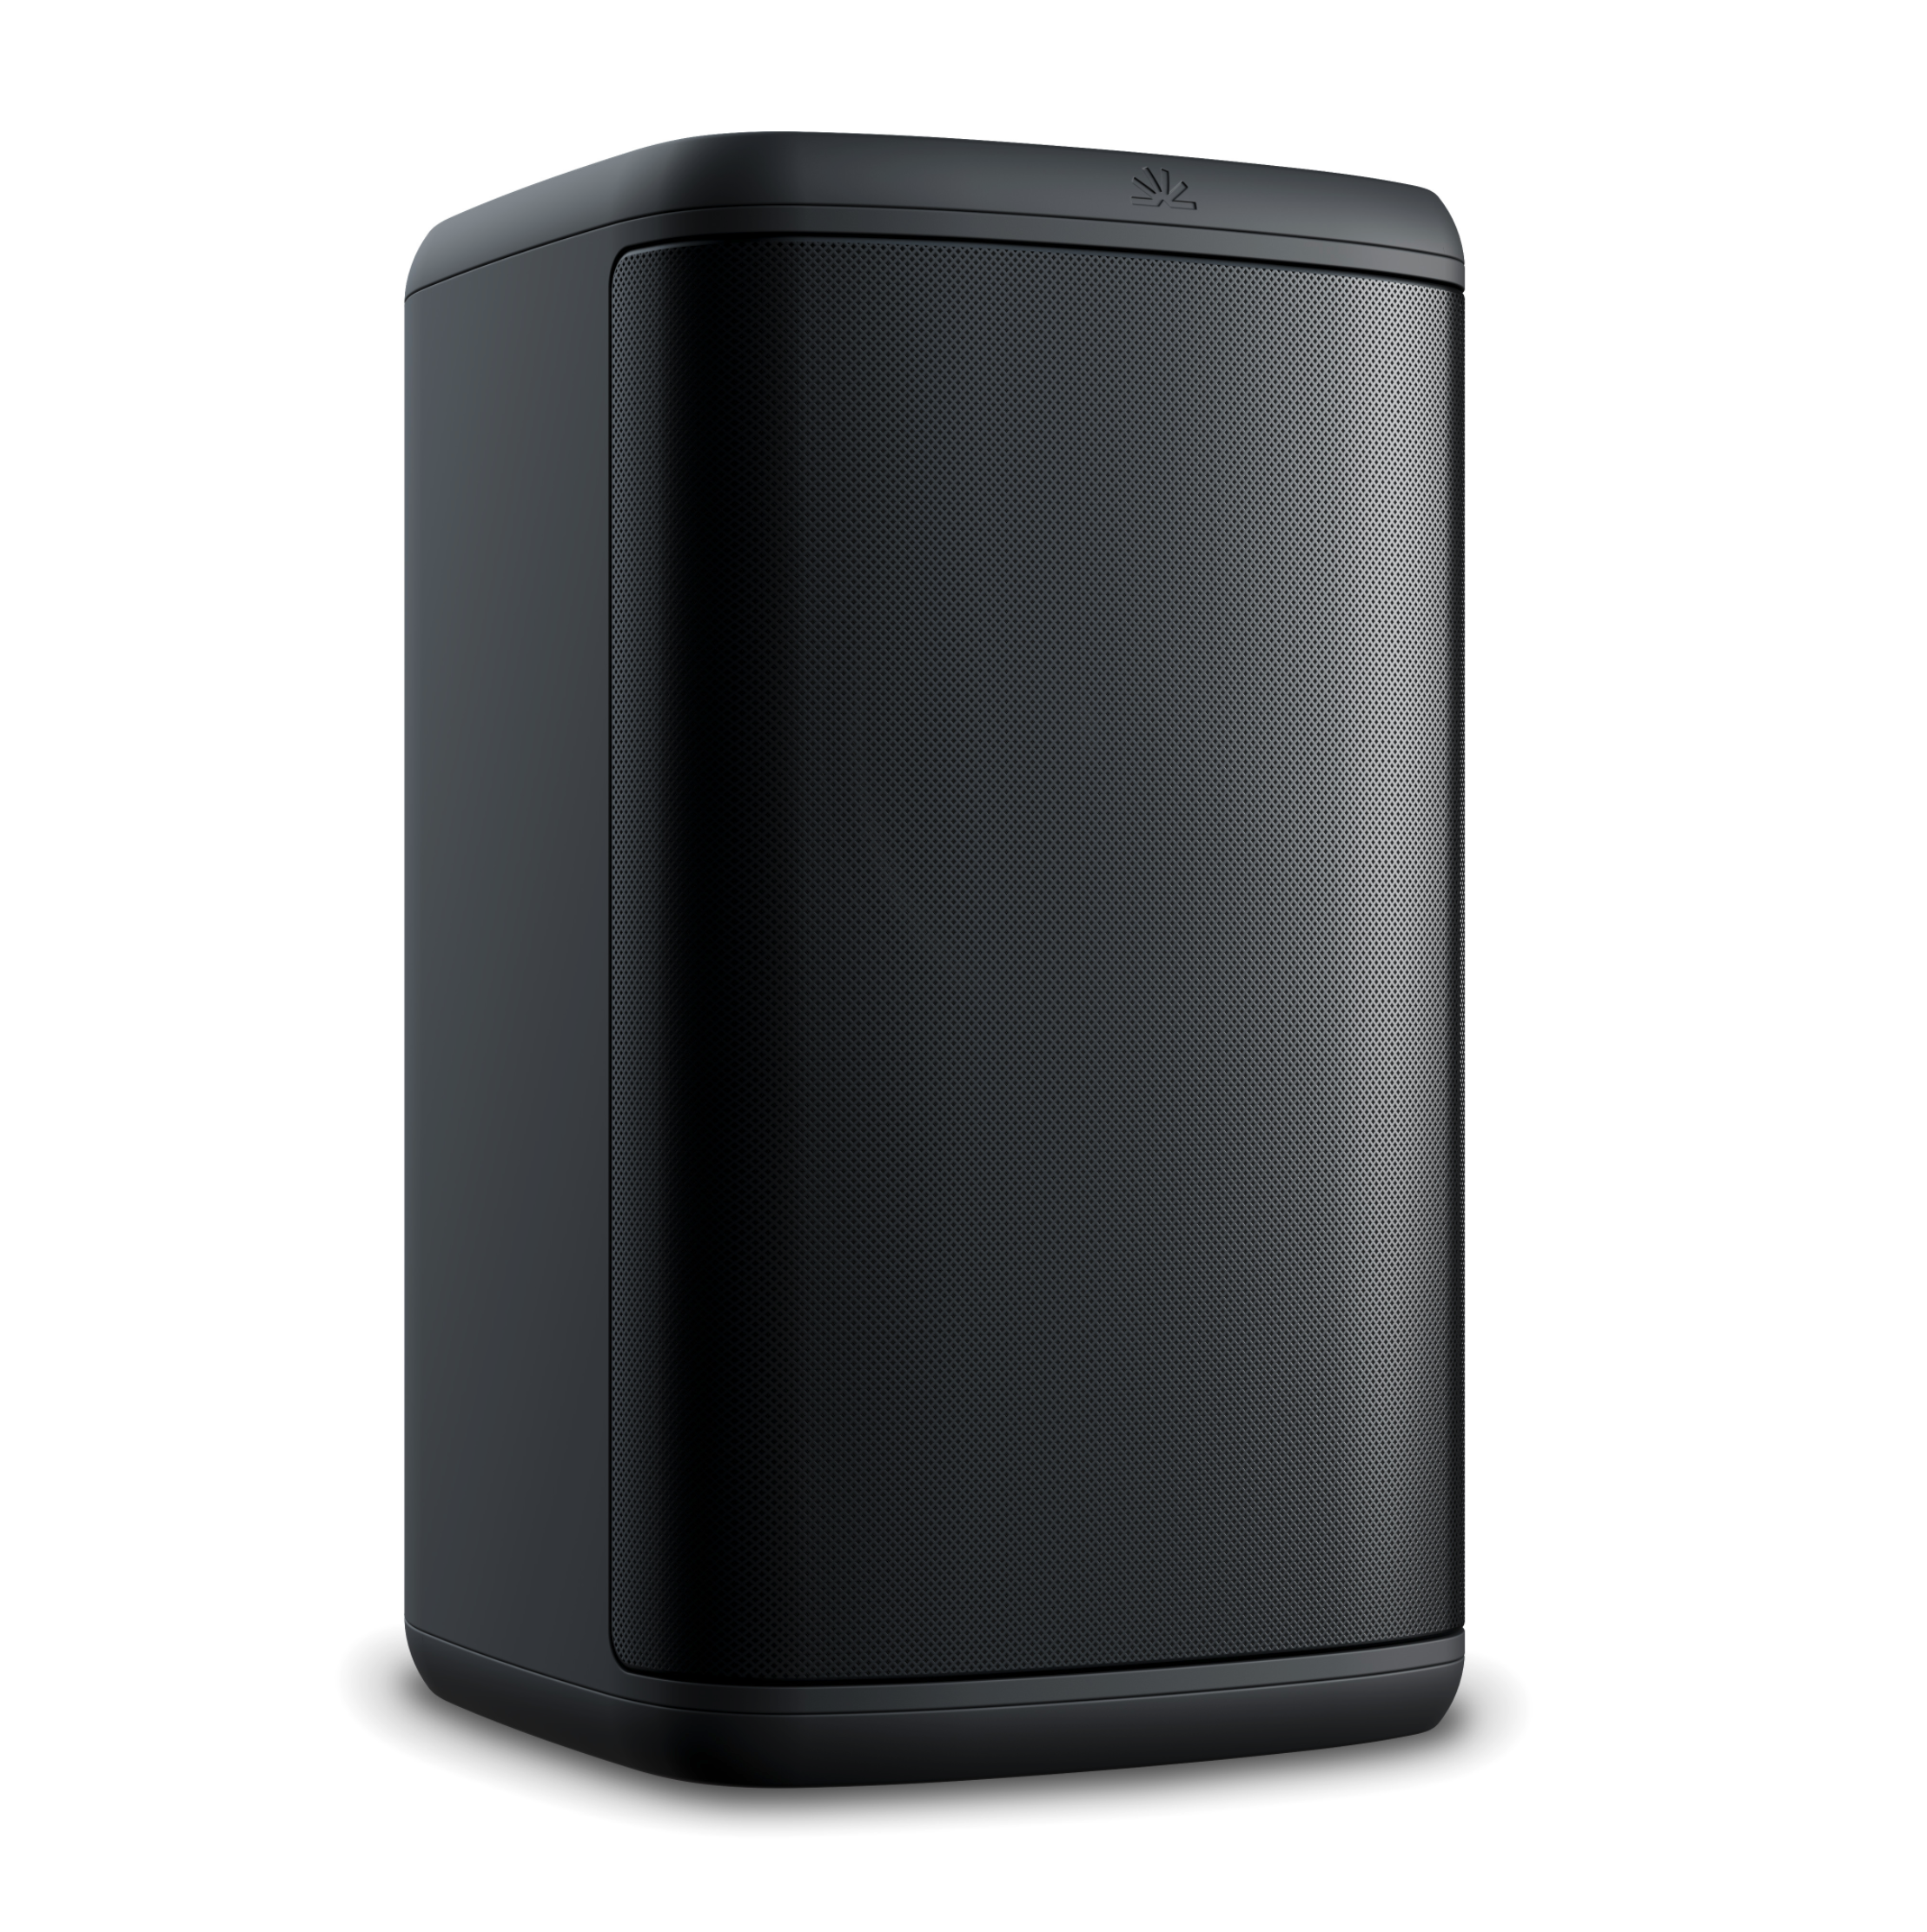
This guide shows how to install the RoomDesign Surface speaker in a simple, reliable way.
RoomDesign Surface is made for wall mounting in spaces where ceiling speakers aren’t practical. The process is quick and uses standard tools.
Before You Begin
Before you start, check a few basics:
RoomDesign Surface uses an external amplifier
You have suitable wall mounting hardware
You know which system you’re connecting to (8-ohm or 70/100V)
A quick check here avoids rework later.
Installation Steps
1. Choose where to place the speaker
Pick a wall position that points sound toward where people sit and listen.
Good practice:
Aim toward the seating area
Avoid corners when possible
RoomDesign Surface is designed to blend into meeting rooms and shared spaces without drawing attention.
2. Mount the Speaker
Mounting is straightforward.
Steps:
Secure the mounting bracket to the wall
Attach the speaker to the bracket
Angle it slightly toward the listening area
Make sure it feels solid before moving on.
3. Set the Mode
Set the speaker to match your system before wiring.
Use the selector dial:
8-ohm for most standard amplifiers
70/100V for distributed audio systems
4. Connect the Speaker
Finish by connecting the cable.
Steps:
Connect the speaker cable to the back of the speaker
Connect the other end to the amplifier
Check that the connection is secure
Installation Complete
RoomDesign Surface is now installed and ready to use.
Wall mounting keeps the room clean and focused, delivering clear sound where ceiling speakers aren’t an option.
In Summary
RoomDesign Surface is easy to install and easy to live with.
Key points:
Simple wall mounting
Uses an external amplifier
Flexible for different system types
Clean, directional sound
Mount it.
Aim it.
You’re done.